Tips for Maternity Self-Portraits | Northern Virginia Family Photographer

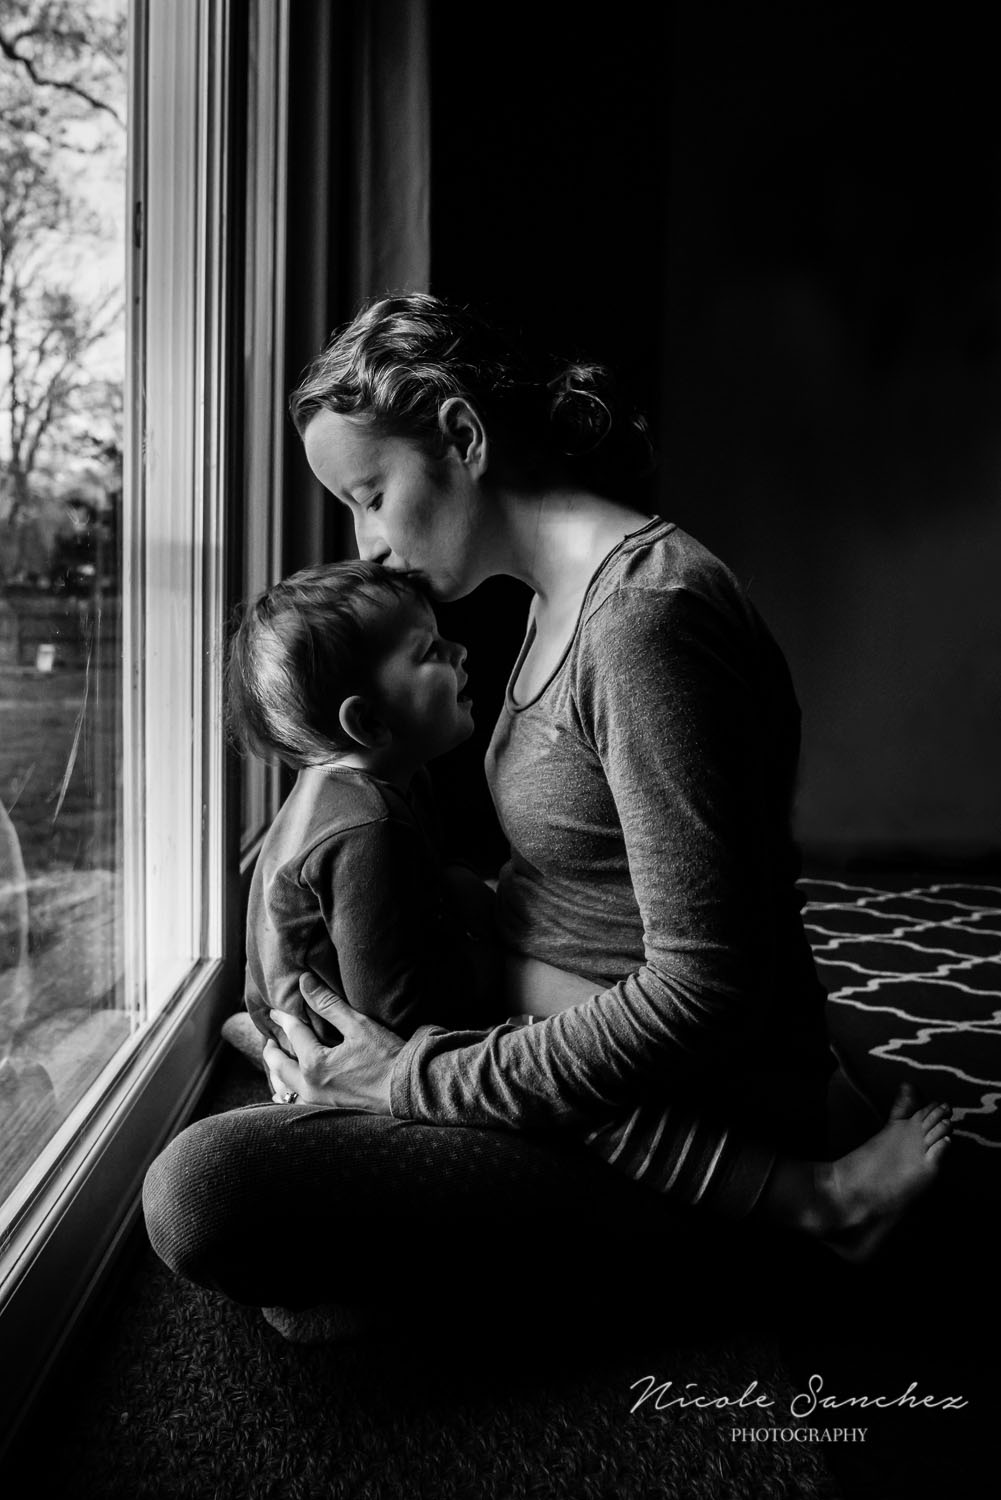
I don't necessarily mind having my picture taken, although I'm not exactly comfortable in front of the camera. (I wouldn't have room to list all the ways I looked goofy in my school portraits growing up.) But when it comes to my family, and especially my kids, I want to exist in our photos, even when I'm not wearing makeup (and perhaps still in my pajamas.)   

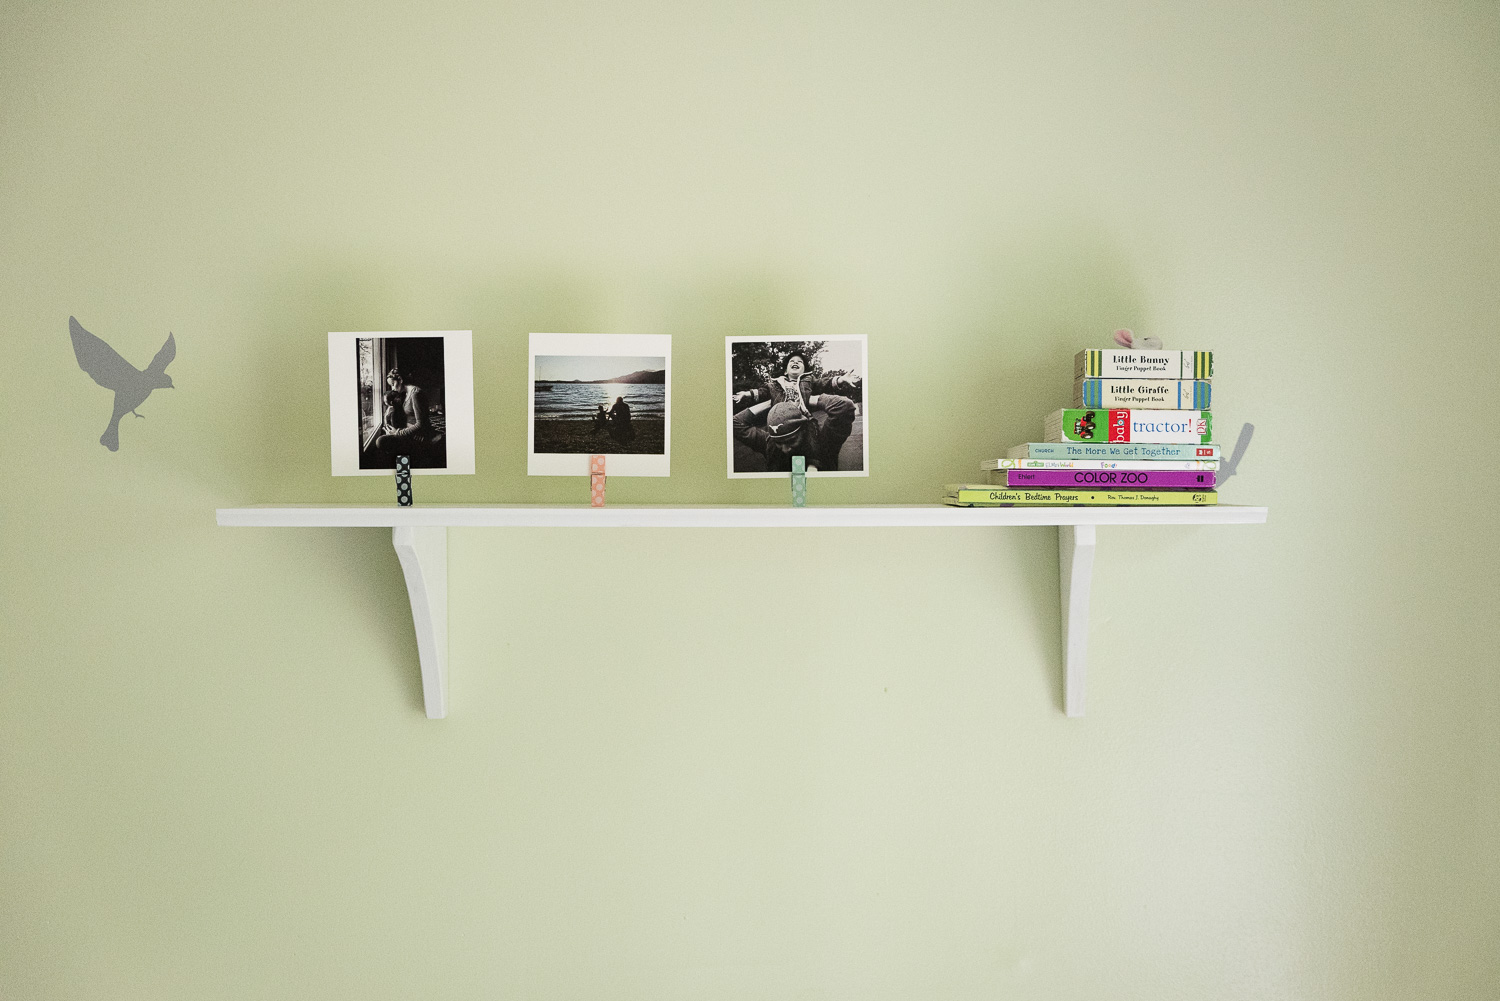
Self portraits were not on my list of things to learn when I started my photography journey.  I wanted nice pictures of my son and that naturally included my husband. But as I learned more and got to know other women photographers, I saw the beauty of self portraiture and especially that of women with their children.  I didn't take many bump photos when I was pregnant with my first son, so I resolved to do better when we got pregnant again.  

If you've never tried self-portraits (beyond the selfie feature on your phone), getting in the picture with your kid(s) is a great place to start.  Being with someone else takes away some of the awkwardness and you're naturally most relaxed (and looking your best) when you're with your family.  Once you've done a few self-portraits with your kids, you may find it easier to take some by yourself.

Here are a few tips I learned after nine months of maternity self-portraits (and some of my favorite images). And for a primer on self-portraits, check out these earlier posts on reasons to get in the picture with your kids and tips for getting in front of the camera with your family. 

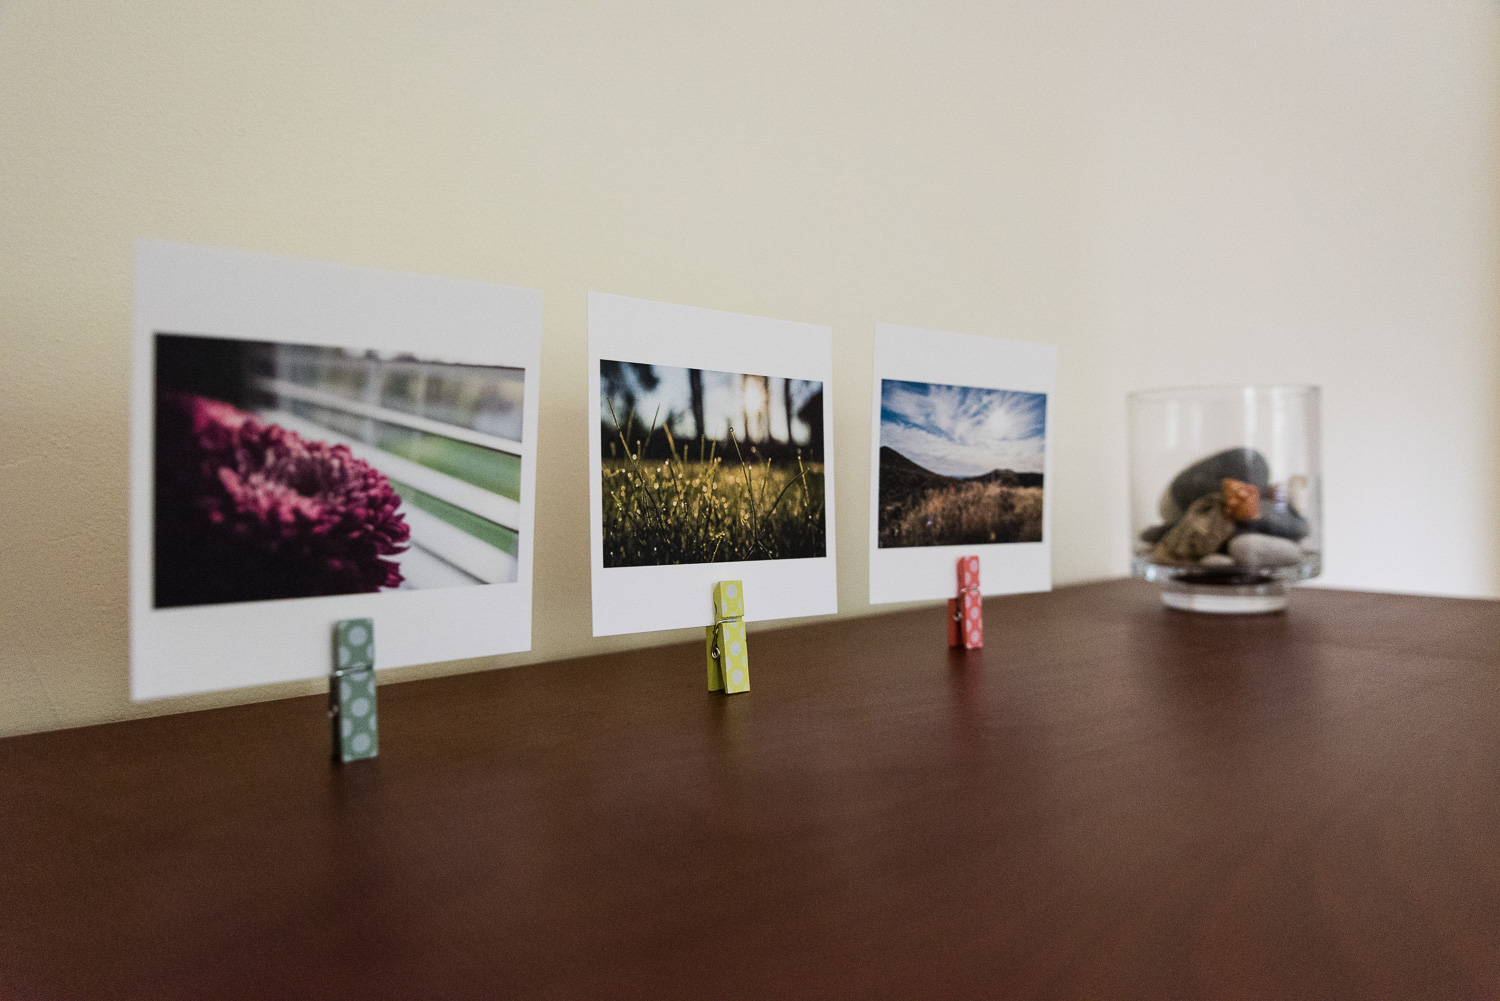
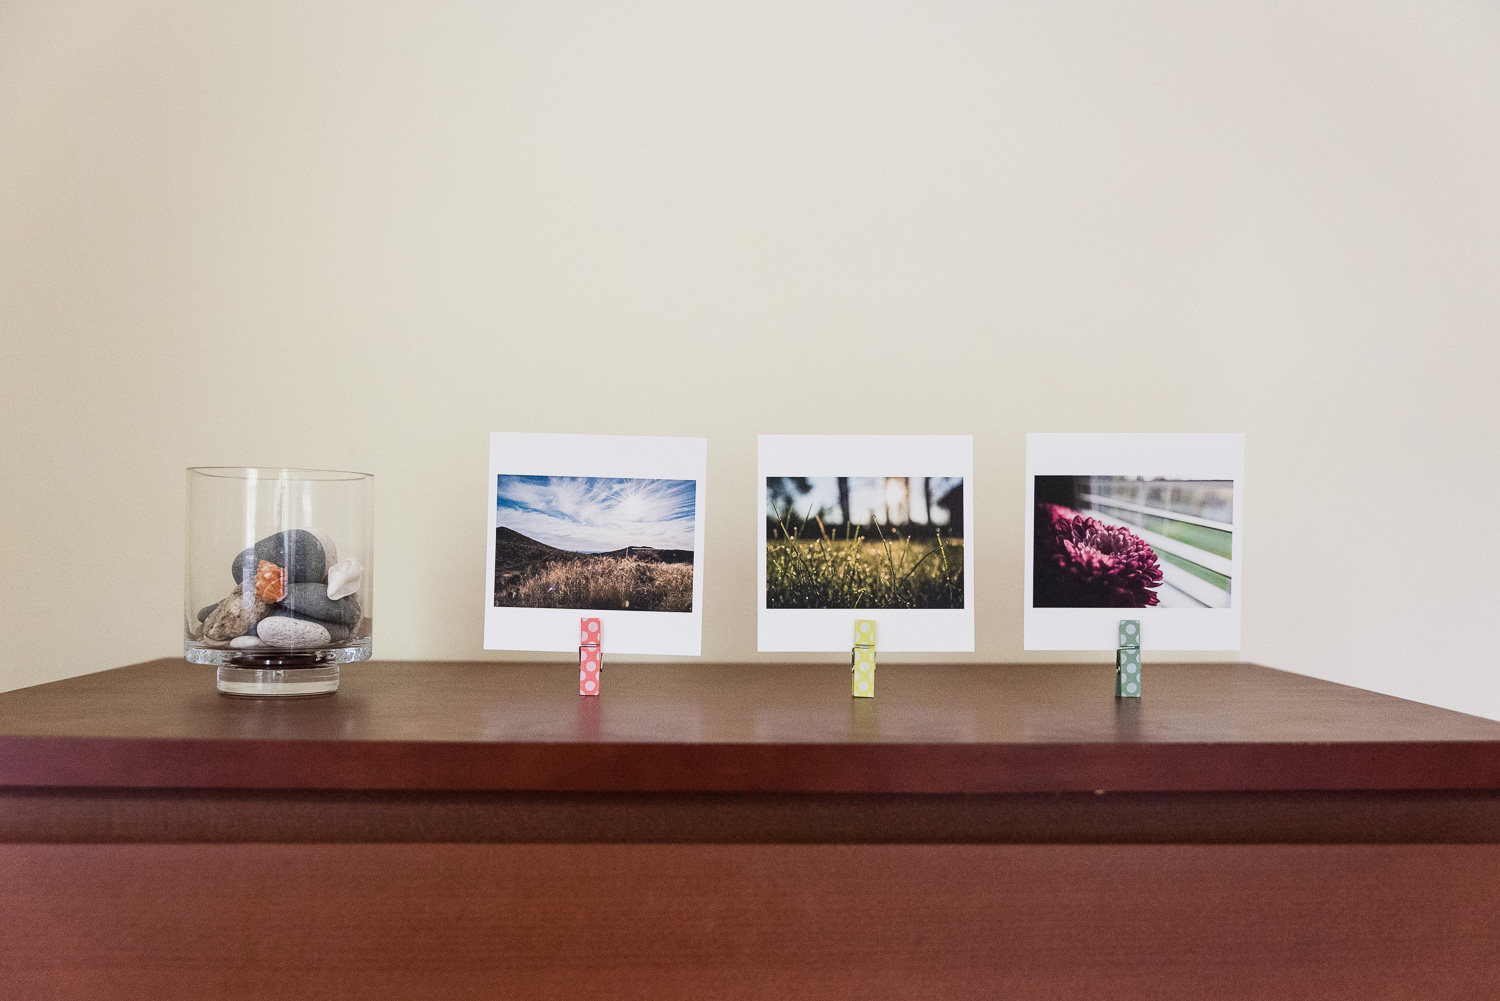
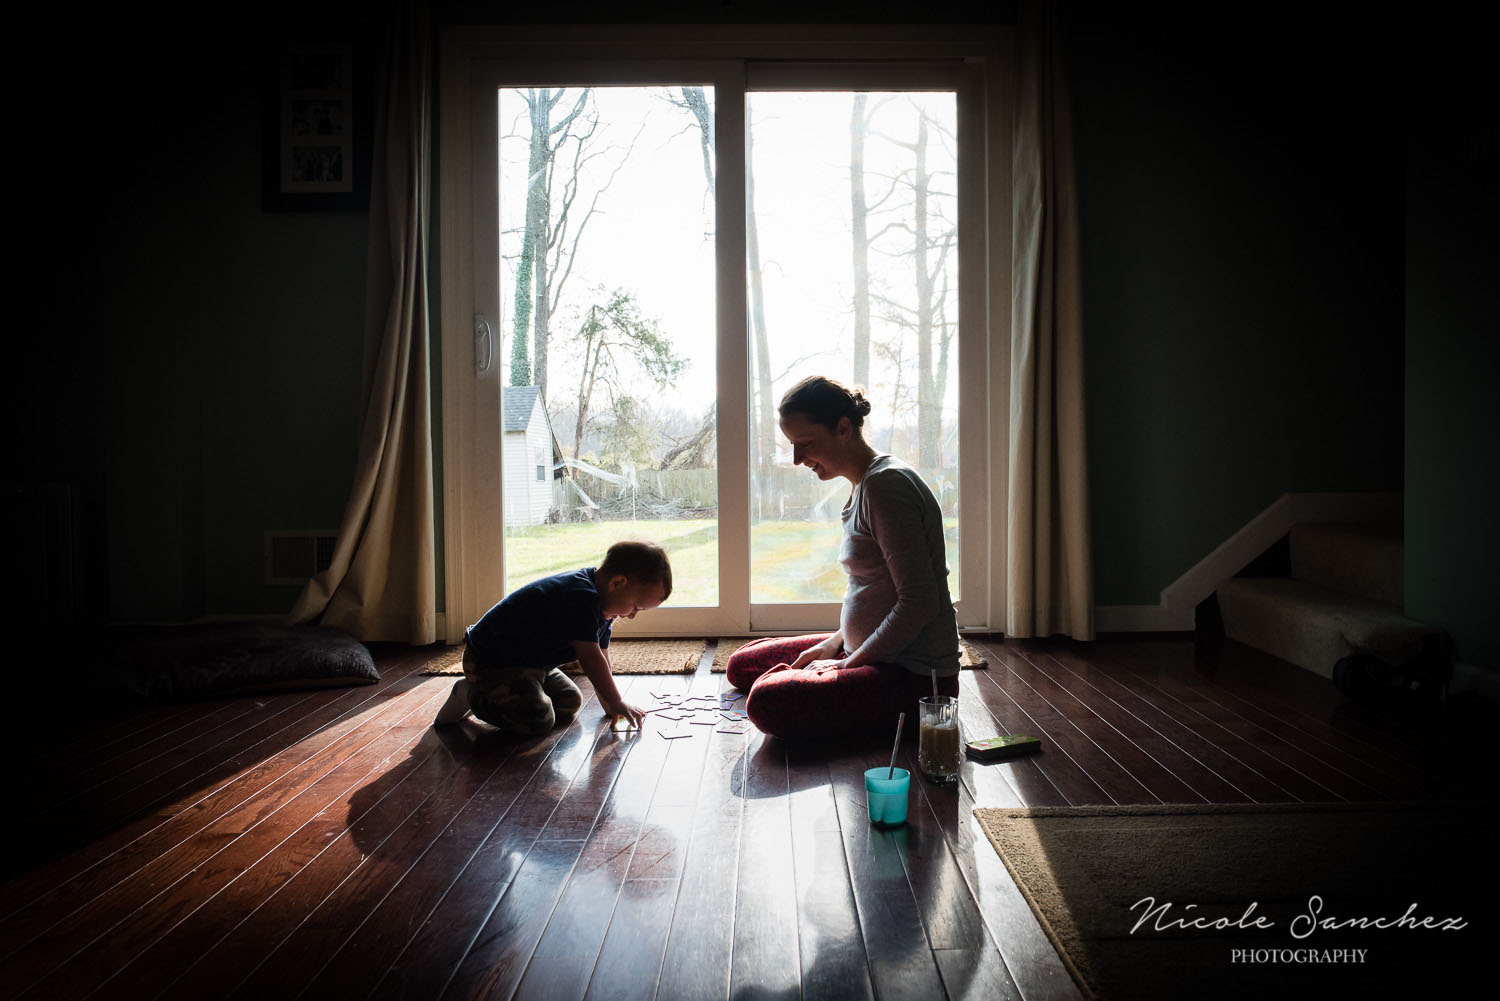
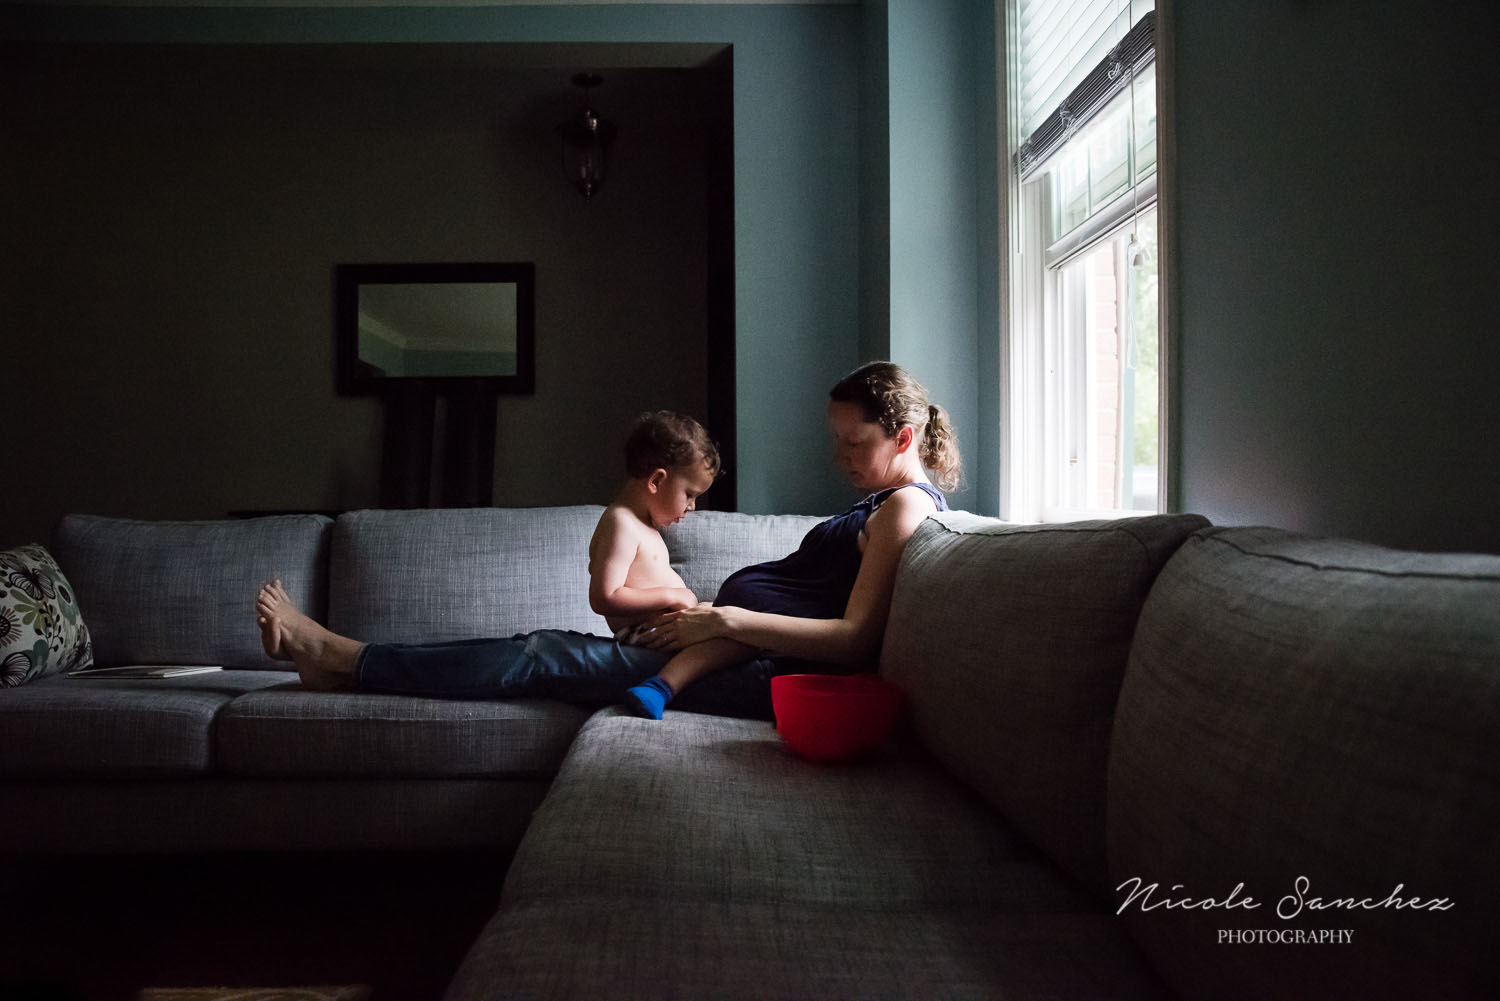
1. Find the light.  Inspiration, for me, is the one of the hardest parts of taking self-portraits. Coming up with unique ideas can be difficult.  I found that starting with the light can be the easiest way to get inspired.  Find a place with pretty light and go from there.  This could be the morning sun coming in through the bedroom window. Or softer, mid-afternoon light, perhaps in the very same window.  You can change up the perspective to make the images unique.  

Maternity Self-Portrait | Afternoon Window Light | Northern Virginia Family Photographer

Or, it may not even be natural light at all.  You can get creative with artificial light as well.  It helps to have your camera and tripod ready to go any time inspiration strikes.  There were many times I wasn't even planning to take a shot, when I saw the light and just went for it.

Maternity Self Portrait with Ice Cream by Artificial Refrigerator Light

Start observing the light in your house throughout the day.  Notice where you see it and how it changes, which brings me to my second tip...  

2. Keep a notebook.  You may not always have the time to stop what you're doing and take a picture, so keep a notebook (I also love using the Evernote app on my phone) and write down ideas as they come to you.  It's especially helpful to note the time of day you see especially nice light. It can change quickly during the day (and with the season too).  Pay attention to others' images you see as well, whether you follow any photographers on social media  (Alice Che is wonderful at self-portraiture) or you're thumbing through a magazine.  Inspiration doesn't have to come from strictly maternity shots, or even self-portraits.  Just look for images that you find appealing and try to make them your own.

Maternity Portrait Inspiration | Northern Virginia Family Photographer

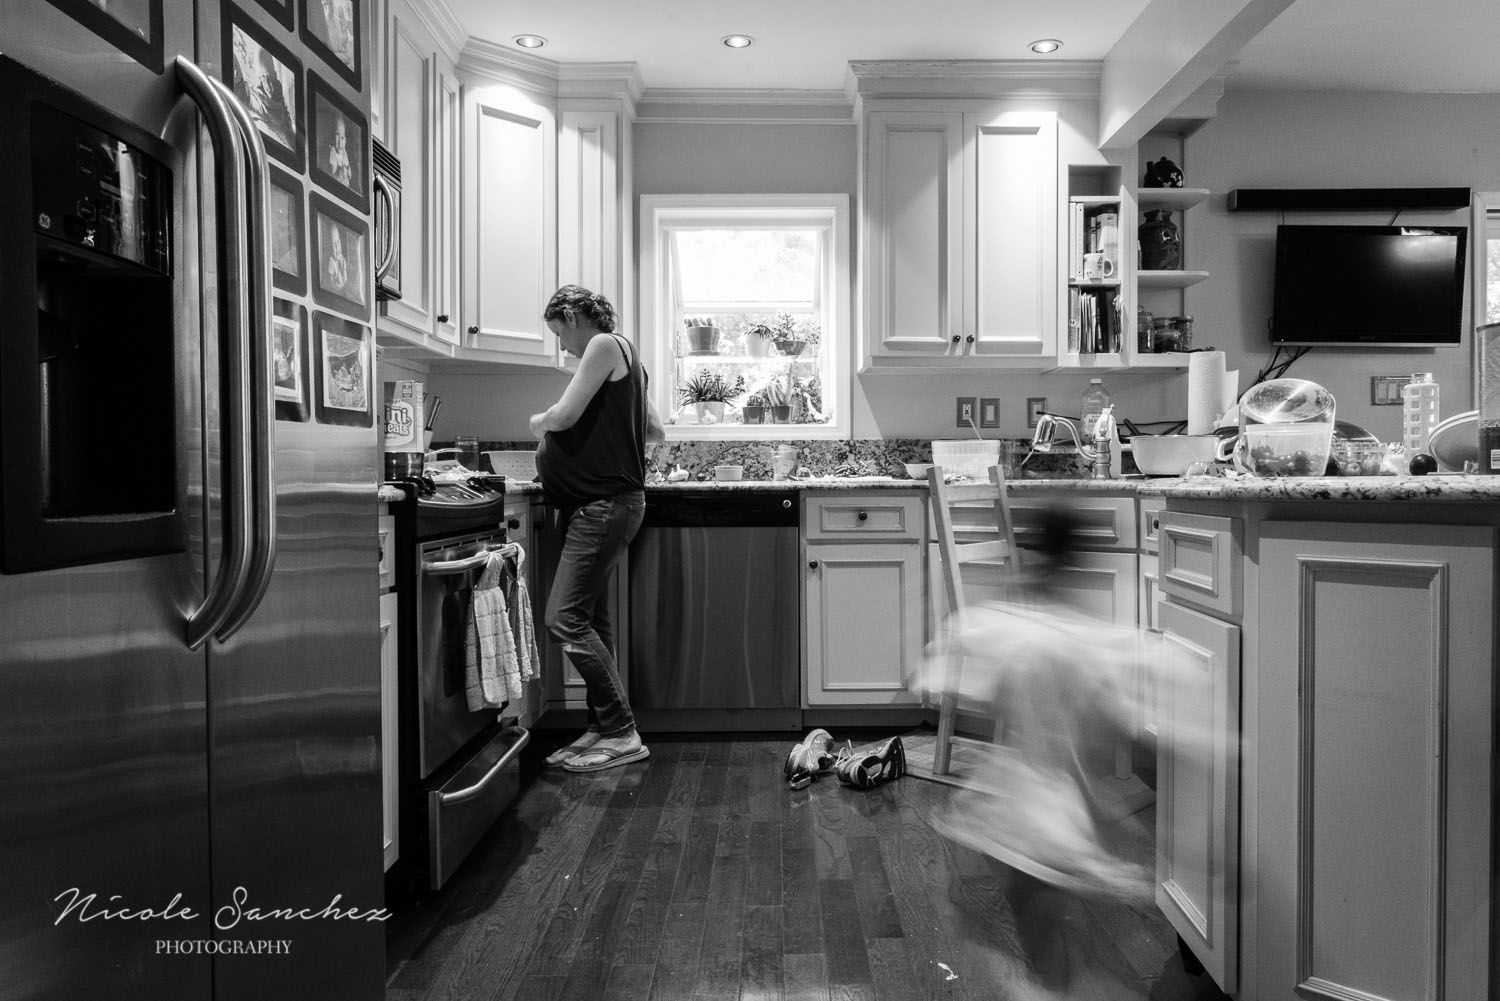
3. Be flexible.  You may have an idea for the perfect shot in your mind, but it's just not happening.  Maybe your cat keeps getting in the frame.  Or your child just isn't interested.  Go with the flow.  With my son, I often started with whatever activity he was interested in doing at the time and asked him to do it in a place with good light.  Whether it was reading on the bed or on the couch, or playing Legos on the floor, he was much more interested in (and sometimes not even aware of) taking pictures when we were doing an activity that he was interested in.

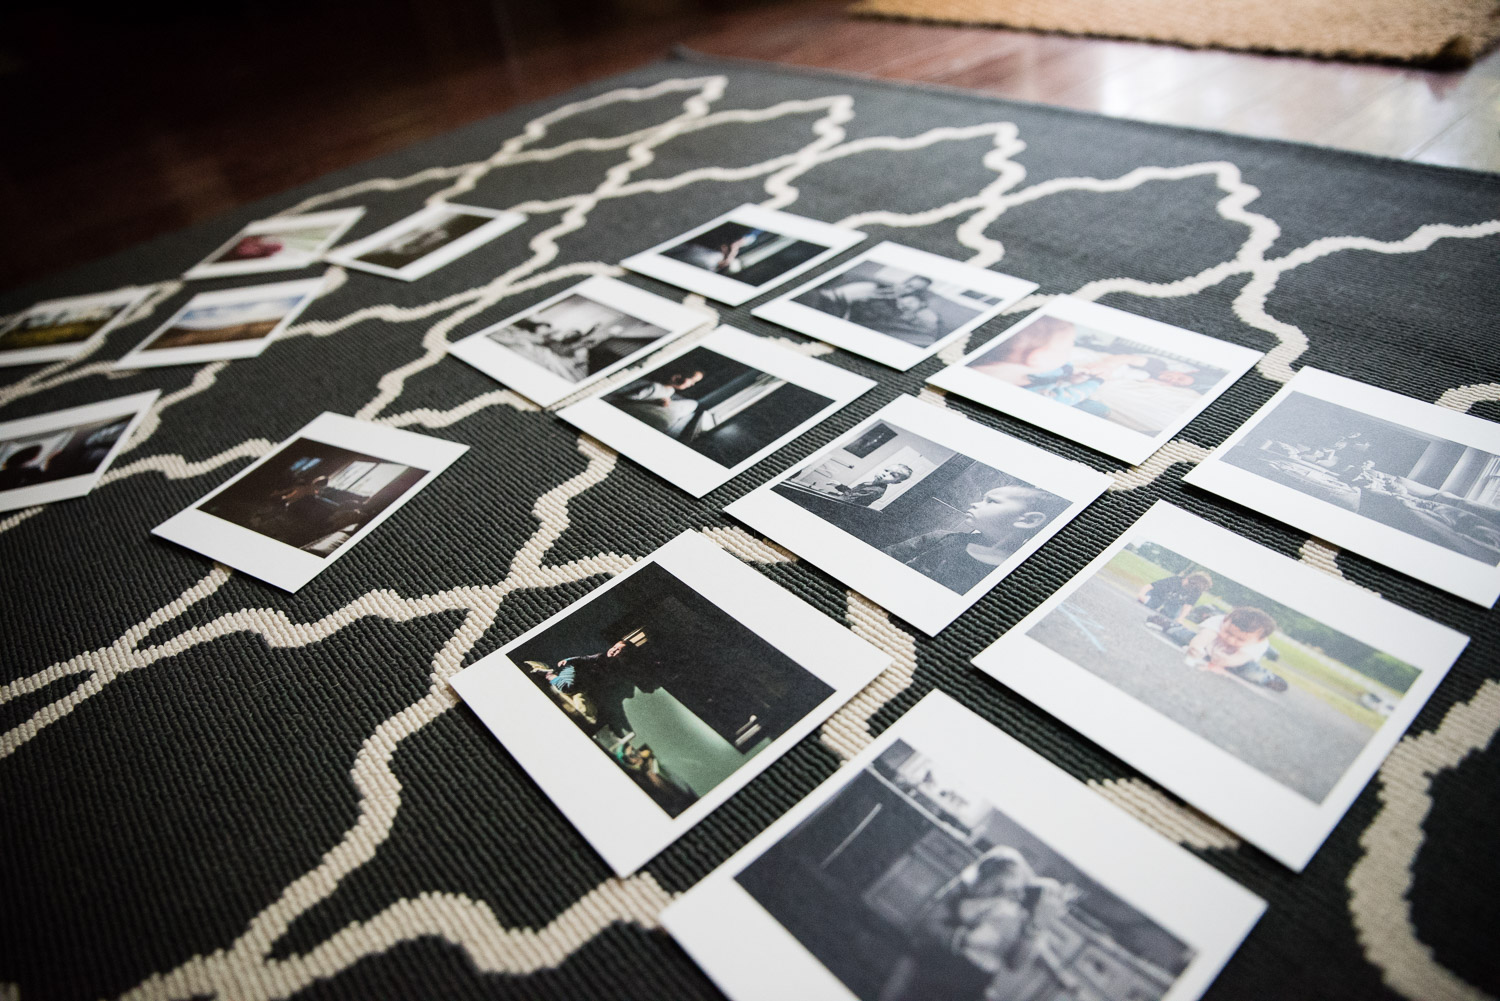
4. Keep trying. Not every idea for a shot works out. Sometimes it's a matter of adjusting (waiting for better light or changing the perspective). And sometimes it may not work no matter what you try. I took a lot of shots that I didn't include in this post.  While they may not be share-worthy, they're still keepers and were worth the effort. Because I know my kids will appreciate them despite any flaws I see.

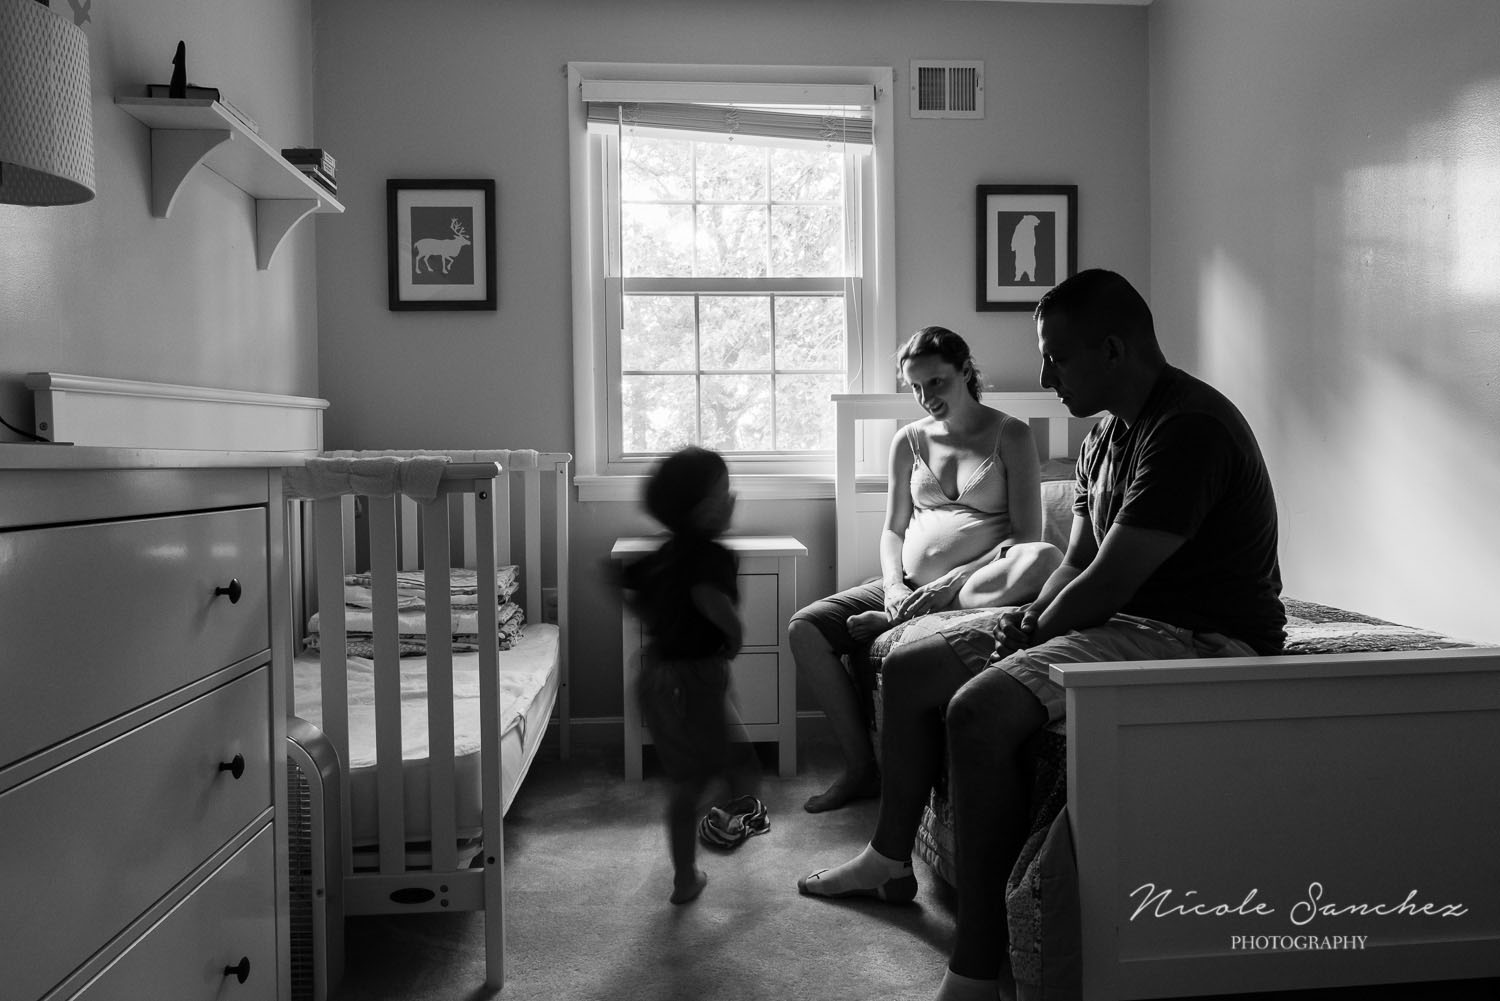
Now that I've had my second son, I'm having fun getting in the picture with him too. I'll be sharing more self-portrait tips in a few weeks, so come back to visit or join my mailing list to receive tips on documenting your family life straight to your inbox.. 

Print Your Photos - Part I Follow-up | Northern Virginia Family Photographer

Life has been a bit busy around here lately with normal summer fun and planning for Baby #2's imminent arrival.  I'm not usually much of an interior decorator (or housekeeper, for that matter), so I've been enjoying the nesting phase and making some plans for maternity leave projects. One project is to get more pictures printed to display in our house.  So I look forward to sharing some of those tips in the coming months.

Today I wanted to follow up from my first post on printing your photos with another example using Artifact Uprising's square prints.  I loved the idea of using fun clips as holders, but I was having a hard time figuring out where to put them.  Between an adventurous toddler and two curious cats, there aren't many places that are free from curious paws.  We'll see if I've found success, but in the meantime, I'll enjoy a couple more areas that now have a more personal touch.

Print your photos | Northern Virginia Family Photographer

I can't believe I haven't put family prints in the nursery yet.  Even though we don't spend a lot of time there, the room seemed a little generic without any real family reminders, so having these prints, especially of my son and us make the room much more homey.  And I love that I can switch them out whenever I feel the urge.

I also decided to add a few non-family images to the guest room.  Since these are on the dresser, I imagine they're most likely to be knocked down (and possibly cause annoyance to our guests as they're a bit of a pain to stand up and keep aligned :-/ ).  So I'll be on the lookout around the house for more out-of-the-way areas...

Just as I mentioned last time, Artifact Uprising isn't sponsoring this post in any way, I just love the convenience of their prints and that I can get them practically free with their occasional codes.  I promise to share the code on my Facebook page next time I come across one, so give my page a like if you want to be in on it too! 

And if you'd like to stay in touch with other printing and photography tips, sign up for my newsletter below! 

Happy printing!

Print Your Photos - Part I | Quick and Easy

We document and share our daily lives through pictures more than ever before, but we’re printing less of them.  It’s almost as if having so many images (smart phones, tablets, cameras…) to choose from makes it harder to decide on any to print at all (at least that’s my personal dilemma).  And who has wall space for all those prints?  I'm not arguing printing ALL our photos, but there are few excuses to at least print more of them when we have access to so many different (and easy!) printing options today.  Online photo labs are inexpensive and quick and innovative companies make it even easier with smart phone apps that can automate the process for you, organizing your digital images and shipping products right to you. 

So, today I’m beginning a "Print Your Photos!" series sharing the reasons and ways I print and display my photos.  There are so many wonderful reasons to print your photos and I hope you’ll come away inspired both to print more of your own photos and share your ways of making the process easy and fun!

Print Your Photos Wall Grid | Northern Virginia Lifestyle Family Photographer

But, first, a plea.  Please, please back your photos up.  It’s super easy to back up smart phone photos for free and there are many options for backing up pictures on your home computer as well.  We all know (or are) a person who’s lost or damaged their phone or whose hard drive dies, losing all their images.  It’s especially heartbreaking when there are irreplaceable family photos lost.  So, please go back your photos up!

Okay, now that your droves of photos are safe in the digital realm – how often do you actually look at them?  It’s nice to have the Facebook timeline reminder of images you posted years ago, but that’s just the tip of the iceberg of meaningful moments in your life that have been abandoned to electronic memory storage.  There are some arguments why these files may not even be accessible years from now, but even if they are, will you be spending much time looking through them?  Not likely.  But you will appreciate being reminded of special moments while walking through your house putting away laundry or working (or playing) at your desk.  And think of how fun it will be looking through physical albums with your children or grandchildren, recounting the stories behind those moments years from now.

Framed prints and photobooks are both great ways to get images off your phone or hard drive and into your daily life.  I’ll share my ideas for both these options in other posts, but I want to start this series with my favorite quick and easy way to print images: Artifact Uprising’s square print sets.  If you post lots of images to Instagram like me, you might notice how fun it is to see all your images together on the grid in the app.  That’s what I find so great about AU’s square print sets.  Every few months I pick my most recent faves and, using their online application which connects to my Instagram account, I just drag and drop the ones I want to print, enter my promo code (more on that in a second), click submit, and I’m done.  A week or so later, my prints arrive and I get to figure out fun places to put them.  And AU connects to your home computer and other photo platforms just as easily as to Instagram.

Print your photos | Northern Virginia documentary photographer

I have them all over my cube at work and in front of my son’s car seat to keep him company. ;-)  I’ve used them to add a personal touch to gift wrapping.  And most recently, I created a grid on a not-so-pretty wall in our home office.  And the best part?  AU frequently has promo codes for free square print sets, so for the three sets I’ve ordered over the past six months, I’ve only have to pay for shipping.  [A quick disclaimer: I'm not being paid or receiving anything from Artifact Uprising for this gushing endorsement.  I just really like their prints and how easy the process is. :-)]

Pros:

-     Quick (set of 25 chosen and ordered in less than 5 minutes) and arrives within a week or so with standard shipping

-     (Practically) free, except for shipping, when you catch a promo code

Cons:

-     Not accessible to order via smart phone, so you have to order through your home computer

For fun, here's a behind-the-scenes look at how I created the gallery wall grid in my office. Artifact Uprising has a convenient blog post about other fun ways to display your prints, which is where I got this inspiration.  And I promise to post a code to my Facebook page as soon as I see the next one, so go like my page if you want in too!  Happy printing!