How to Make a Wood Block Photo Display | Northern Virginia Family Photographer

I've had these blocks planned for months and thought I'd give some to family with prints as Christmas gifts, but I didn't get around to making them in time.  It turns out, they didn't take much time at all. And now, I have them ready in time for Mother's Day gifts (if I remember to mail them). :-)

Here's what you need:

How-to-make-square-wood-photo-block-display-Nicole-Sanchez-Photography (2).jpg
  • square wood blocks cut to size for your print (see note below)
  • wood conditioner
  • wood stain in your color of choice
  • paint brushes
  • rubber gloves
  • old rags/cloths
  • sand paper
  • clips
  • hot glue or super glue
  • saw tooth picture hangers
  • mineral spirits (or paint thinner for cleanup)

A note on the wood blocks. We had them cut at Home Depot.  I knew I wanted to use them for my 5x5 prints, so I asked (actually my husband was the one who went on the Home Depot run, so I had him ask!) for 6x6 blocks cut to be cut from a plank.  We ended up with 12 and a few of those were a bit oddly sized. 

Here's what to do:

1. First sand any rough edges on the wood and wipe away any dust. I went over all edges and corners with a sanding pad.  This isn't entirely necessary depending on how smooth the edges are on your blocks and whether you want a bit of an "aged" look.  I did, so I sanded all around.

2. Put on your rubber gloves to protect your hands and make sure you're in a well-ventilated area or outside (I wouldn't do the staining process inside because of the fumes.)

Use a paint brush to apply wood conditioner to the plaque. Allow to rest for 5-10 minutes, then wipe off any excess with a clean, dry cloth. In my case, I took the dog for a walk and by the time I got back there was no need for wiping.

3. Next, the staining. But first a note: It's useful to do a bit of testing on an extra piece of wood to determine how long to leave the stain on and how many coats you need to apply to get your desired color.  It lengthens the process, especially if you wait for the test piece to dry, but it's worth it to ensure your end result has the color you want.  I went with only one coat on these blocks, but any imperfections in the wood are fairly apparent, so if that's a concern for you, you might choose to go with a darker stain or more coats.

Apply a coat of stain with paint brush. I used one coat of Minwax Ebony and let rest for about 15-20 minutes.  Then, wipe away excess with cloth and let dry. (Mine rested for several days before I was able to get back to them.)

4. Apply wax coat. I wanted something a bit different than the sheen of varnish to finish the wood (see my vacation photo display tutorial). I loved the idea of a matte finish to work with the matte square prints, so I went with a finishing wax.

How-to-make-square-wood-photo-block-display-Nicole-Sanchez-Photography (6).jpg

I scooped some of the wax into a double-folded cheesecloth and went over the blocks until they were coated.  After a couple of hours (though I think they were probably dry in about half an hour), I wiped down the wood with a clean cloth (okay, it was an old sock).  

5.  Next, attach the saw tooth picture hangers.

6.  Measure and attach the picture clips to the other side of the board.  I tried hot glue first, but the clips popped off too easily when I inserted the print, possibly from the wax finish, so super glue ended up a better option for me.

7.  Add your prints and display happily!  I'm looking forward to sharing these for gifts!

How-to-make-square-wood-photo-block-display-Nicole-Sanchez-Photography (9).jpg
How-to-make-square-wood-photo-block-display-Nicole-Sanchez-Photography (10).jpg

Did you enjoy this tutorial?  Check out my free guide 4 Steps to Stop Time and Savor the Moment with Your Family.  It's a simple and fun plan for documenting your family's life with beautiful photographs.

How to Make a Wine Cork Photo Stand | Northern Virginia Family Photographer

I have a bag of wine corks that has followed my husband and me through three living spaces and two moves. I had every intention of taking it to the nifty wine cork recycle bin at Whole Foods. My husband told me it would never happen and that we should just throw the corks away. Well, he was right. But I got the last word! At least about three of the corks, anyway. :-D
Bag of wine corks by Northern Virginia Family Photographer Nicole Sanchez

I'm always looking for fun ways to display my prints, especially my square prints, which don't lend themselves to framing. So when I came across wine cork displays for wedding seating arrangements on Pinterest, I thought they would be perfect for pictures. 

Here's how I did it:

What you need:

- wine corks

- small pot (steamer optional) and stove

- small hand saw (recommended) or serrated knife

- large binder clip (optional)

- photos

Using hand saw to cut cork by Northern Virginia Family Photographer Nicole Sanchez

What to do:

Cork on table by Northern Virginia Family Photographer Nicole Sanchez
Corks steaming for photo project by Alexandria, VA Family Photographer Nicole Sanchez
Using a hand saw to cut cork by Alexandria, VA Family Photographer Nicole Sanchez
  1. Steam your corks. This softens them up a little and prevents the cork from breaking into pieces when you cut it. 15-20 should do the trick. If you don't have a steamer, you can also boil them. This is especially good if you want to remove the any wine stains from the cork.
  2. If you have a binder clip large enough to slide over your cork, use it to help secure the cork while you're sawing. I didn't have one, but my fingers would have felt safer with one. 

    Next, use the hand saw to slice off enough cork to leave a flat bottom for a secure stand. You could also cut the cork in half to make two stands, if you like. While you could use a serrated knife, I recommend a hand saw if you have one. It takes a surprising amount of pressure and sawing to cut through the cork. Or maybe my blade was dull. Either way, just be mindful of your fingers!

  3. Once you have the bottom of the stand shaved to your liking (it may take a bit of adjustment), use the saw to make a slit in the top of the cork. I made mind right in the middle. You may need to make the slit wider or deeper depending on your photos.

  4. Insert your photos and display proudly! Then figure out what crafty things to do with the rest of the corks in your bag. :-)

Close-up of cork photo stand by Northern Virginia Family Photographer Nicole Sanchez
Photos in cork photo stands by Alexandria, VA Family Photographer Nicole Sanchez

Do you have any fun photo display hacks? I'd love to hear about them in the comments (and maybe feature them here in another tutorial)!

Sign up for my newsletter below to receive tips on other fun ways to display your photos.

How to Make an Awesome Vacation Photo Display | Northern Virginia Family Photographer

I came across Melissa Stottman's vacation photo display tutorial while I was on vacation last summer and knew it would be the perfect way to showcase a little piece of our family reunion in Montana. I also knew the displays would make perfect Christmas gifts for our family and couldn't wait to make them. Except that I did wait...until almost the last minute.  After a bit of trial and error (I've never stained wood before) and a few extra trips to Lowe's and Michael's, I happily finished then this week and love the way they turned out. Now I just have to remember to ship them in time for Christmas! Here's everything you need to know to make an awesome vacation photo display.

Awesome Vacation Photo Display | Northern Virginia Lifesyle Photographer

Materials Needed:

  • wood plaques (these were $1.29 at Michael's) large enough to fit your print and any mementos you want to include
  • vacation memento. I used rocks to remember how much fun my son had throwing them in the lake. You could also use a vial of sand like Melissa shows in her tutorial. Or something else entirely!
  • photo of your choice
  • printout with location and date info, if desired
  • wood conditioner
  • wood stain in your color of choice
  • paint brushes
  • rubber gloves
  • old rags/cloths
  • sand paper
  • mod podge (I used satin finish)
  • hot glue gun
  • saw tooth picture hangers
  • mineral spirits (or paint thinner for cleanup)

After testing a couple of colors, I went with Minwax Ebony. I also learned after testing that unfinished wood can be soft and porous which can lead to blotchy staining, so pretreating with a wood conditioner is a good idea. 

1. First sand any rough edges of the wood and wipe away any dust. Put on your rubber gloves to protect your hands and make sure you're in a well-ventilated area or outside (I wouldn't do the staining process inside because of the fumes.)

Unfinished wood plaque with can of stain and paintbrush | Alexandria VA family photographer

Use a paint brush to apply wood conditioner to the plaque. Allow to rest for 5-10 minutes, then wipe off any excess with a clean, dry cloth. 

2. Next, the staining. But first a note: It's useful to do a bit of testing on an extra piece of wood to determine how long to leave the stain on and how many coats you need to apply to get your desired color.  It lengthens the process, especially if you wait for the test piece to dry, but it's worth it to ensure your end result had the color you want. 

Within 5-10 minutes of applying wood conditioner, apply a coat of stain with paint brush. I used one coat of Minwax Ebony and let rest for about 10 minutes.  Wipe away excess with cloth and let dry. (I let rest until the next day.)  Use the mineral spirits to clean your brush.

4. Once dry, you're ready to assemble everything else.  It's helpful to arrange everything on the plaque before you start gluing to make sure everything fits.  When you're ready, apply a thin layer of mod podge to the photo and place on plaque. Allow to dry.

materials in place for making photo display | Northern Virginia documentary family photographer

If you want to include a bit of info about your vacation, add that next. I printed the location and date of our trip, cut to size, and secured with a very thin layer of mod podge mod podge to prevent bubbling. I printed mine on regular letter paper (I tested three font sizes and 14 worked best for me), but you might try something thicker if you have it to prevent it from bubbling up when you glue it.

acation info disply | Alexandria Virginia family photographer

5. Before starting this next step, it can be helpful to ensure you have a clean workspace, free from any dust or pet hair (ahem, cat-who- insisted-on-assisting-me).  Once you start applying the mod podge, it's difficult to remove any dirt or stray hairs without smudges.

Apply thin layer of mod podge over entire plaque, including print. Be careful to go very thinly over printer paper. Mod podge dries very quickly, so when going over the photo, I found it helpful to be pretty liberal with the application and move quickly. If you start with the photo you can push any excess to the edges and use on the rest of the plaque. It will look cloudy at first, but will turn clear as it dries, which takes less than half an hour. 

od podge drying on wood photo  display | northern virginia family photographer

6. Next, use a hot glue gun to secure your memento(s).

7. Finally, secure a saw tooth hanger to the back of the plaque and hang proudly! 

ttaching sawtooth picture hanger | northern va lifestyle family photographer
inished vacation photo display hanging on wall | alexandria virginia lifesyle family photographer

inished vacation photo display hanging on wall | alexandria virginia lifesyle family photographer

Aside from the staining process which took a bit longer due to testing (and that I've never stained wood before) this was a really quick process and super easy.  Check out Melissa's tutorial to learn how to make a display using paint and a sand vial. And please come back to share if you make one yourself.

Sign up below for my email list to receive more ideas for how to display your photos and tips for documenting your family.
 

Five Tips for Documenting Your Newborn | Northern Virginia Family Photographer

I've always been interested in photography, but I finally decided to learn how to use my camera when I wanted to take pretty photos of my first-born son. After he was born, I found myself wishing I had hired a photographer to capture all those cute newborn details and squishy newborn poses. I tried (and failed!) to get the Pinterest-worthy baby pictures (although I have a ton of baby pictures I wouldn't trade for the world). 

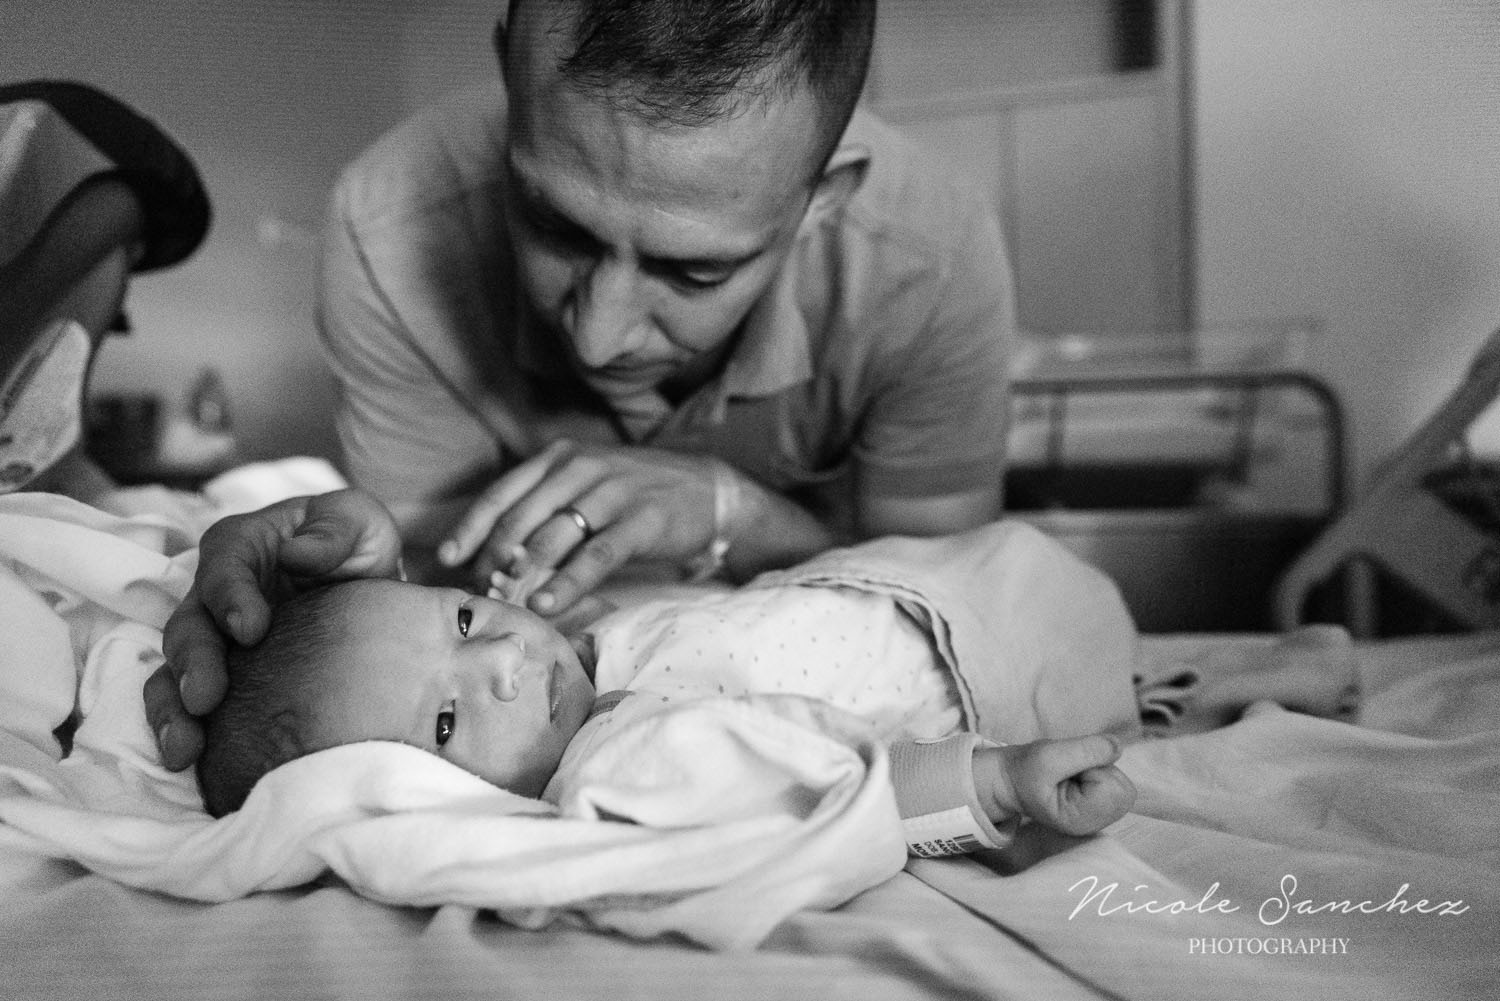
I've had a lot of practice since then, and while I did hire a photographer to document our birth and time at the hospital this time around, I couldn't hire a photographer to live with us for the first month, so during my pregnancy, I made note of the ways I could document the newborn phase myself.  

Here are a few tips based on my experience:

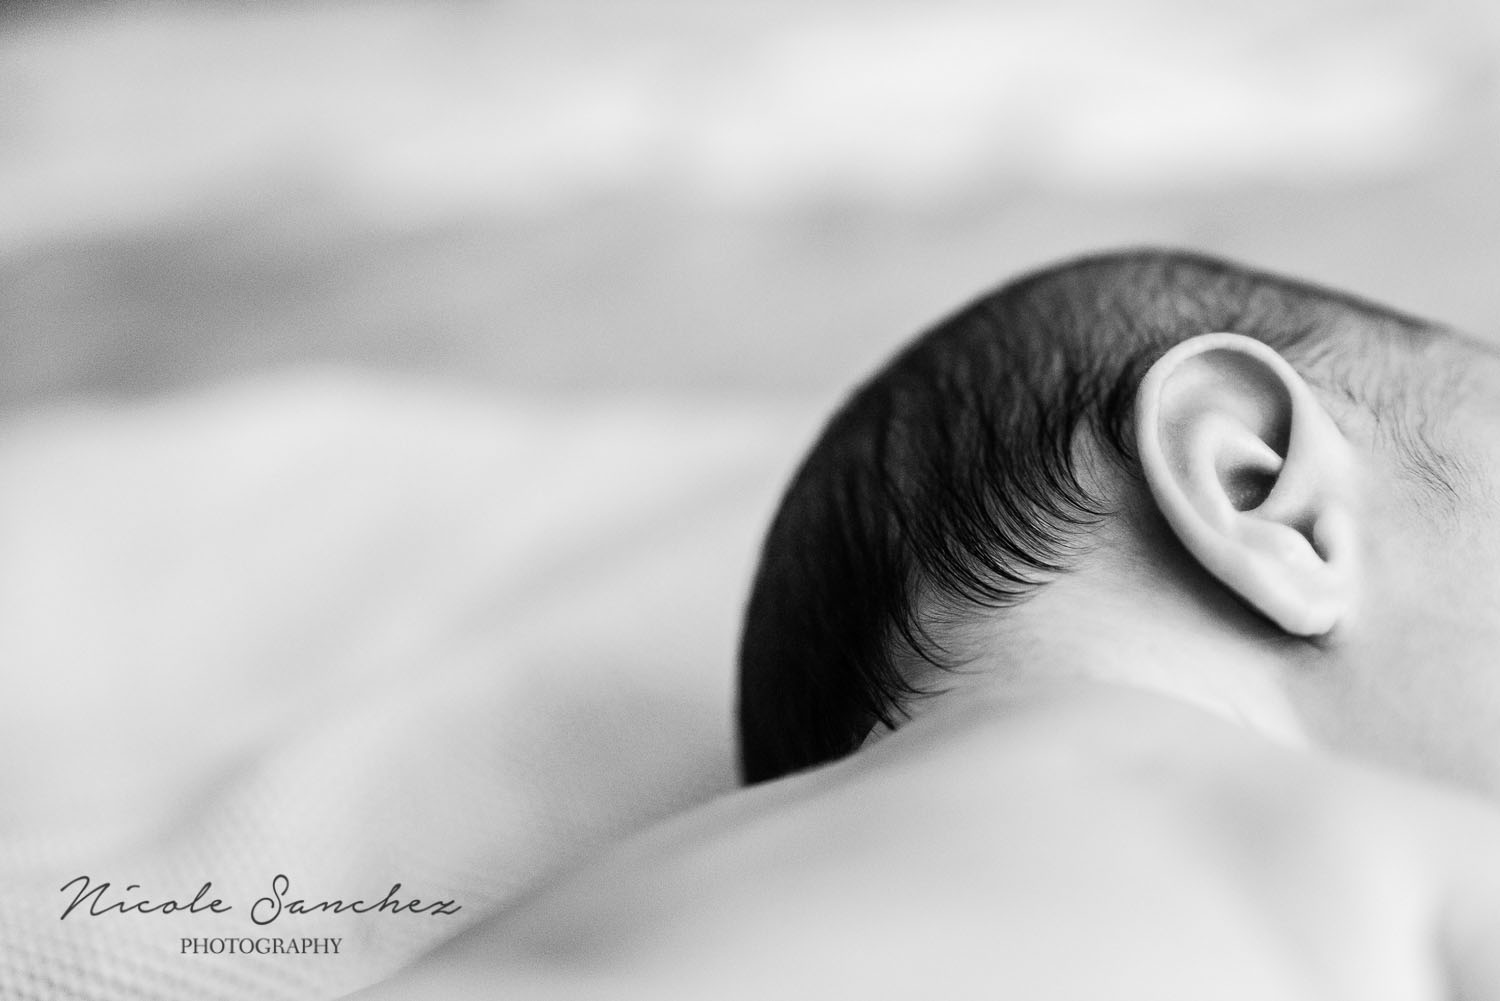
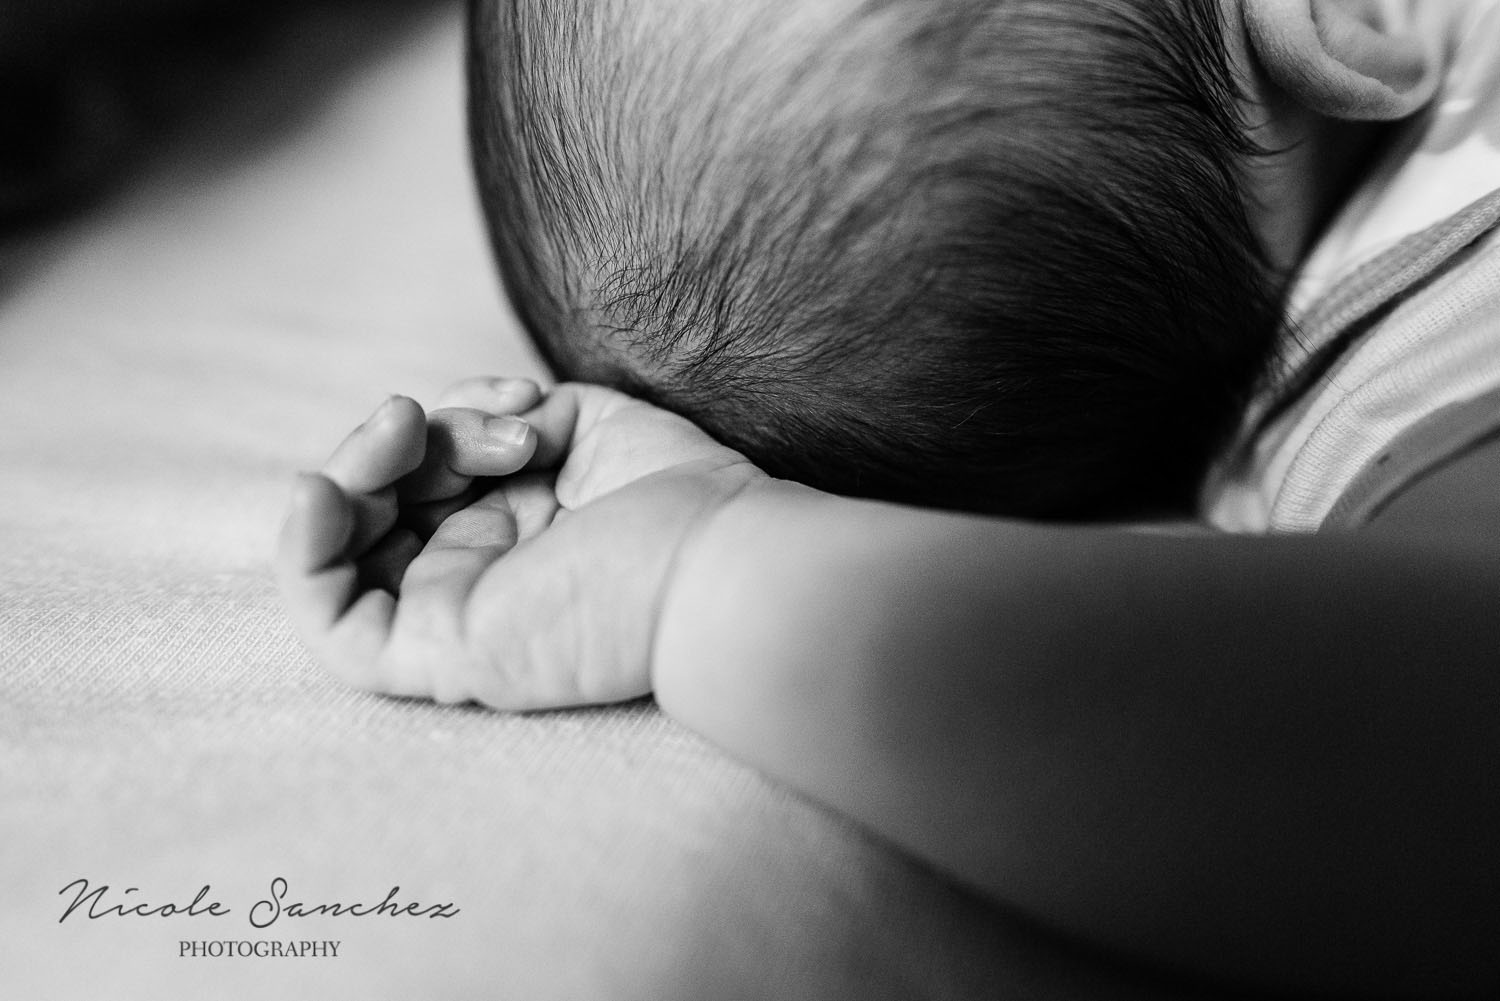
1. Details - My photography interests and style have changed from traditional posed portraits to candid, documentary and lifestyle images, but capturing details is still a must.  Who doesn't swoon over baby toes? :-) But details go beyond baby toes and fingers. It's important to give attention to moments when you feel that little pang of sentimentality - when you know you're seeing something you will want to remember. Something that will be brief and forgotten if you don't capture it. Which brings me to my next tip.  

Documenting Newborn Details | Northern Virginia Family Photographer

2.  Pay Attention to Moments - While the images above are indeed of details, the idea of paying attention to detail is important across all the images in this post. Determining which moments are important to you and making note (literally sometimes, in my case - hello, Evernote) if you aren't able to photograph a moment right away, is key to documenting this time in a meaningful way.  I'll talk more about planning for images in a follow-up post on getting in the picture with your baby.

3. Go with the baby flow - Figuring out your baby is one of the earliest tasks of parenting and it isn't suspended while you're trying to get through your own personal photo shoot.  If your baby (or you!) just isn't feeling it, try again later.  It's helpful to make note of good areas of light in your house and when to find the best light in each area.  That way when you and baby are ready, you know where to go.

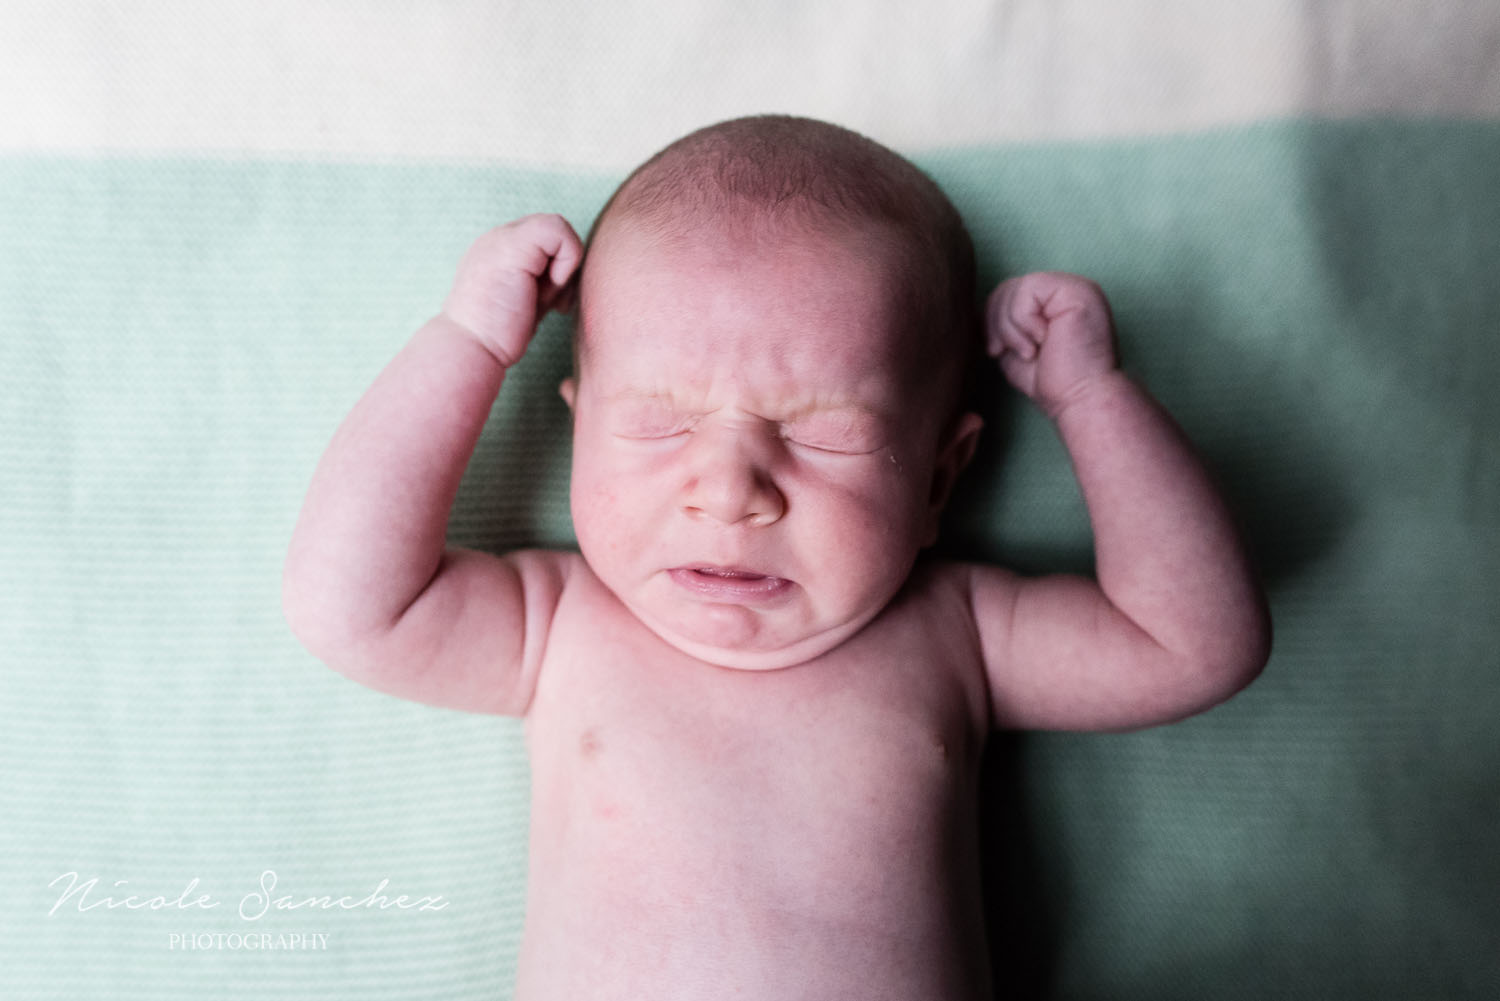
4. Happy and not - Not every moment is an easy one.  It wouldn't be parenthood without some stressful moments.  Own it.  Someday you'll look back on those moments and feel strength for having come through them.  It's part of the beauty of motherhood, so try to capture that in your images.

Crying, unhappy baby | Northern Virginia Family Photographer

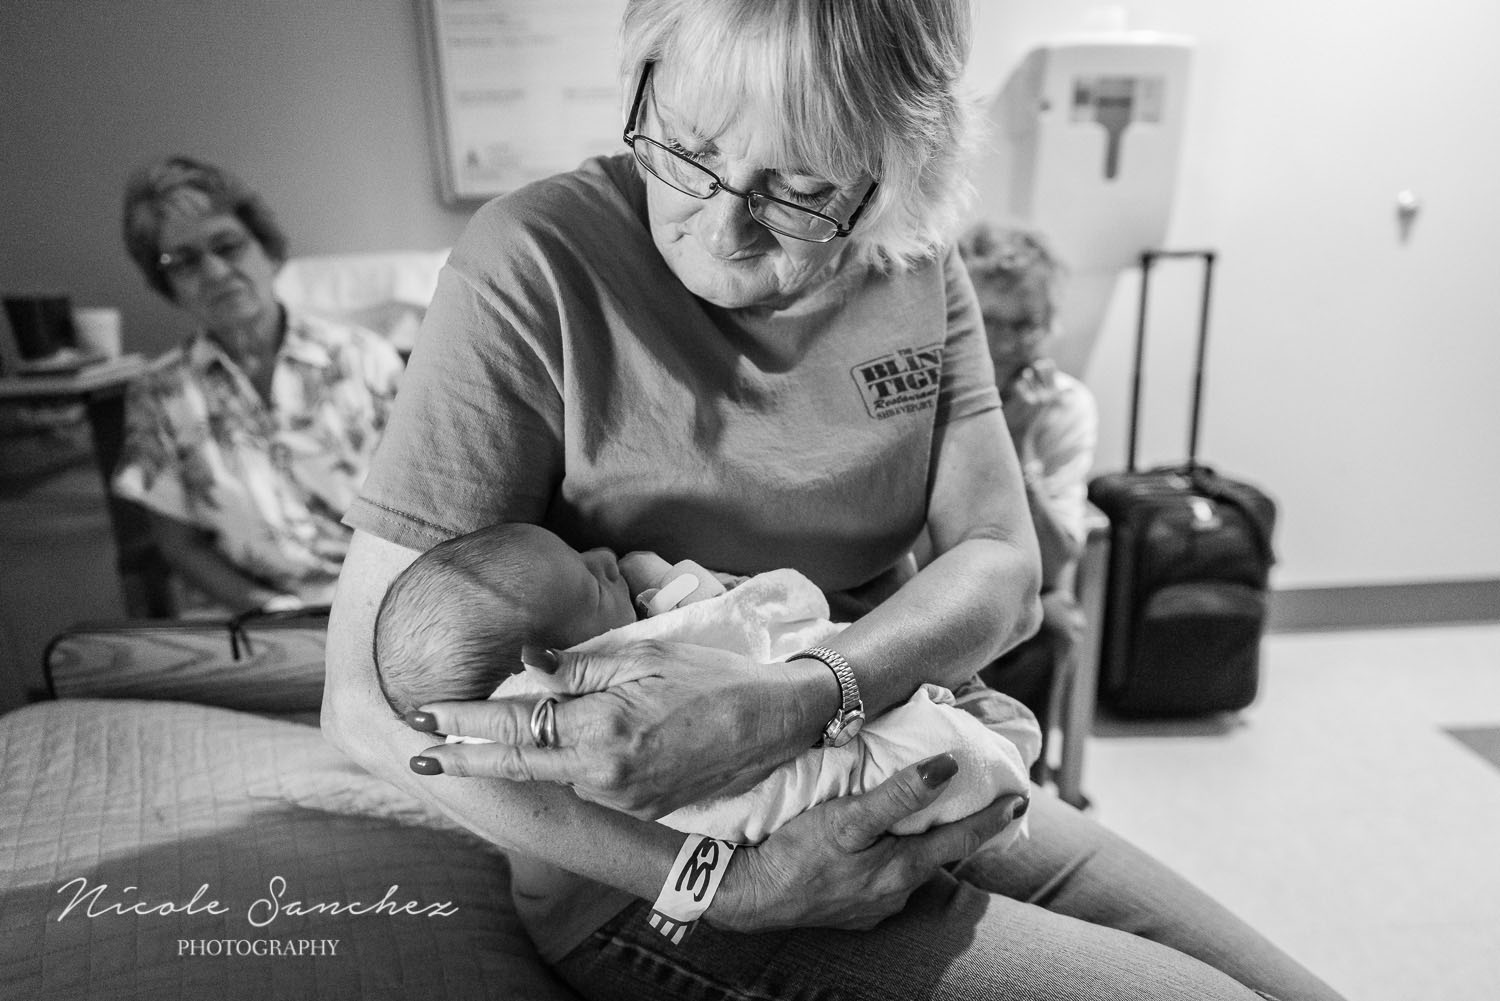
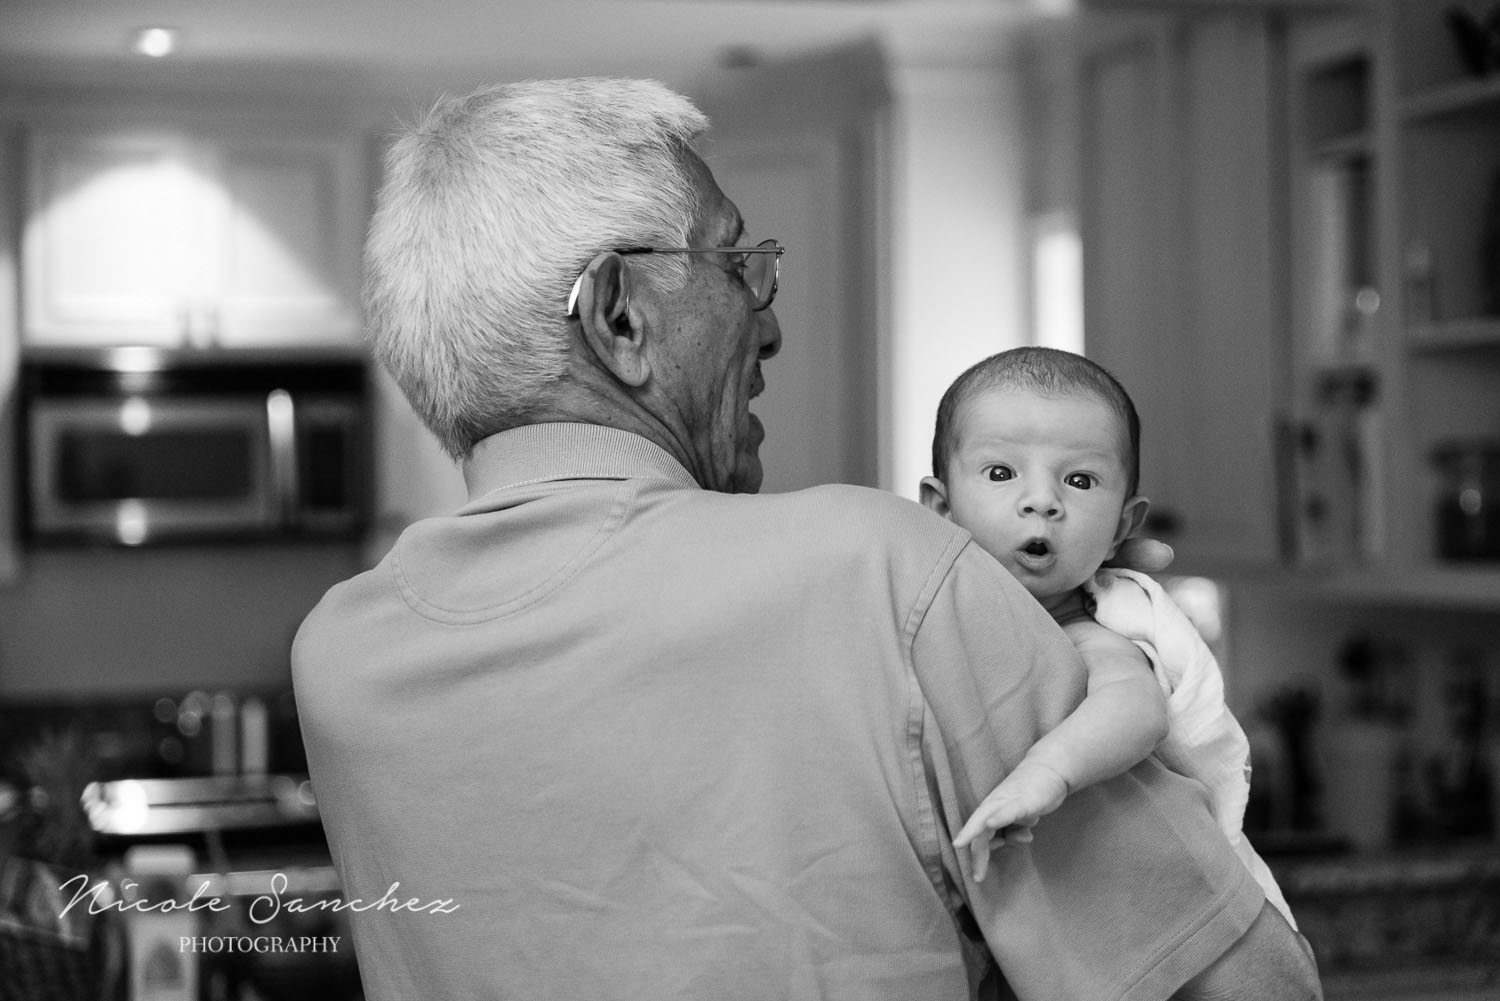
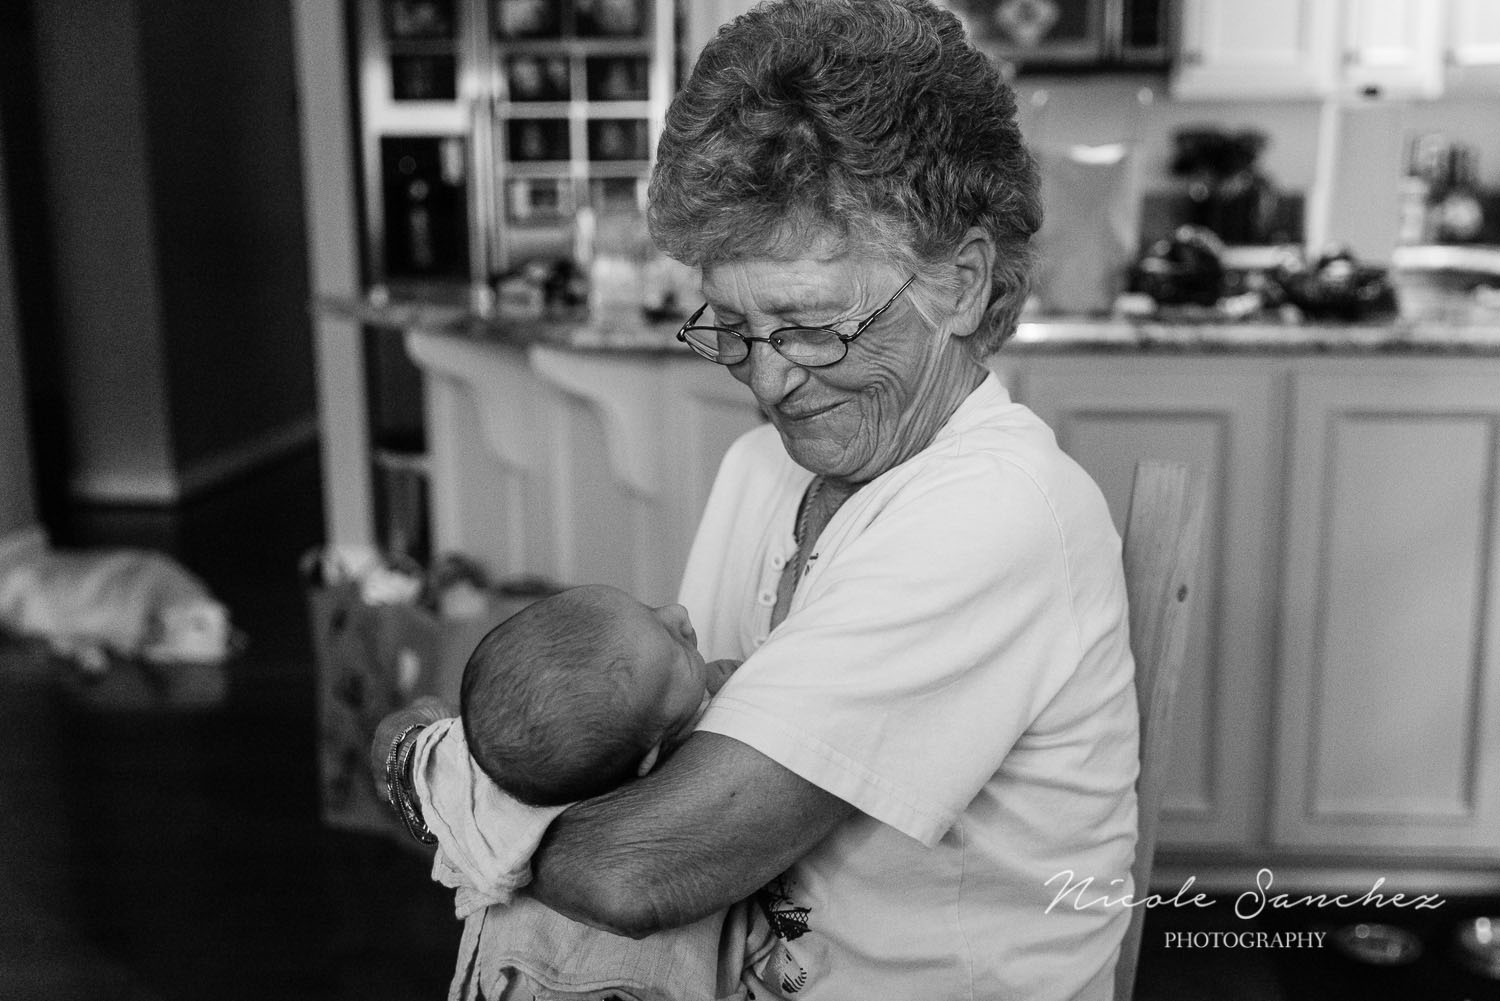
5. Remember family (but don't stress about it) - We were lucky to have many grandparents come to meet our new son and I knew I wanted to capture those special moments of them with our son. Especially in those early days, it was hard to balance caring for a new baby, engaging with family, and photographing it all at the same time.  So I made peace with the realization that I could not capture everything.  It's more important to just be present and take some down time to rest while others are there to help.  So put the camera down sometimes (or hand it over to someone else!) and don't feel bad about not capturing every moment.  

Newborn with Grandparents | Northern Virginia Documentary Photographer

Another note on the family front, I found it so hard to document moments of my 3 year old and newborn together. For one, 3 year olds move fast.  And while newborns do not move so fast, when you're behind the camera your reflexes aren't so great. So it was hard to think about all the usual composition aspects and camera settings while simultaneously protecting my newborn from his big brother's love. I didn't get many of these, but that's one benefit to the newborn phase - they grow quickly and become less fragile. :-)

Newborn with brother | Northern Virginia Lifestyle Photographer

Finally, I can't leave off without saying it: get in the frame. I'll share more tips in a later post about how to get in the picture with your baby, but for now, here's one of my favorites from the early days. 

Self-portrait with baby | Northern Virginia Lifestyle Photographer

Sign up for my newsletter to receive more tips on documenting your family.

Tips for Maternity Self-Portraits | Northern Virginia Family Photographer

I don't necessarily mind having my picture taken, although I'm not exactly comfortable in front of the camera. (I wouldn't have room to list all the ways I looked goofy in my school portraits growing up.) But when it comes to my family, and especially my kids, I want to exist in our photos, even when I'm not wearing makeup (and perhaps still in my pajamas.)   

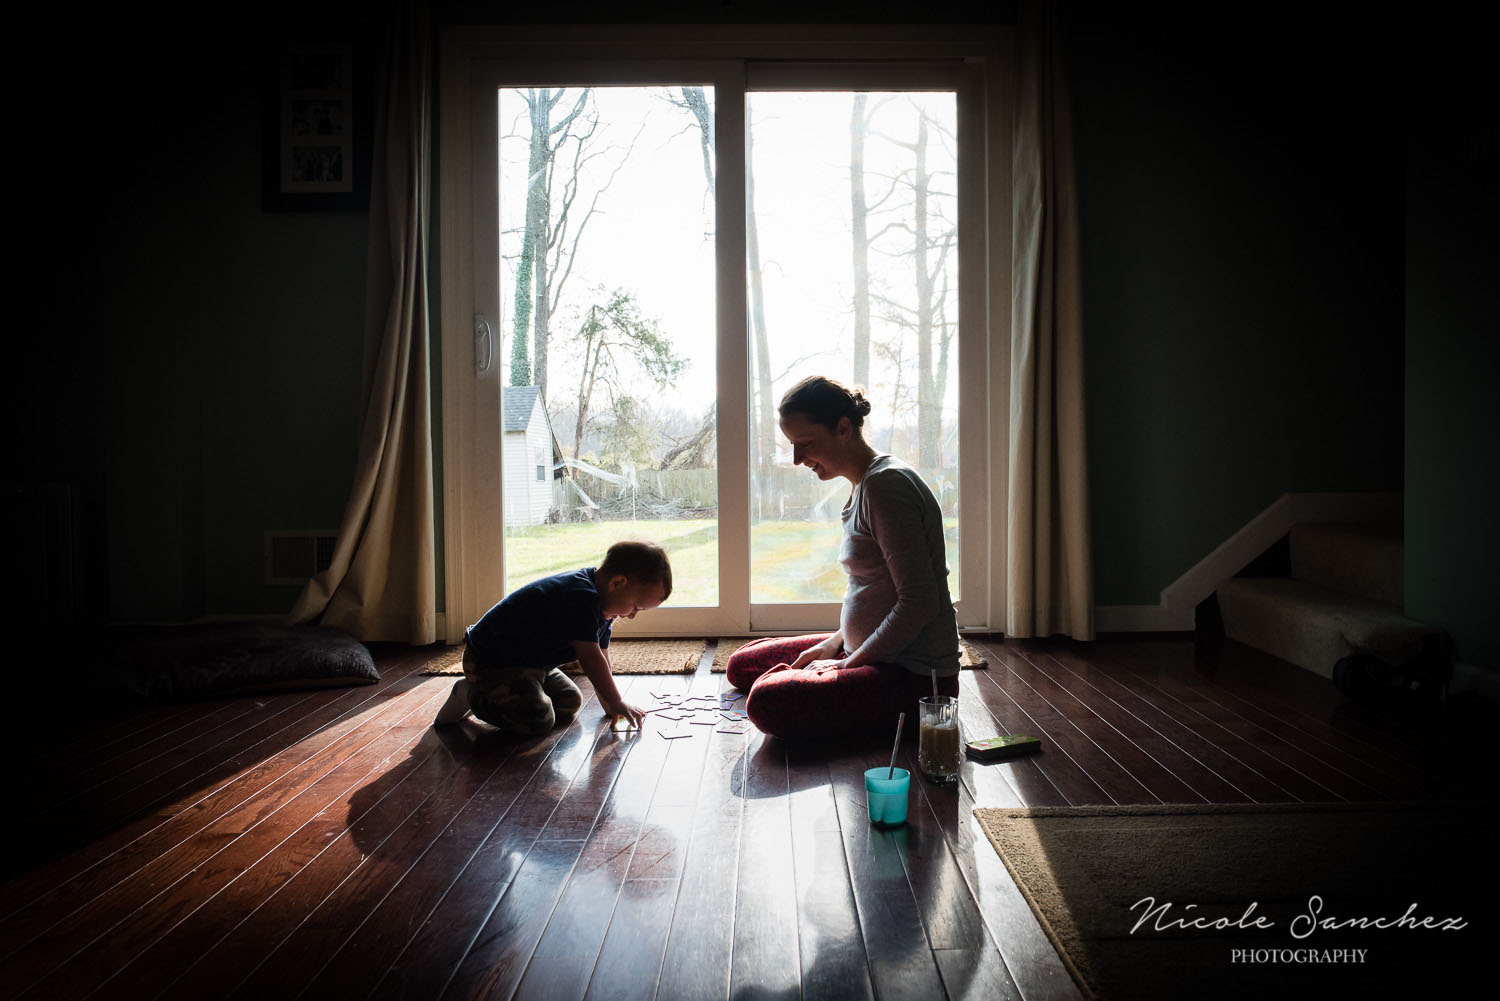
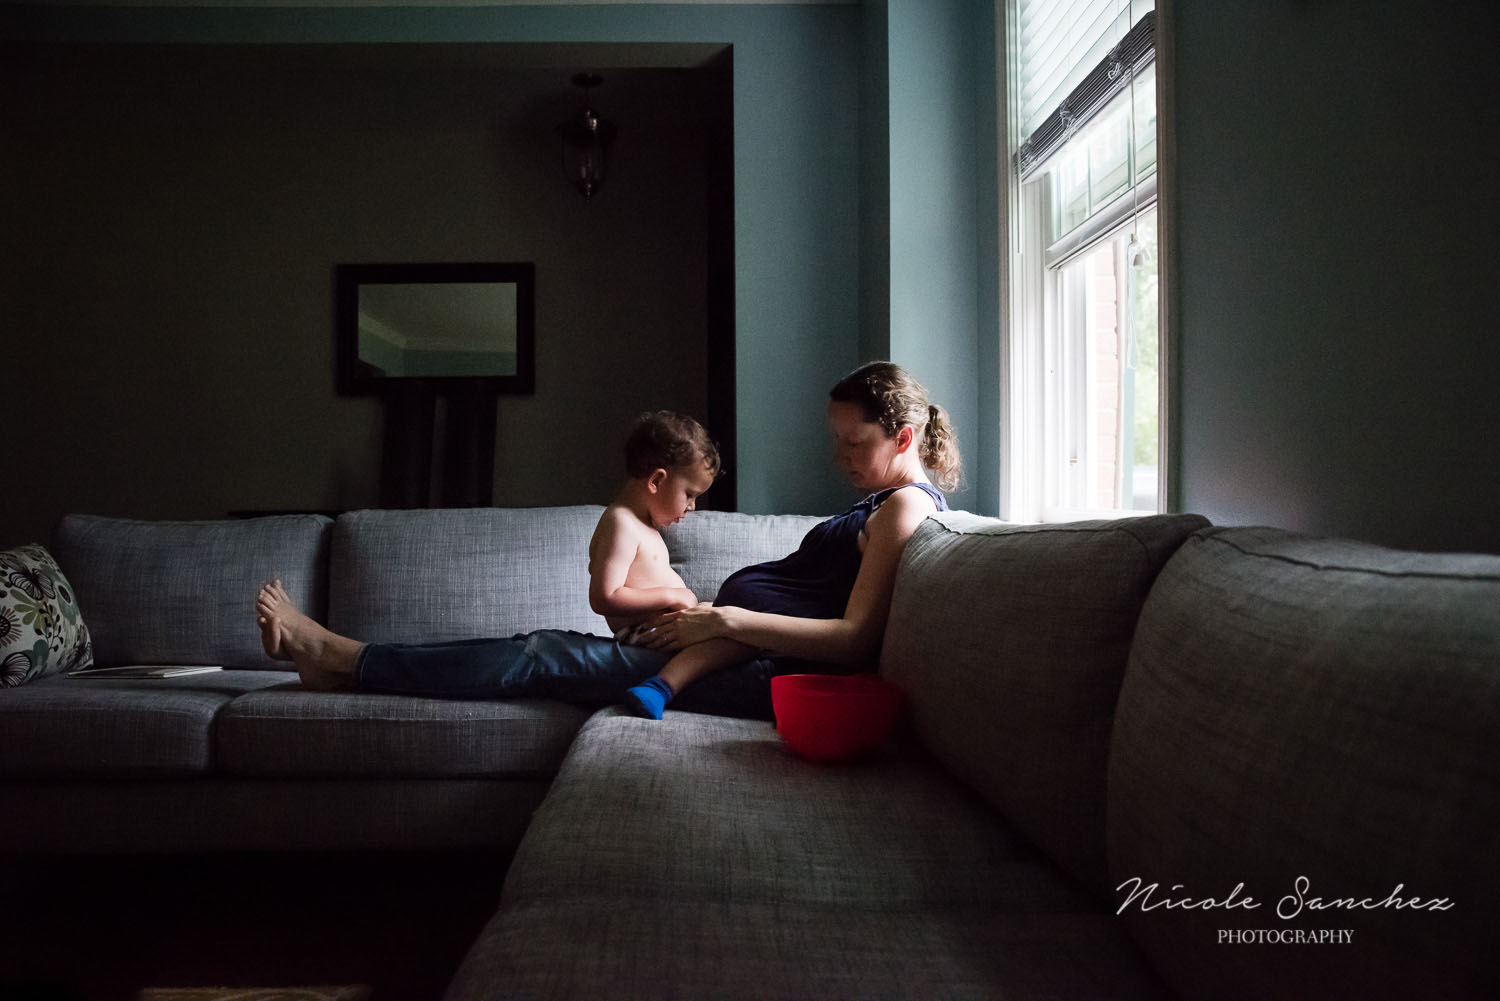
Self portraits were not on my list of things to learn when I started my photography journey.  I wanted nice pictures of my son and that naturally included my husband. But as I learned more and got to know other women photographers, I saw the beauty of self portraiture and especially that of women with their children.  I didn't take many bump photos when I was pregnant with my first son, so I resolved to do better when we got pregnant again.  

If you've never tried self-portraits (beyond the selfie feature on your phone), getting in the picture with your kid(s) is a great place to start.  Being with someone else takes away some of the awkwardness and you're naturally most relaxed (and looking your best) when you're with your family.  Once you've done a few self-portraits with your kids, you may find it easier to take some by yourself.

Here are a few tips I learned after nine months of maternity self-portraits (and some of my favorite images). And for a primer on self-portraits, check out these earlier posts on reasons to get in the picture with your kids and tips for getting in front of the camera with your family. 

1. Find the light.  Inspiration, for me, is the one of the hardest parts of taking self-portraits. Coming up with unique ideas can be difficult.  I found that starting with the light can be the easiest way to get inspired.  Find a place with pretty light and go from there.  This could be the morning sun coming in through the bedroom window. Or softer, mid-afternoon light, perhaps in the very same window.  You can change up the perspective to make the images unique.  

Maternity Self-Portrait | Afternoon Window Light | Northern Virginia Family Photographer

Or, it may not even be natural light at all.  You can get creative with artificial light as well.  It helps to have your camera and tripod ready to go any time inspiration strikes.  There were many times I wasn't even planning to take a shot, when I saw the light and just went for it.

Maternity Self Portrait with Ice Cream by Artificial Refrigerator Light

Start observing the light in your house throughout the day.  Notice where you see it and how it changes, which brings me to my second tip...  

2. Keep a notebook.  You may not always have the time to stop what you're doing and take a picture, so keep a notebook (I also love using the Evernote app on my phone) and write down ideas as they come to you.  It's especially helpful to note the time of day you see especially nice light. It can change quickly during the day (and with the season too).  Pay attention to others' images you see as well, whether you follow any photographers on social media  (Alice Che is wonderful at self-portraiture) or you're thumbing through a magazine.  Inspiration doesn't have to come from strictly maternity shots, or even self-portraits.  Just look for images that you find appealing and try to make them your own.

Maternity Portrait Inspiration | Northern Virginia Family Photographer

3. Be flexible.  You may have an idea for the perfect shot in your mind, but it's just not happening.  Maybe your cat keeps getting in the frame.  Or your child just isn't interested.  Go with the flow.  With my son, I often started with whatever activity he was interested in doing at the time and asked him to do it in a place with good light.  Whether it was reading on the bed or on the couch, or playing Legos on the floor, he was much more interested in (and sometimes not even aware of) taking pictures when we were doing an activity that he was interested in.

4. Keep trying. Not every idea for a shot works out. Sometimes it's a matter of adjusting (waiting for better light or changing the perspective). And sometimes it may not work no matter what you try. I took a lot of shots that I didn't include in this post.  While they may not be share-worthy, they're still keepers and were worth the effort. Because I know my kids will appreciate them despite any flaws I see.

Now that I've had my second son, I'm having fun getting in the picture with him too. I'll be sharing more self-portrait tips in a few weeks, so come back to visit or join my mailing list to receive tips on documenting your family life straight to your inbox.. 

Preserving Memories in a Series | Northern Virginia Family Photographer

I was inspired recently by fellow photographer Camille Arner's post about photographing a series.  Camille's words about recognizing a theme in her personal work really resonated with me and also spurred me to begin posting some of my work undertaken as a participant in the creativity exercises led by Sarah Wilkerson over at Clickin Moms.  It was an honor to be featured on the CM blog as part of the 'series' exercise and even more meaningful to reflect on the value that I found in recognizing themes in my own work.  I also realized how my personal themes translate into the work I do for other families.    

Being a photographer involves a lot of observation - of light, of lines, shapes and composition, and of moments.  Being a mother is especially helpful for this last piece.  Parenting brings a wealth of opportunities for observing some wonderful aspects of humanity - the growth of your child, the love of family, and the humor and exhaustion in it all.  Being in the thick of it myself makes those meaningful moments more recognizable to me while shooting for others.  And documenting these moments, both for my family and others', is what makes my heart happy both as a photographer and a mother.  

I love looking back on these images of my son and seeing his growth - our family's growth - and our love for each other (even when exhausted :-)). I especially love sharing this facet of photography and life with other families.

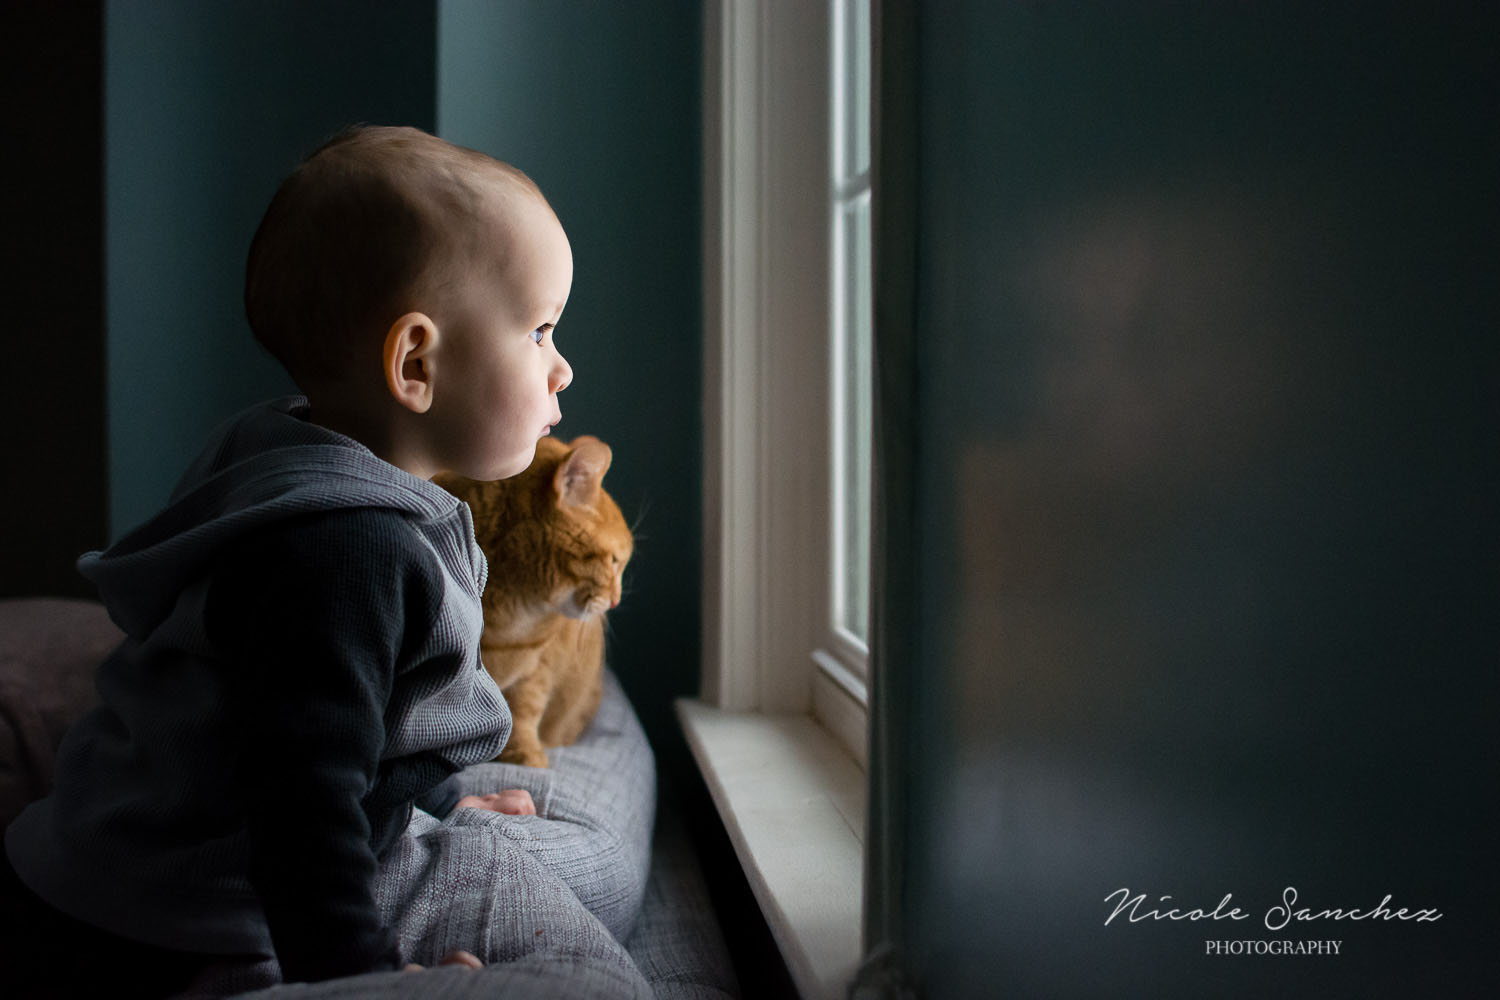
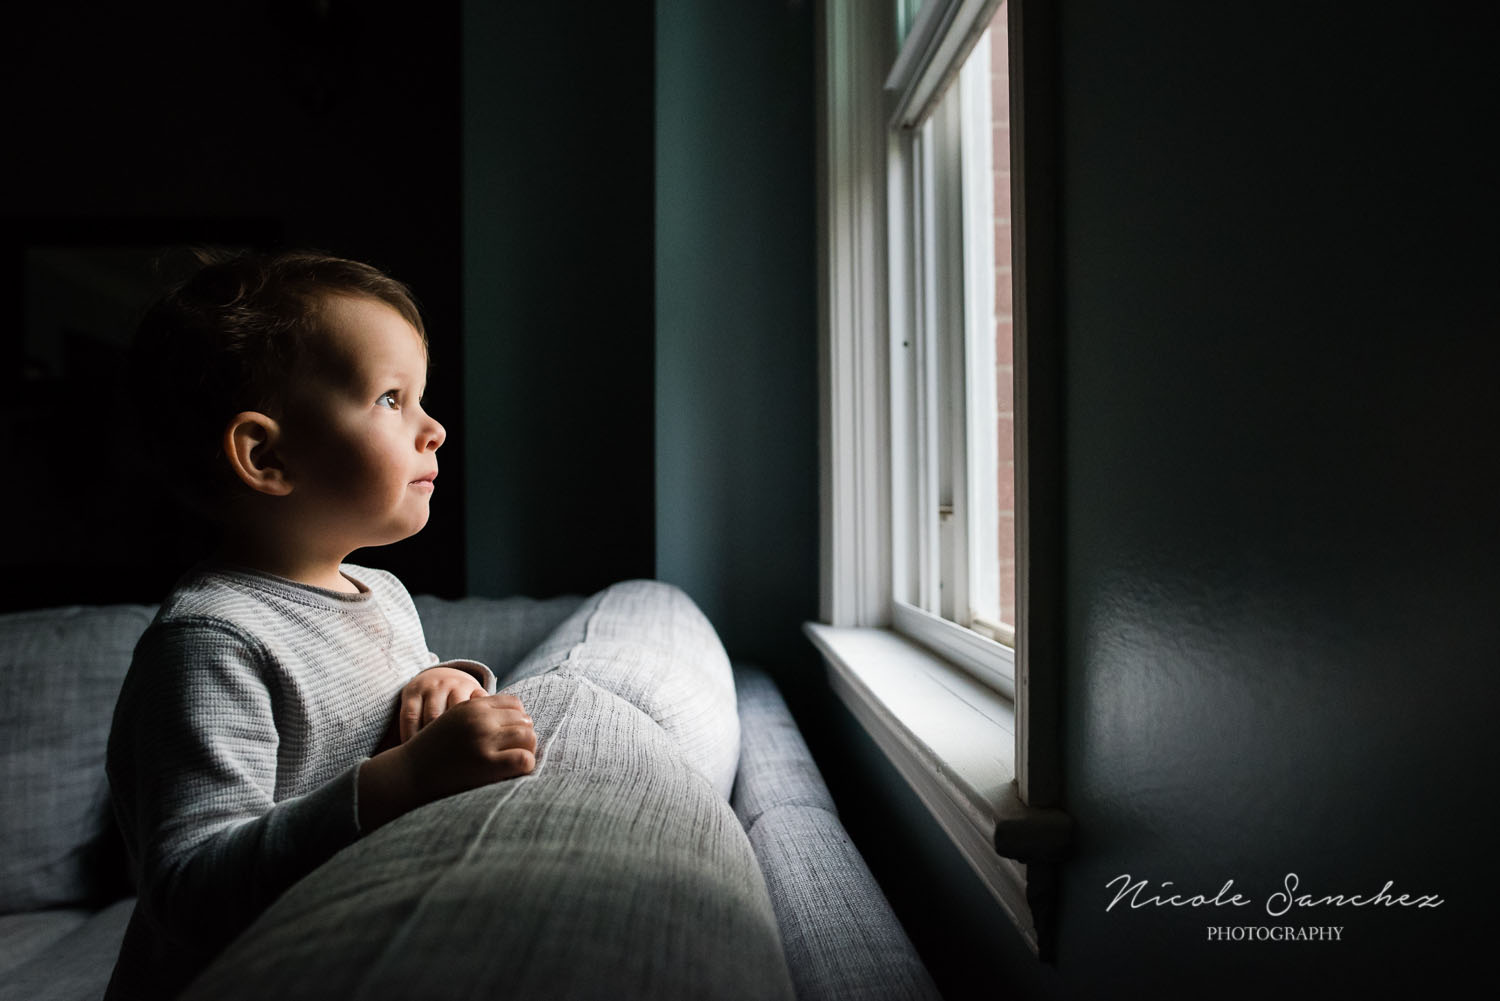
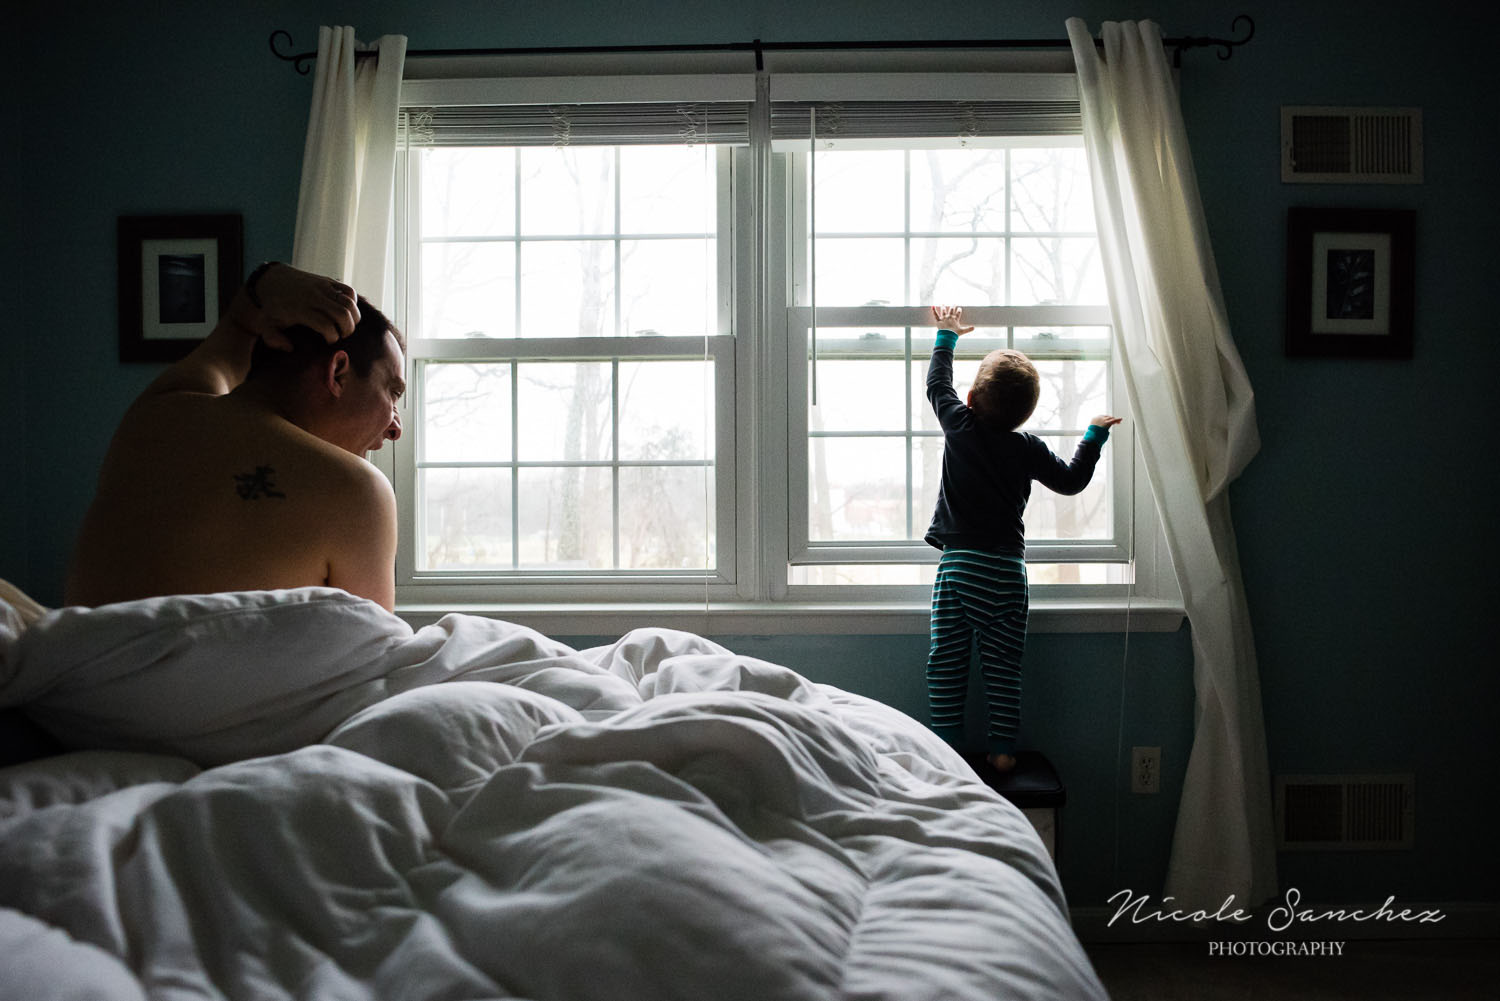
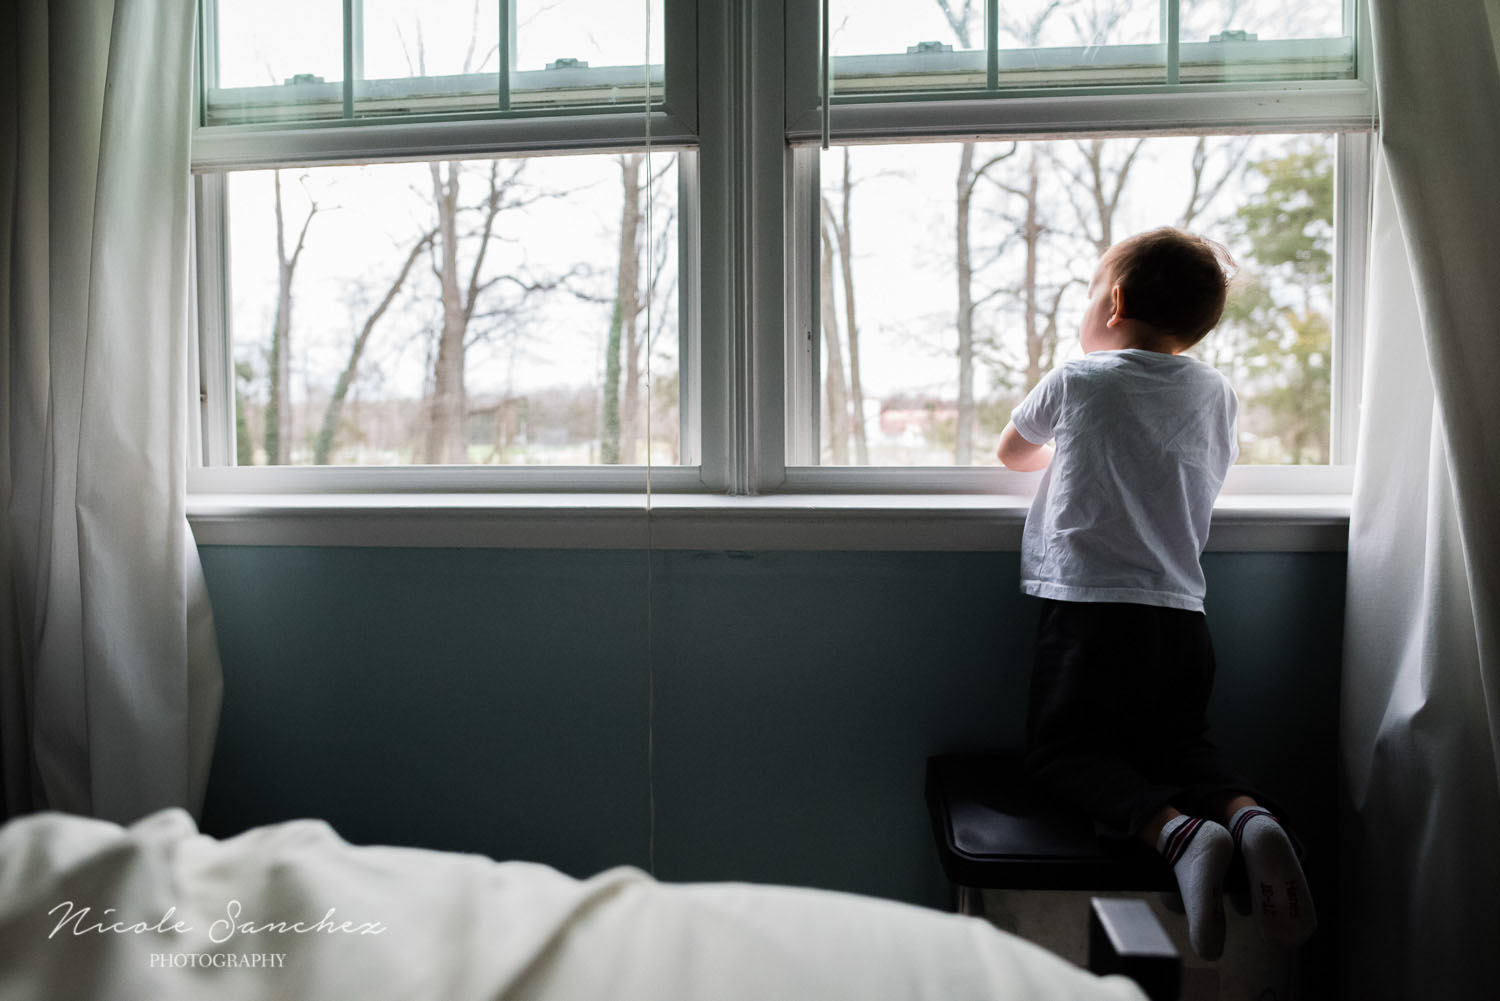
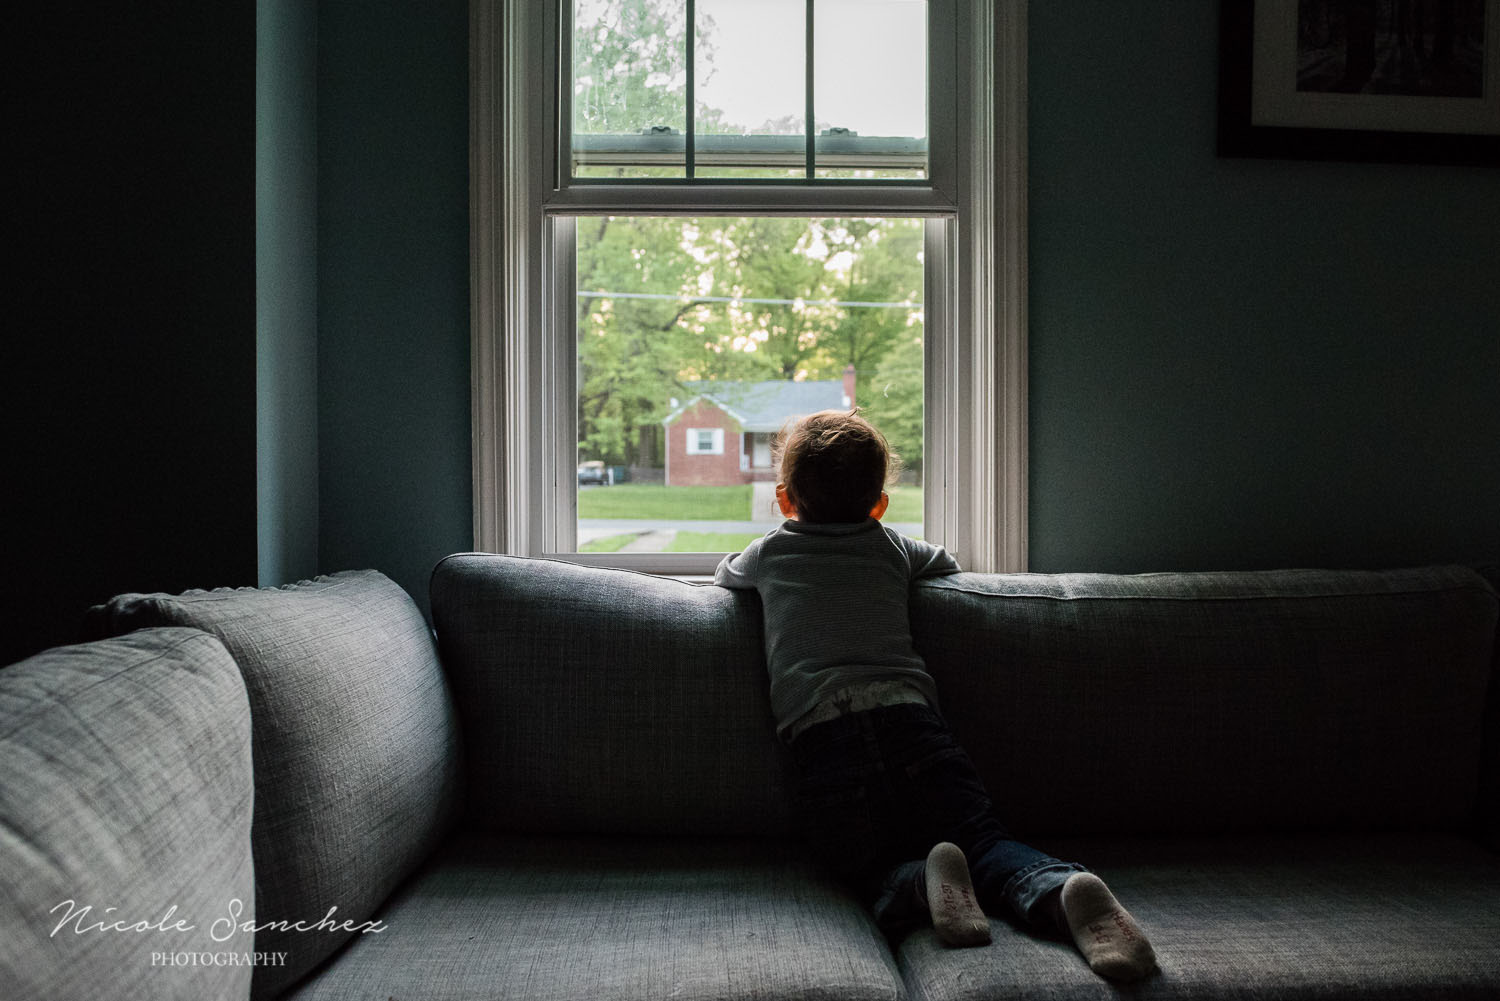
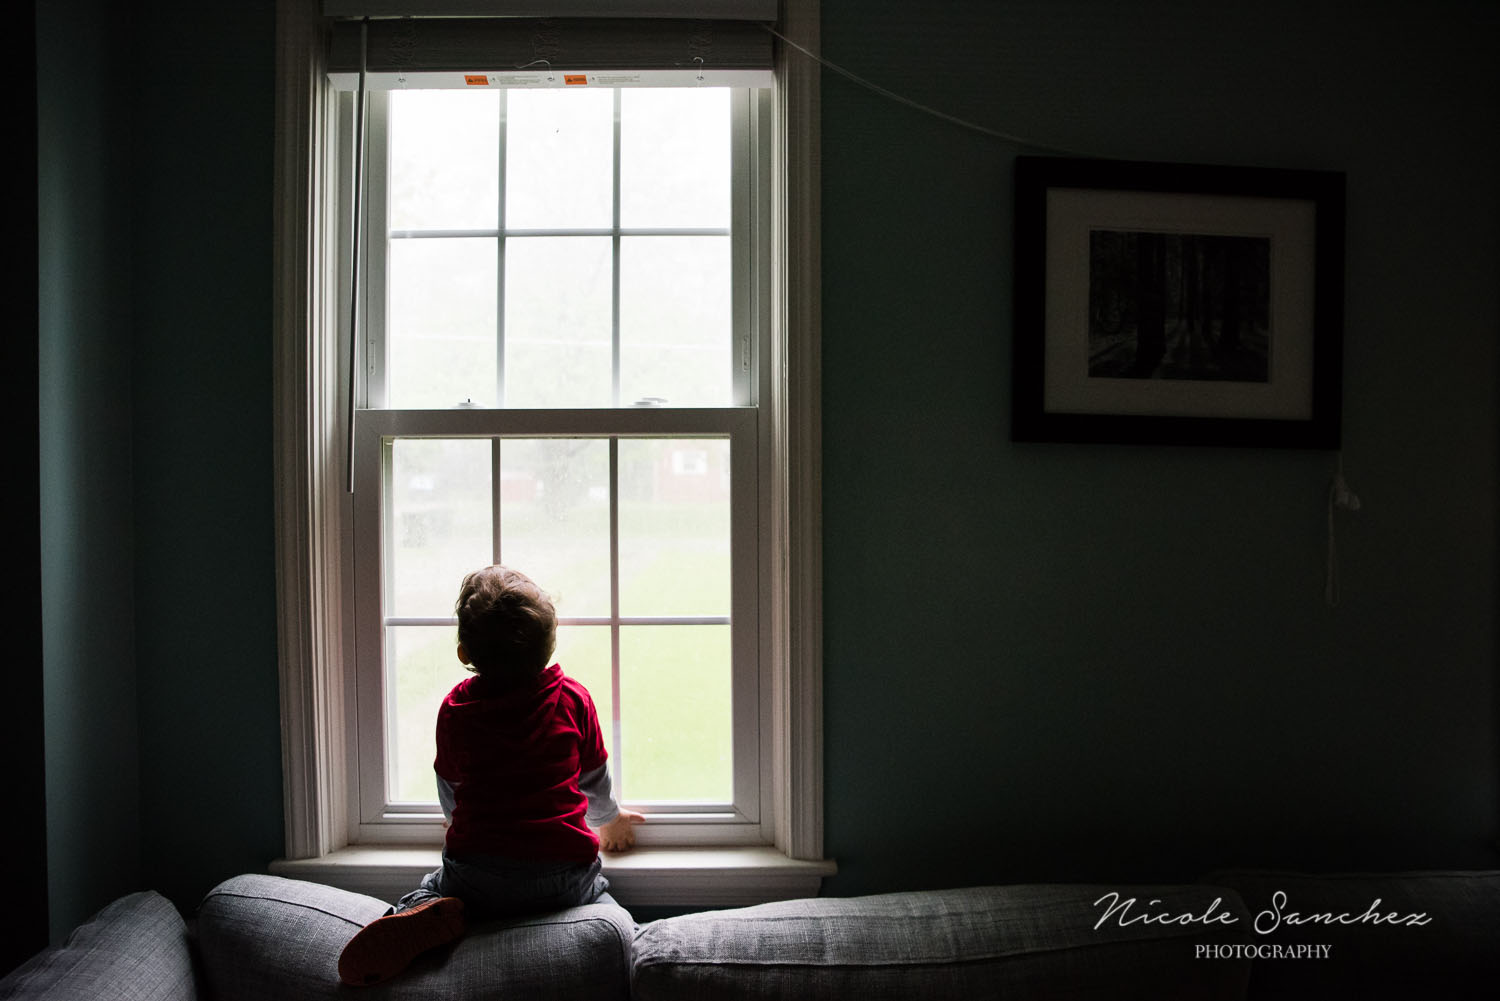
Here are the images I submitted as part of the CM 'series' exercise.  I love shooting at windows, but I love even more the way these images evoke my own sense of childlike imagination and wonder - something all parents relish (and reminisce) in observing their children.  Check out Sarah's article for some the beautiful ways that an image series can be a powerful means of telling a story or conveying meaning.

Visit my website to learn more about a documentary session for your family and sign up below for my email list to receive tips for photographing your own family. 

Photographing Summer at the Playground | Northern Virginia Family Photographer

Even though my son isn't in school (and doesn't have a summer break) and my husband's and my work schedules haven't changed, there's still something magical about summer.  Maybe it's carryover from my own childhood - a sense that when the weather is hot and the days are long, life is just different.  A little more carefree and spontaneous.  A little less scheduled and serious.

Summer brings an abundance of life.  In Northern Virginia, we're graced with green and growth everywhere. Towering trees, vibrant wildflowers.  Even the thunderstorms that roll through are welcome, bringing restorative rain and a bit of respite from the heat.  Summer just seems to ooze childhood and fun and evoke calls for dripping watermelon and melting ice cream. Sprinklers in the backyard and walks to the playground.

The playground is one of my favorite places to document family life.  Play is such a vital part of childhood and the playground is a perfect place for imagination, social interaction, and physical exertion.  From new games to new friends, it's been fun to track my son's growth as he masters more complex equipment like going down the "big" slide for the first time or graduating to successfully climbing up the big slide using well-practiced muscles and sheer will after weeks of trying.  These are things I want to look back and remember.  Things I want my son to look back on and be able to see glimpses of himself at such a young age.

This summer I've made an effort to document more time at the playground.  Here are a few of my favorites so far with some tips I've found useful for making images that unique to your family.  In each case, it's all about perspective and choosing an angle that best frames the story you want to tell.

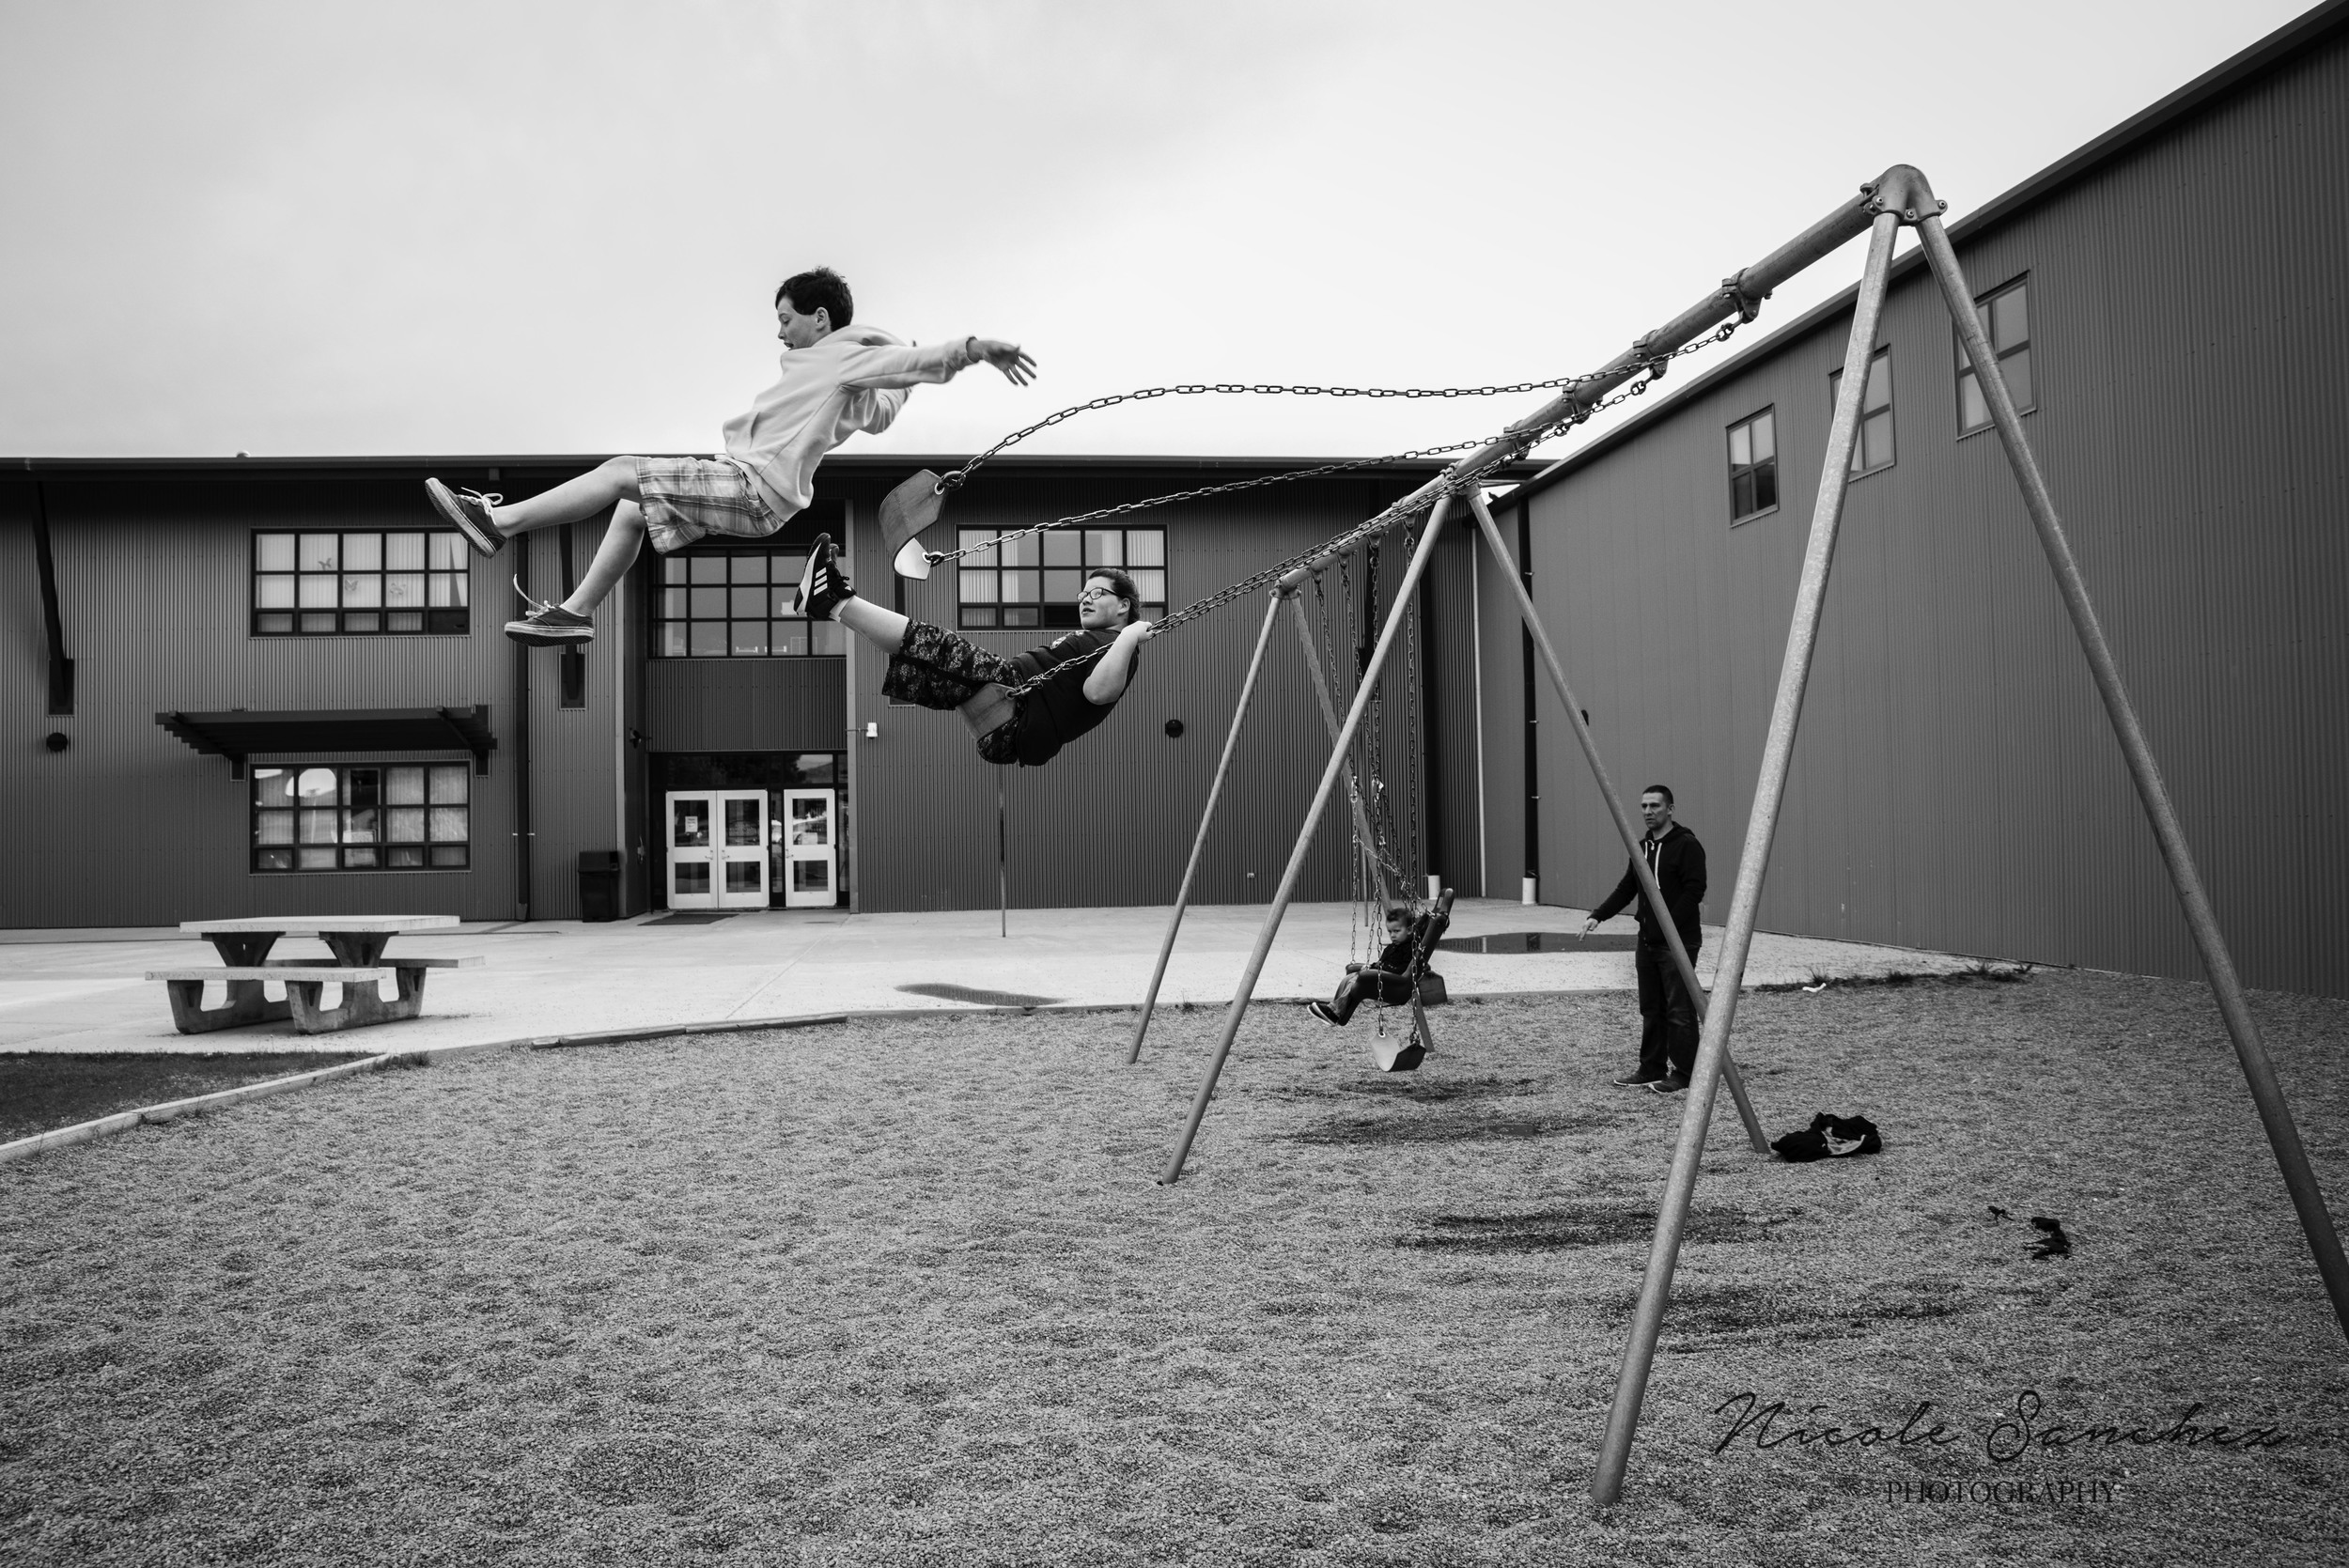
1. Get far.  Often the neighborhood playground is a special place for families.  In our case, it's within walking distance from our house and a place where we can make impromptu visits and catch up with neighbors and friends.  Showing that context can be a powerful way to tell the story of your family's playground.  

In this image, we were visiting family who've lived next to this playground since their teenage kids were very small.  The playground is on the school property where they've attended all their lives.  So I knew I wanted to capture part of the environment as a reminder that this wasn't just any playground, but their playground.  

Capturing Summer | Family Photographer

It can be a challenge to incorporate all the equipment and activity in a way that isn't cluttered and chaotic.  Using lines to frame your subjects or draw the eye into the image can be a good way to minimize the distractions.

2. Get low.  With the variety of platforms and places to climb, it can be fun to play with perspectives at the playground.  One easy way to do this is to get low to the ground and shoot up.  This can minimize distractions like playground equipment or random people in the frame.  

Summer sun can be bright, especially mid-day, but it can also be fun to play with sun flare at this angle.  To combat the harsh light and shadow during the middle of the day, I exposed for the sky here and brought up the shadows in post processing.

Photographing Summer | Northern Virginia Family Photographer

3. Get high.  Similar to getting low, climbing up to look down is an easy way to show a unique perspective and minimize distractions.  With all the angles and lines at a playground, it can be fun to use them to frame your subject.

Documenting Summer | Northern Virginia Family Photographer
Family Fun Playground | Northern Virginia Family Photographer

What are your tips for capturing summer?

Learn more about documenting family life and receive more photography tips by signing up for my newsletter.

Capturing Childhood in Motion | Washington, DC Documentary Family Photographer

A big challenge in photographing children, especially toddlers, is how fast they move!  One benefit of documentary photography is being able to embrace that quintessential part of childhood and incorporate it into photographs - there's no need to beg - er, request- your children to sit still for a portrait.  In fact, building that movement into childhood photographs is what makes these images so honest and meaningful months and years from now.

A few months ago, I participated in a creativity exercise with Clickin Moms, that focused on capturing movement.  I was honored to be chosen among some amazing photographers for the feature post. The image I submitted was one of personal work (you may recognize the DC metro if you're local :-) ) and not my usual family subjects and since wrapping up the challenge, I've tried to creatively capture movement in my family images as well, especially of my active son.  He's growing and changing so fast that I want to document the sometimes wild and crazy, inherently "kid" things he does.

In the exercise, Sarah highlights three ways to capture movement in photography: suspension, motion blur, and visual flow.  Here's my take on the three.

1. Suspended Movement. This is my favorite to shoot, especially with children.  Freezing a moment of action to savor a point in time and capture details we wouldn't otherwise be able to see.  Facial expressions are particularly fun for these shots, but I also just love marveling at the awesome ways our bodies move.

Washington, DC Documentary Family Photographer
Northern Virginia Documentary Family Photographer

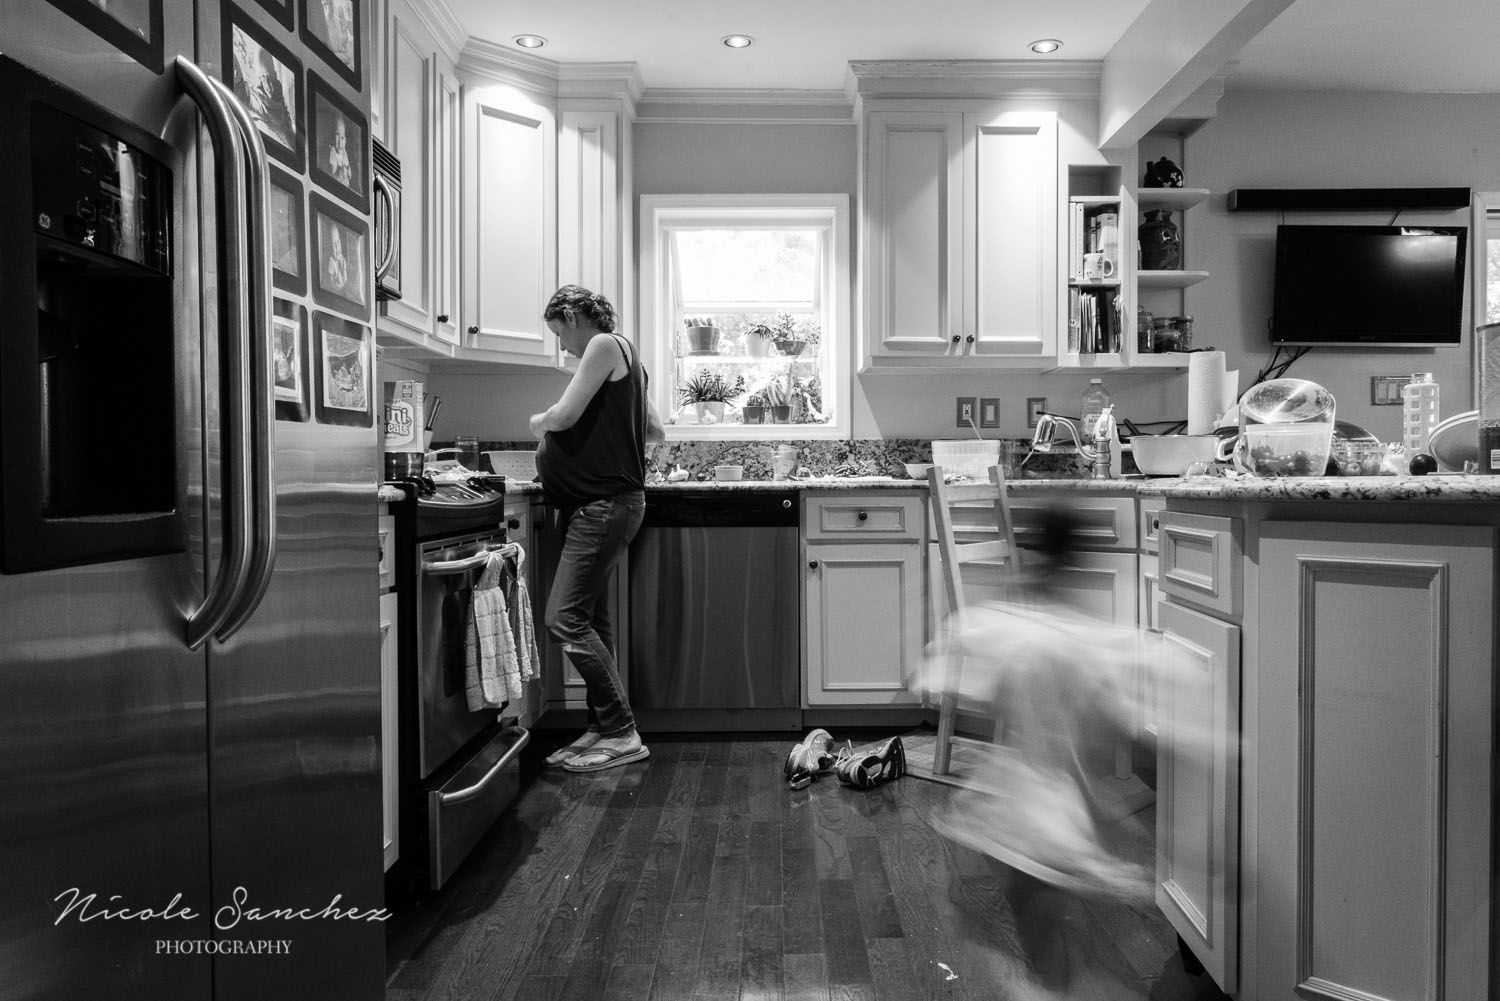
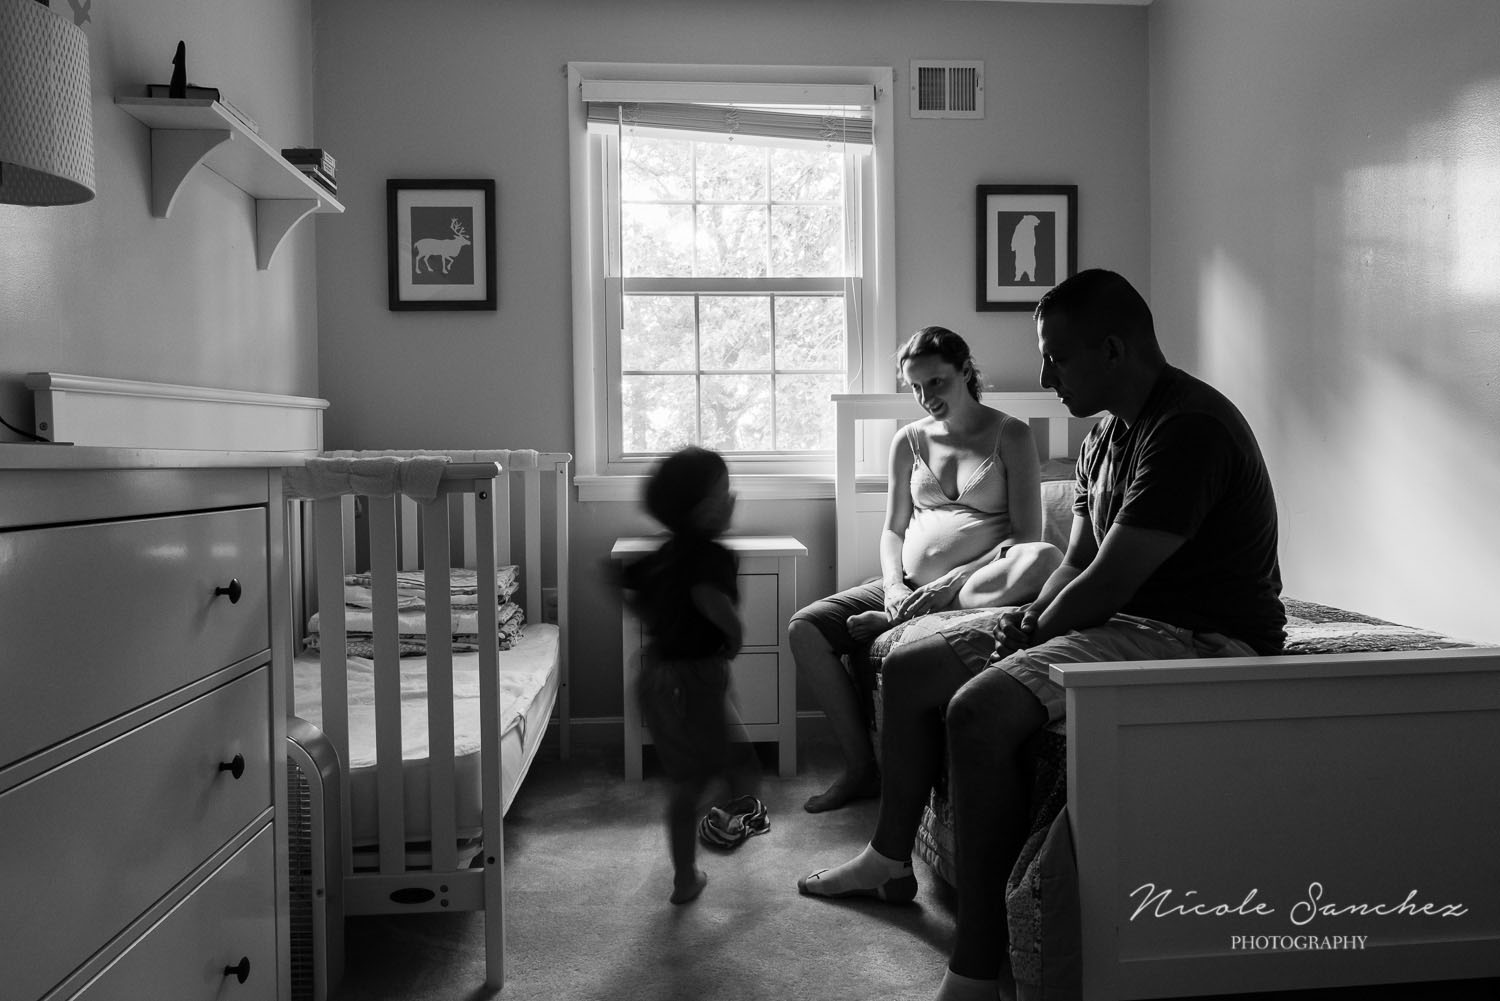
2. Motion blur.  I love the way using motion blur adds to the storytelling dimension of photography.  The dynamic between what's static and what's in motion can say or imply so much about what's happening.  I've been trying to capture more moments in my pregnancy this time around and I love including my son in these pictures. For these two images, I chose to highlight the energy of my young son against the sometimes stillness (or exhaustion! :-) ) of pregnancy and parenting.

Alexandria, VA Documentary Family Photographer
Northern Virginia Documentary Family Photographer

3. Visual flow.  Visual flow happens when the eye is naturally drawn through an image, such as with lines, curves, or color.  I love using lines to frame an image.  Thankfully, kids often repeat their actions when they're having fun, so the challenge of finding a unique composition and waiting for the right moment is often rewarded (with a little patience :-) ).

Northern Virginia Family Photography
Capturing kids in motion | Northern Virginia Family Photography

Learn more about my documentary family sessions here and sign up to receive my newsletter with tips for documenting and displaying pictures of your own family.

Photographing Your Vacation | How to Take Pictures that Tell a Story

Earlier this summer, we had an epic vacation - two weeks traveling from our home in Northern Virginia to Texas, New Mexico, and Montana to celebrate two beautiful nieces' high school graduations and spend time with grandparents and extended family. It was wonderful and I have a ton of photos to prove it.

Now that I'm home, I'm working to put the images together into a photobook that we can share with family.  While I likely won't get around to actually making the book until it's time to order for Christmas gifts (!), I have been thinking about how best to put the images together.  And that thinking actually started while I was shooting the images on vacation.

At it's heart, documentary photography strives to tell a story and a family vacation is a wonderful story to tell. Moments with loved ones, details of fun activities, and scene-setting panoramas all make up the story of time spent outside our daily lives.  

Here are some of my recent vacation favorites and a few tips for capturing your next adventure - whether it's a multi-state road trip or a quick day trip to a state park.

1. Capture the journey.  Every good story has a beginning, middle, and end.  Think about those elements of your story when you pick up your camera.  I usually try to capture travel details, especially plane rides, but you might also feature details like packing your kids' clothes and activities or the 4am alarm call for your early flight.

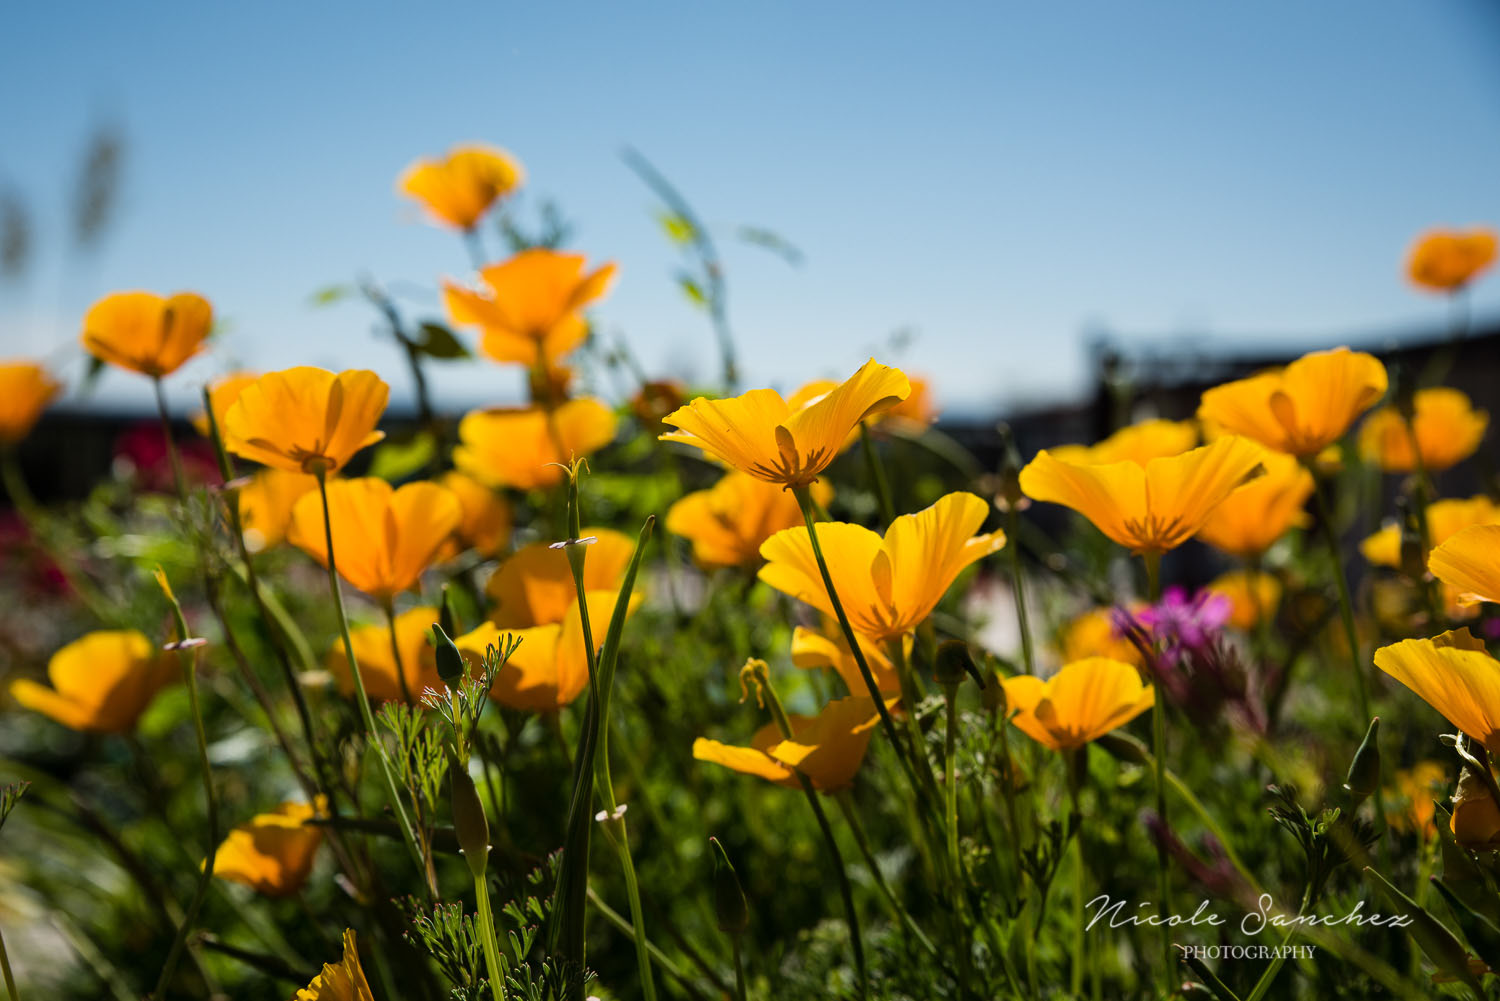
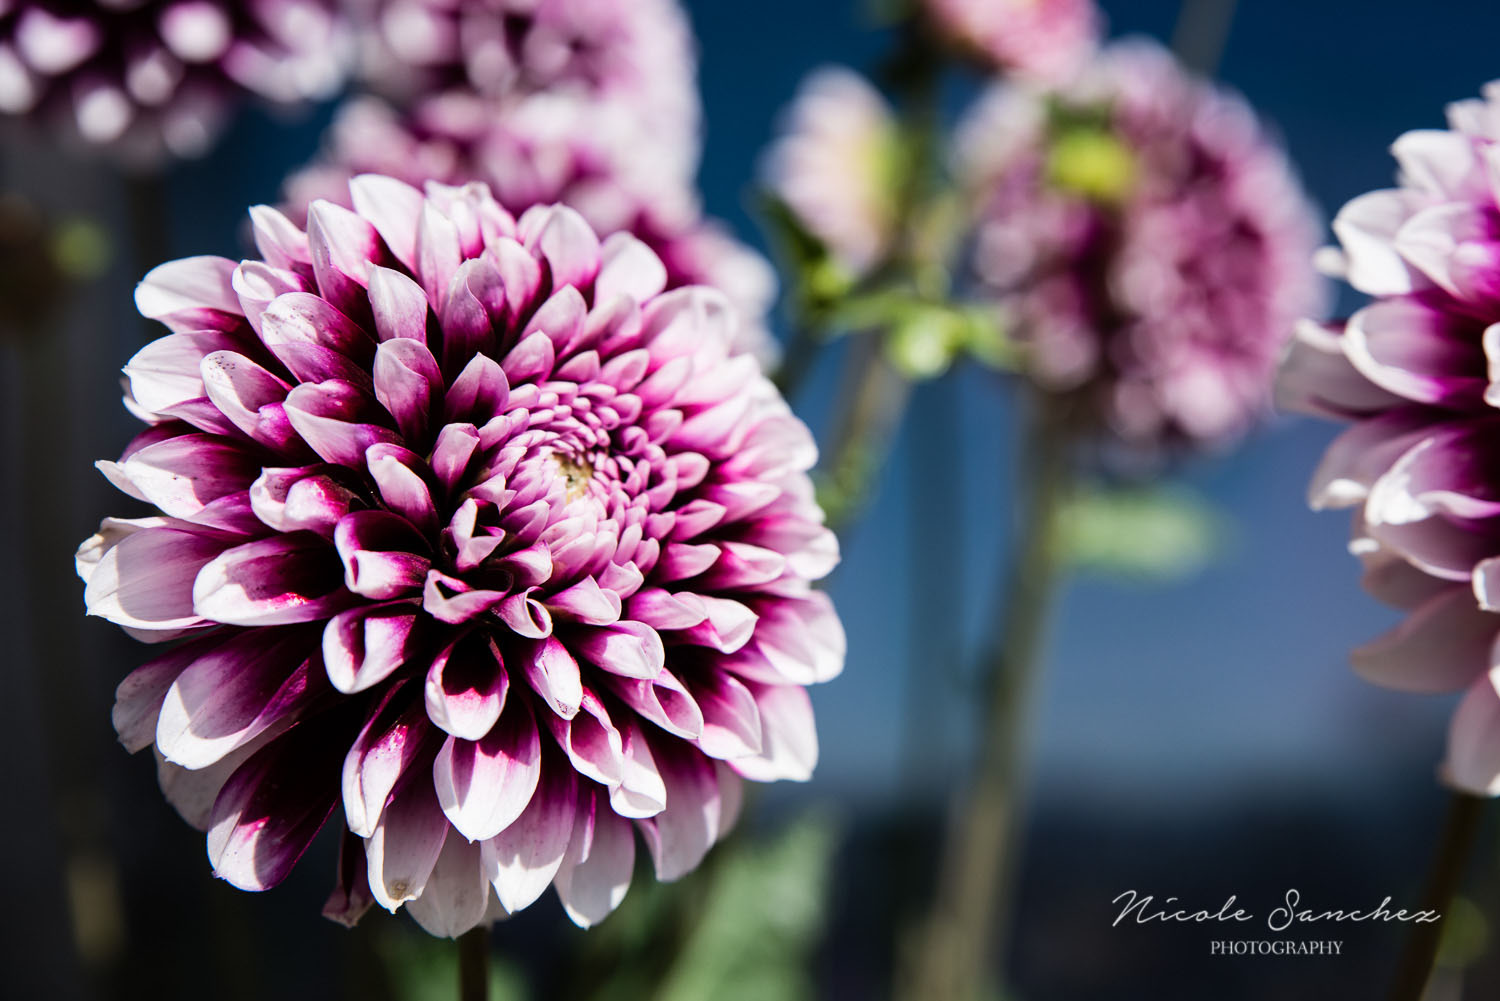
2. Don't forget the details.  Not every picture needs to feature a family member to be part of the story.  While on our vacation, I couldn't help but notice the beautiful flowers each place we visited, so I decided to incorporate them as a bit of a theme to provide context to our story. Now seeing them will always remind me of the time of year that we visited these places - how we went from almost summer weather in Texas / New Mexico, back to early spring weather in Montana.

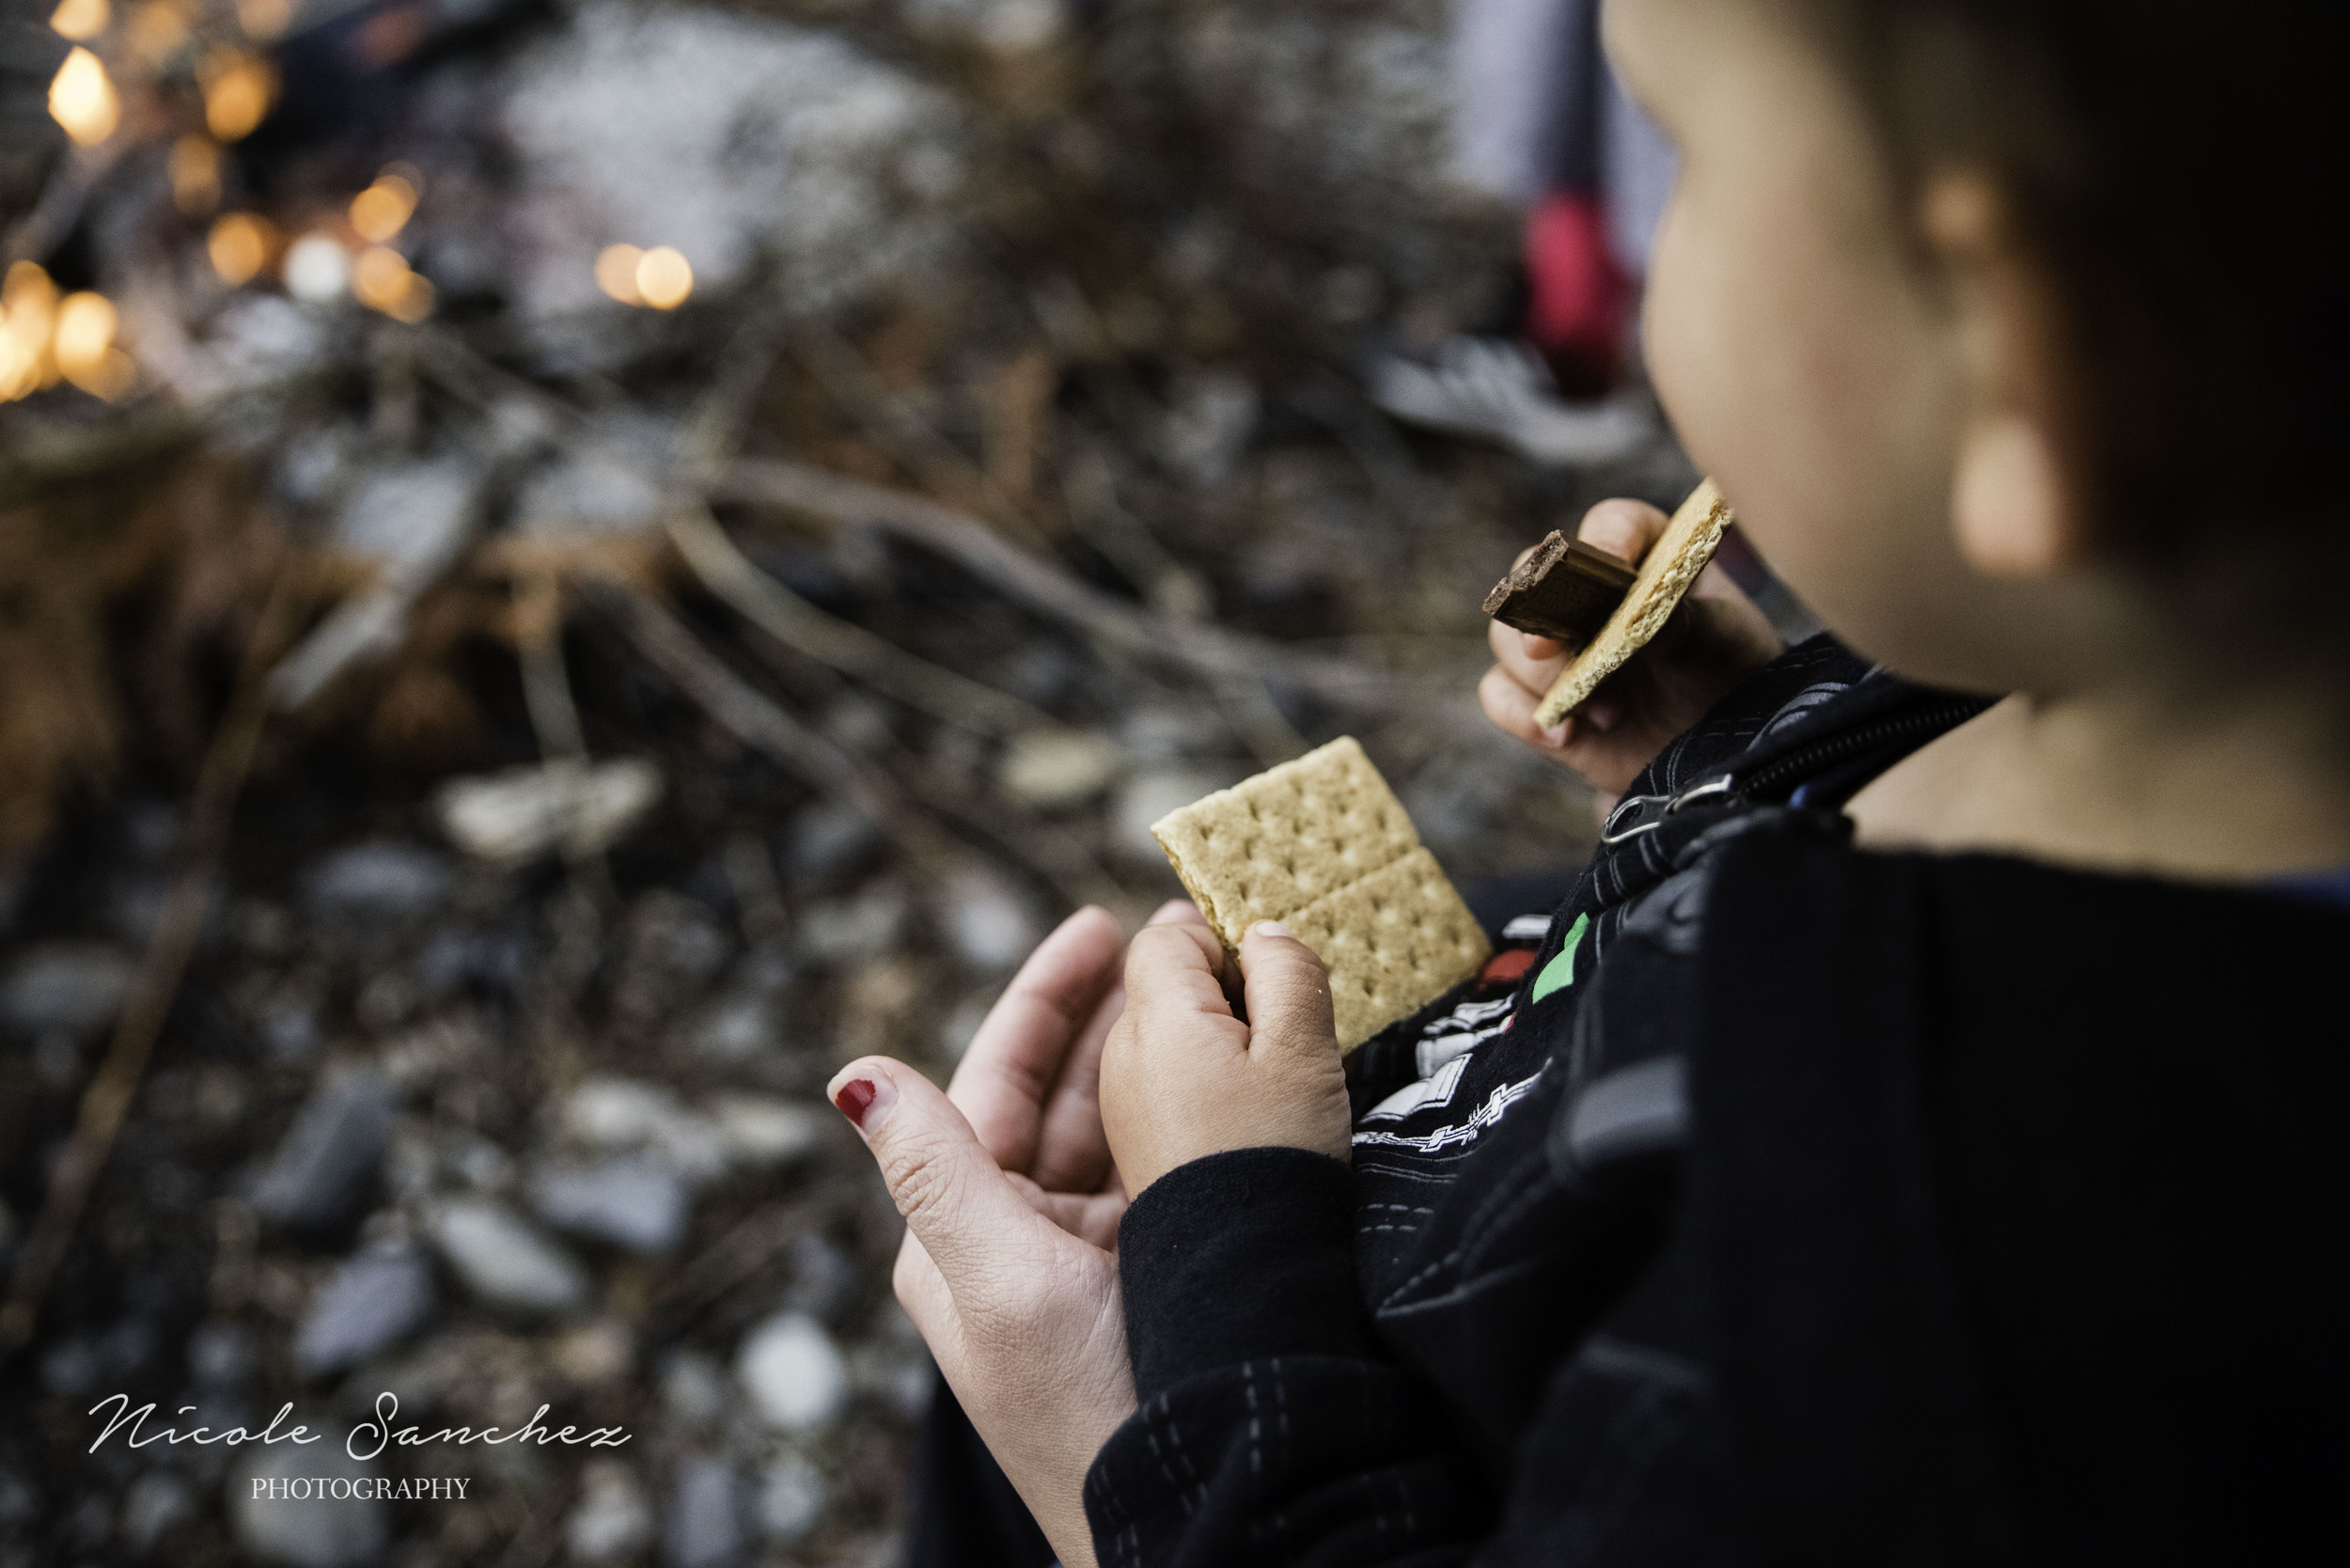
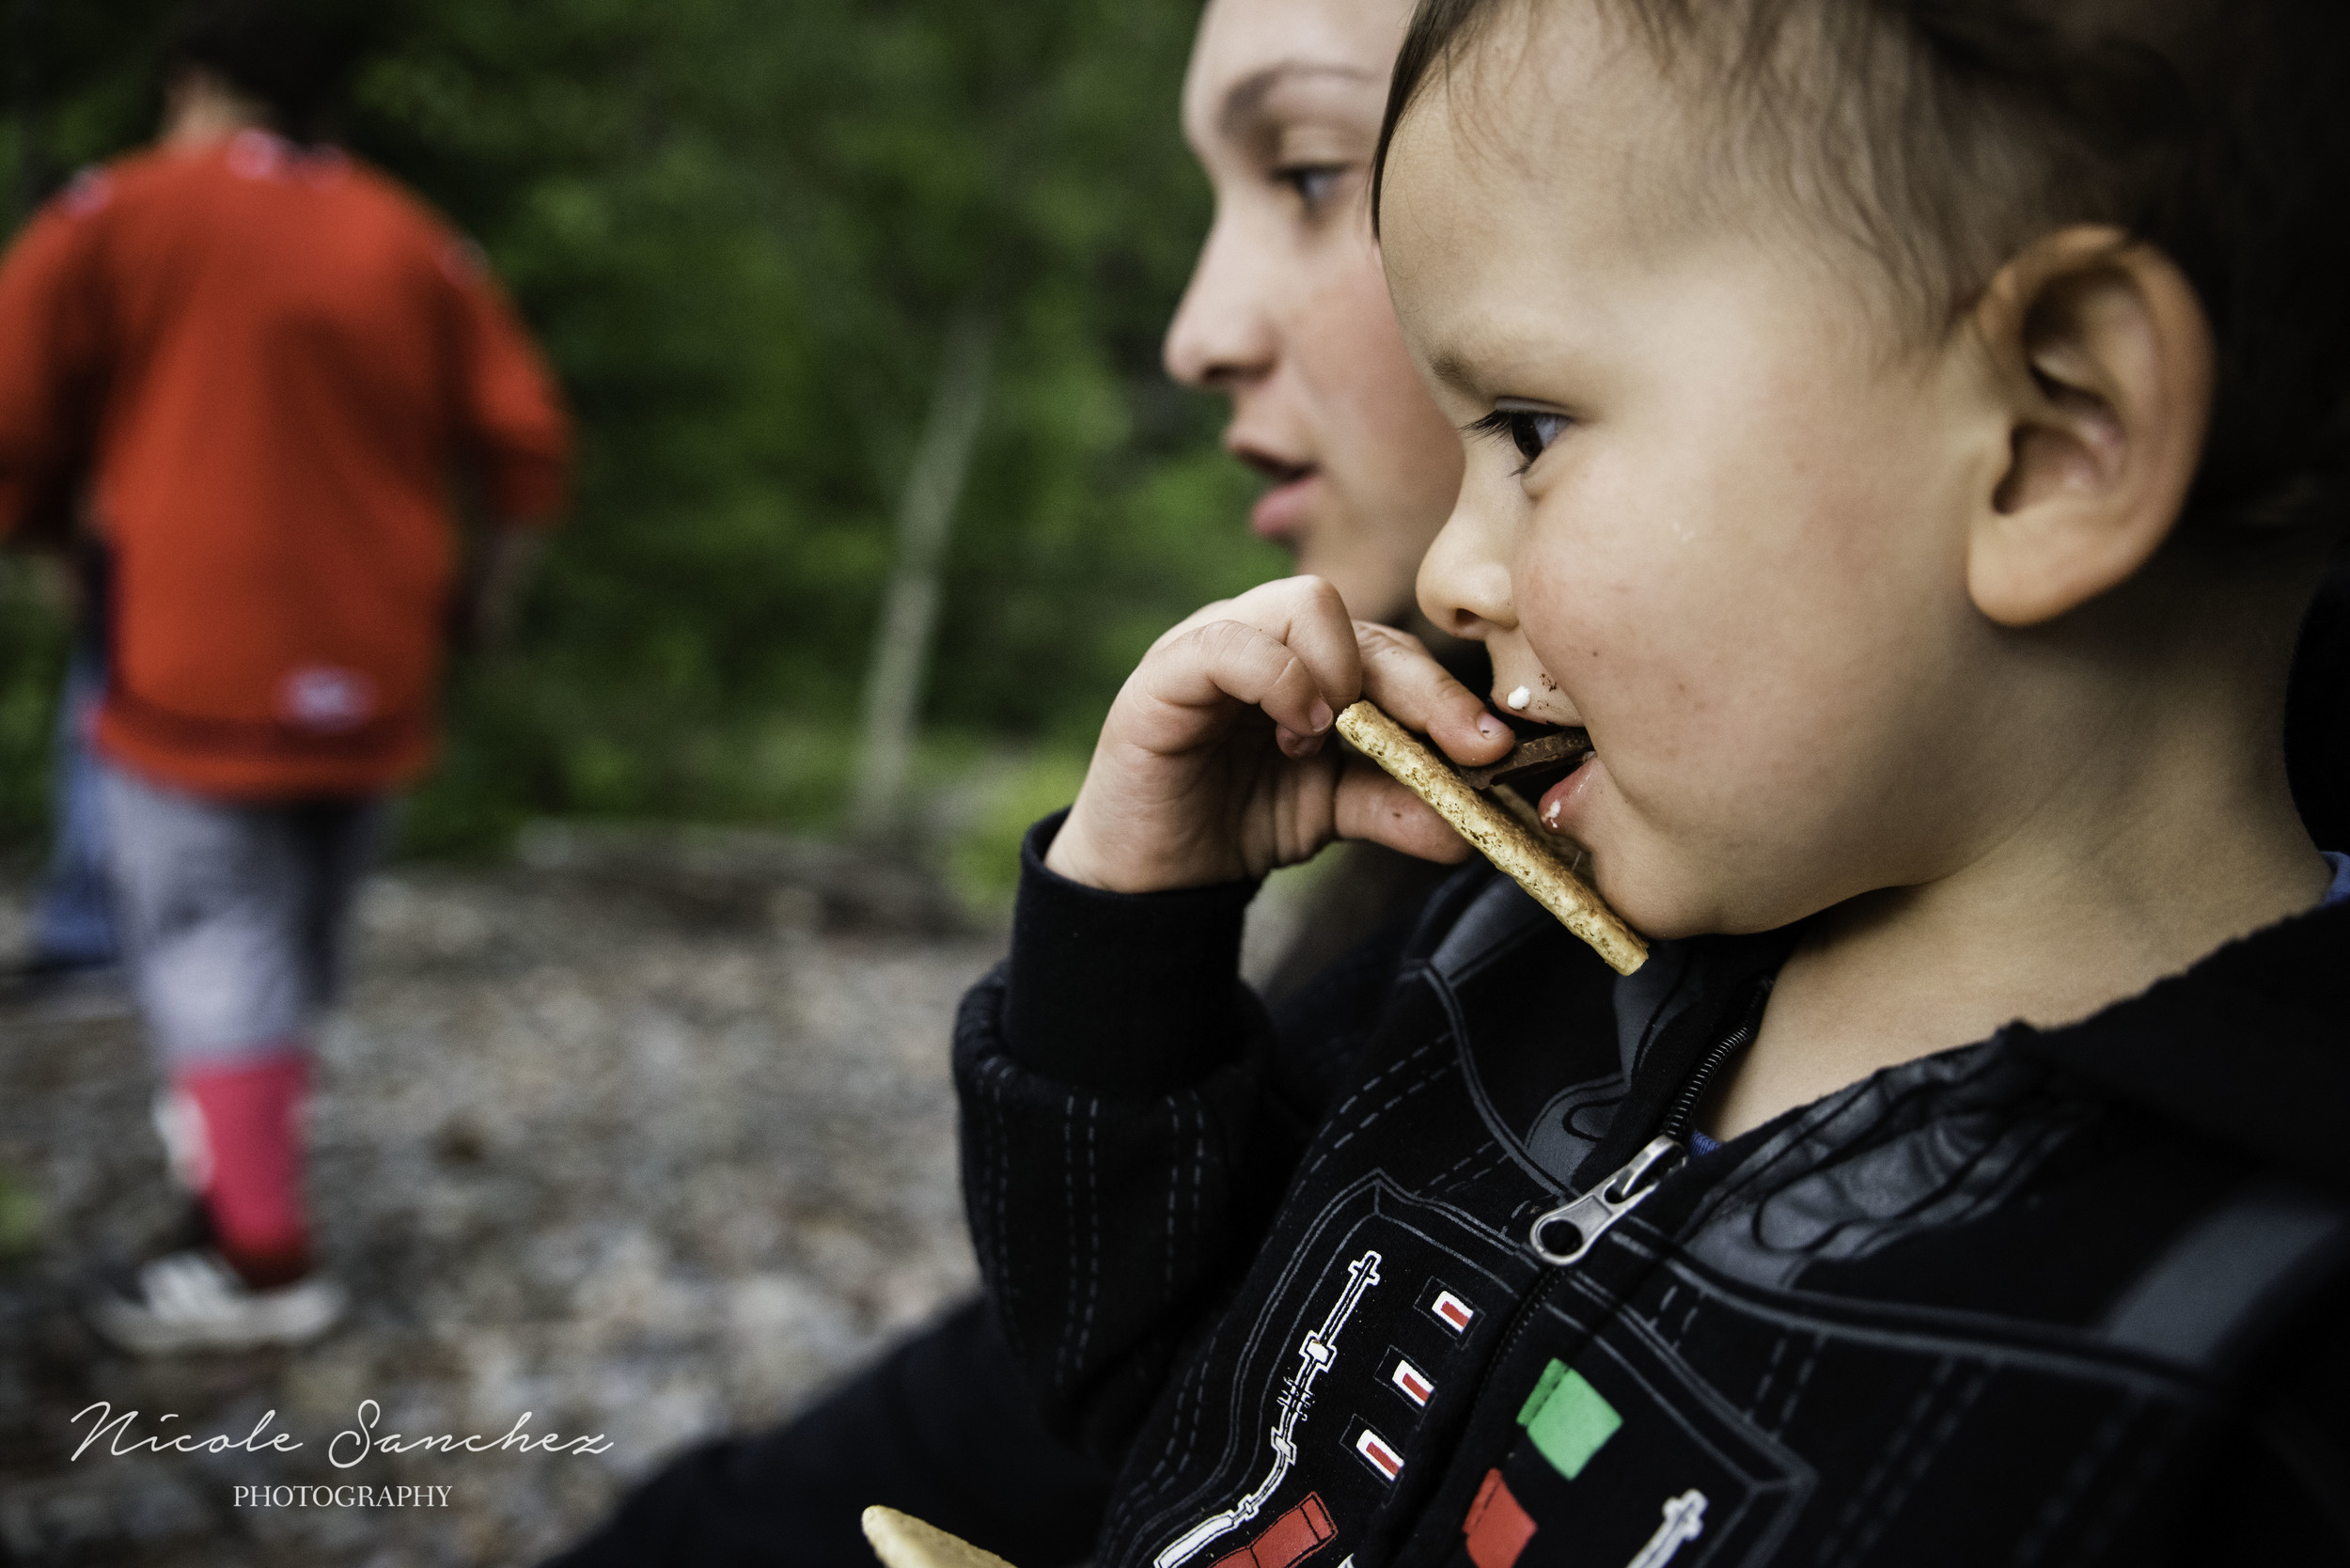
And, of course, get in close for the little things like dirty hands and messy faces. 

3. Set the scene.  Provide some context to the activities you're capturing, whether indoor or out.  Close ups and details are great, but these wider images capture the broader environment and help set the scene for the whole story.

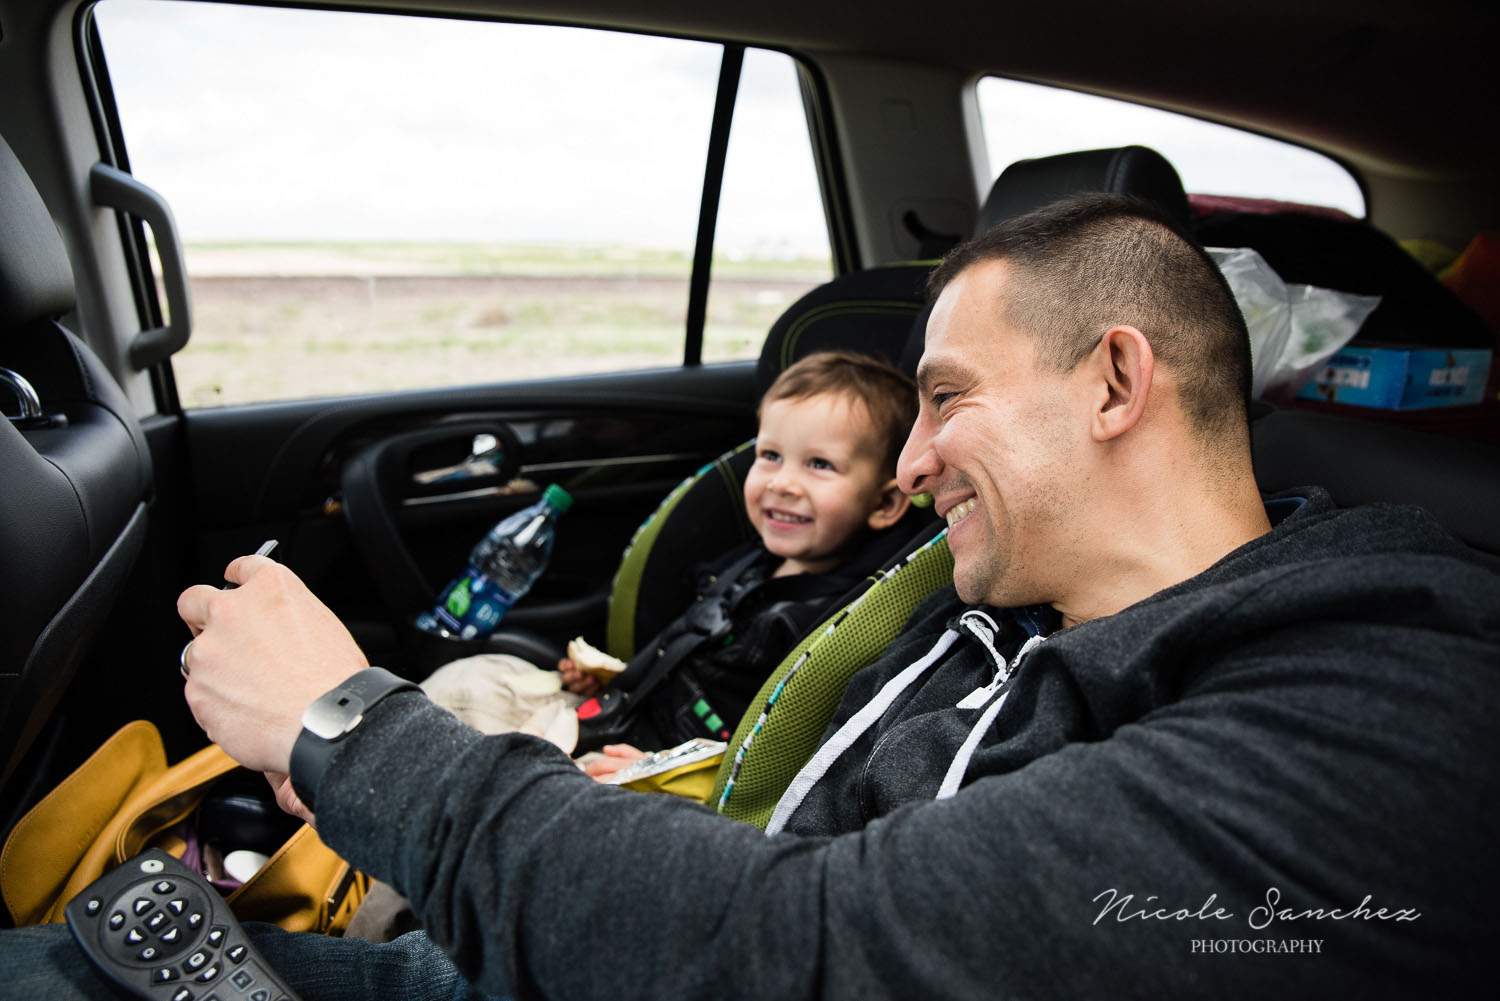
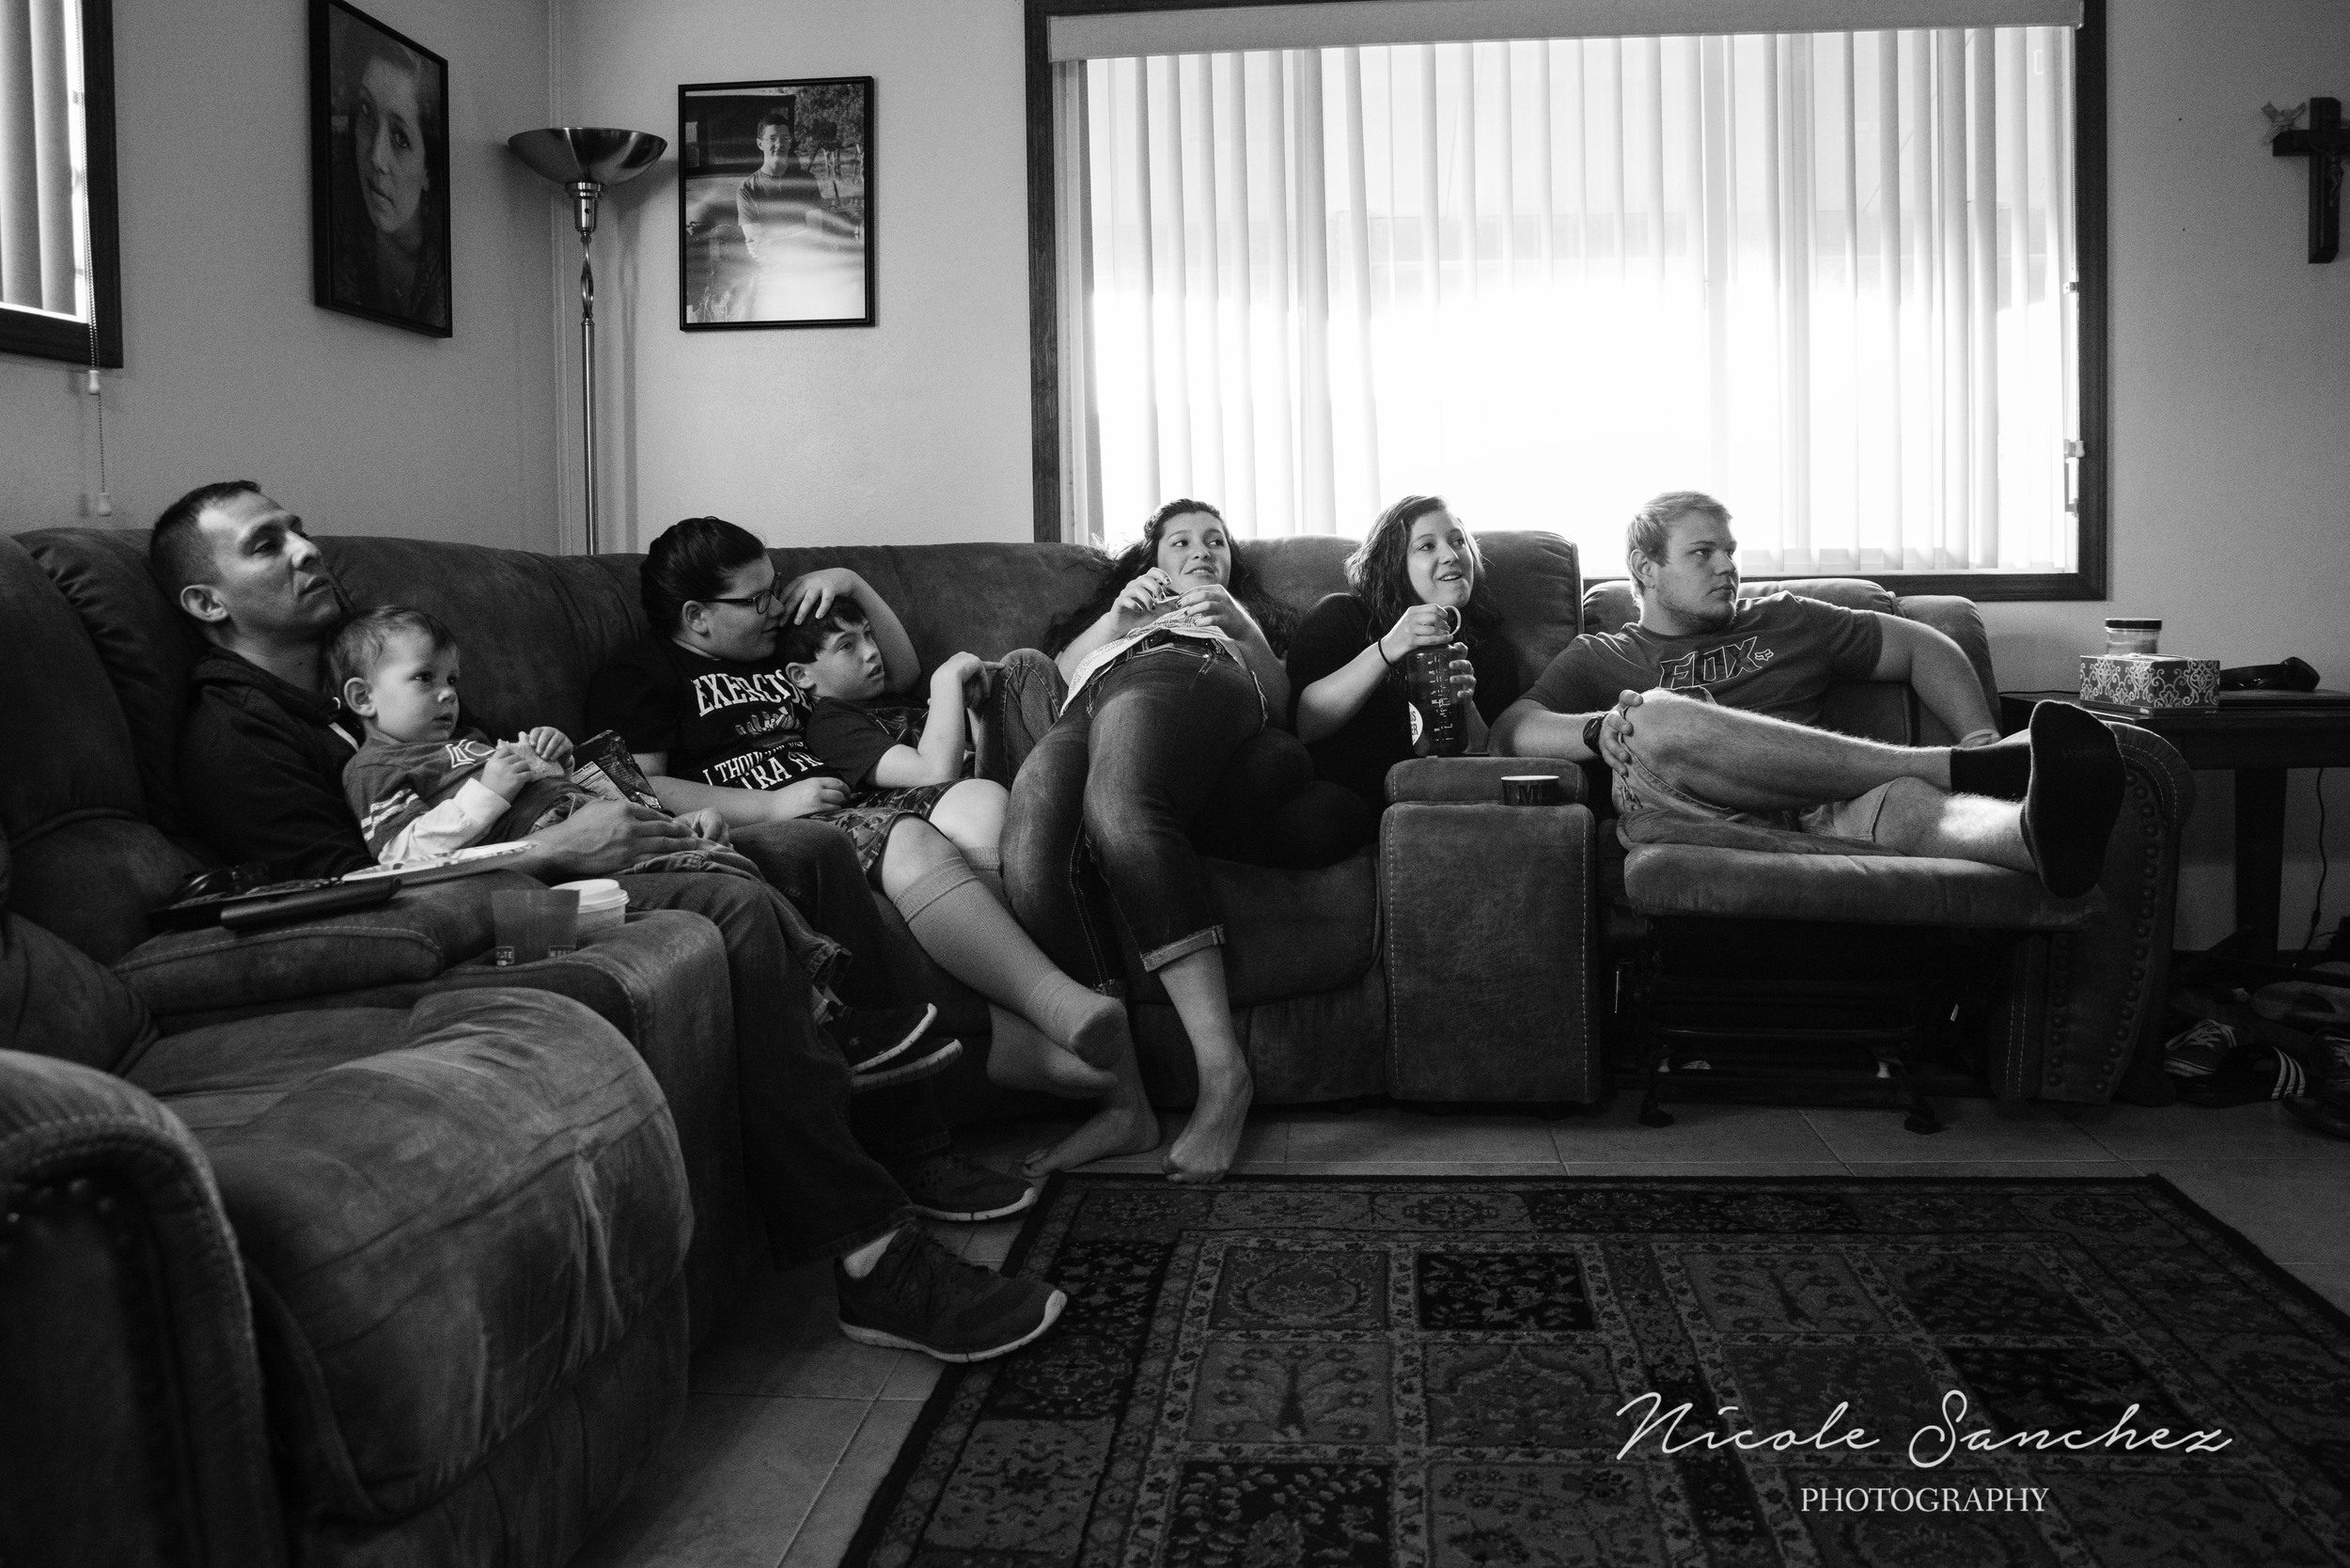
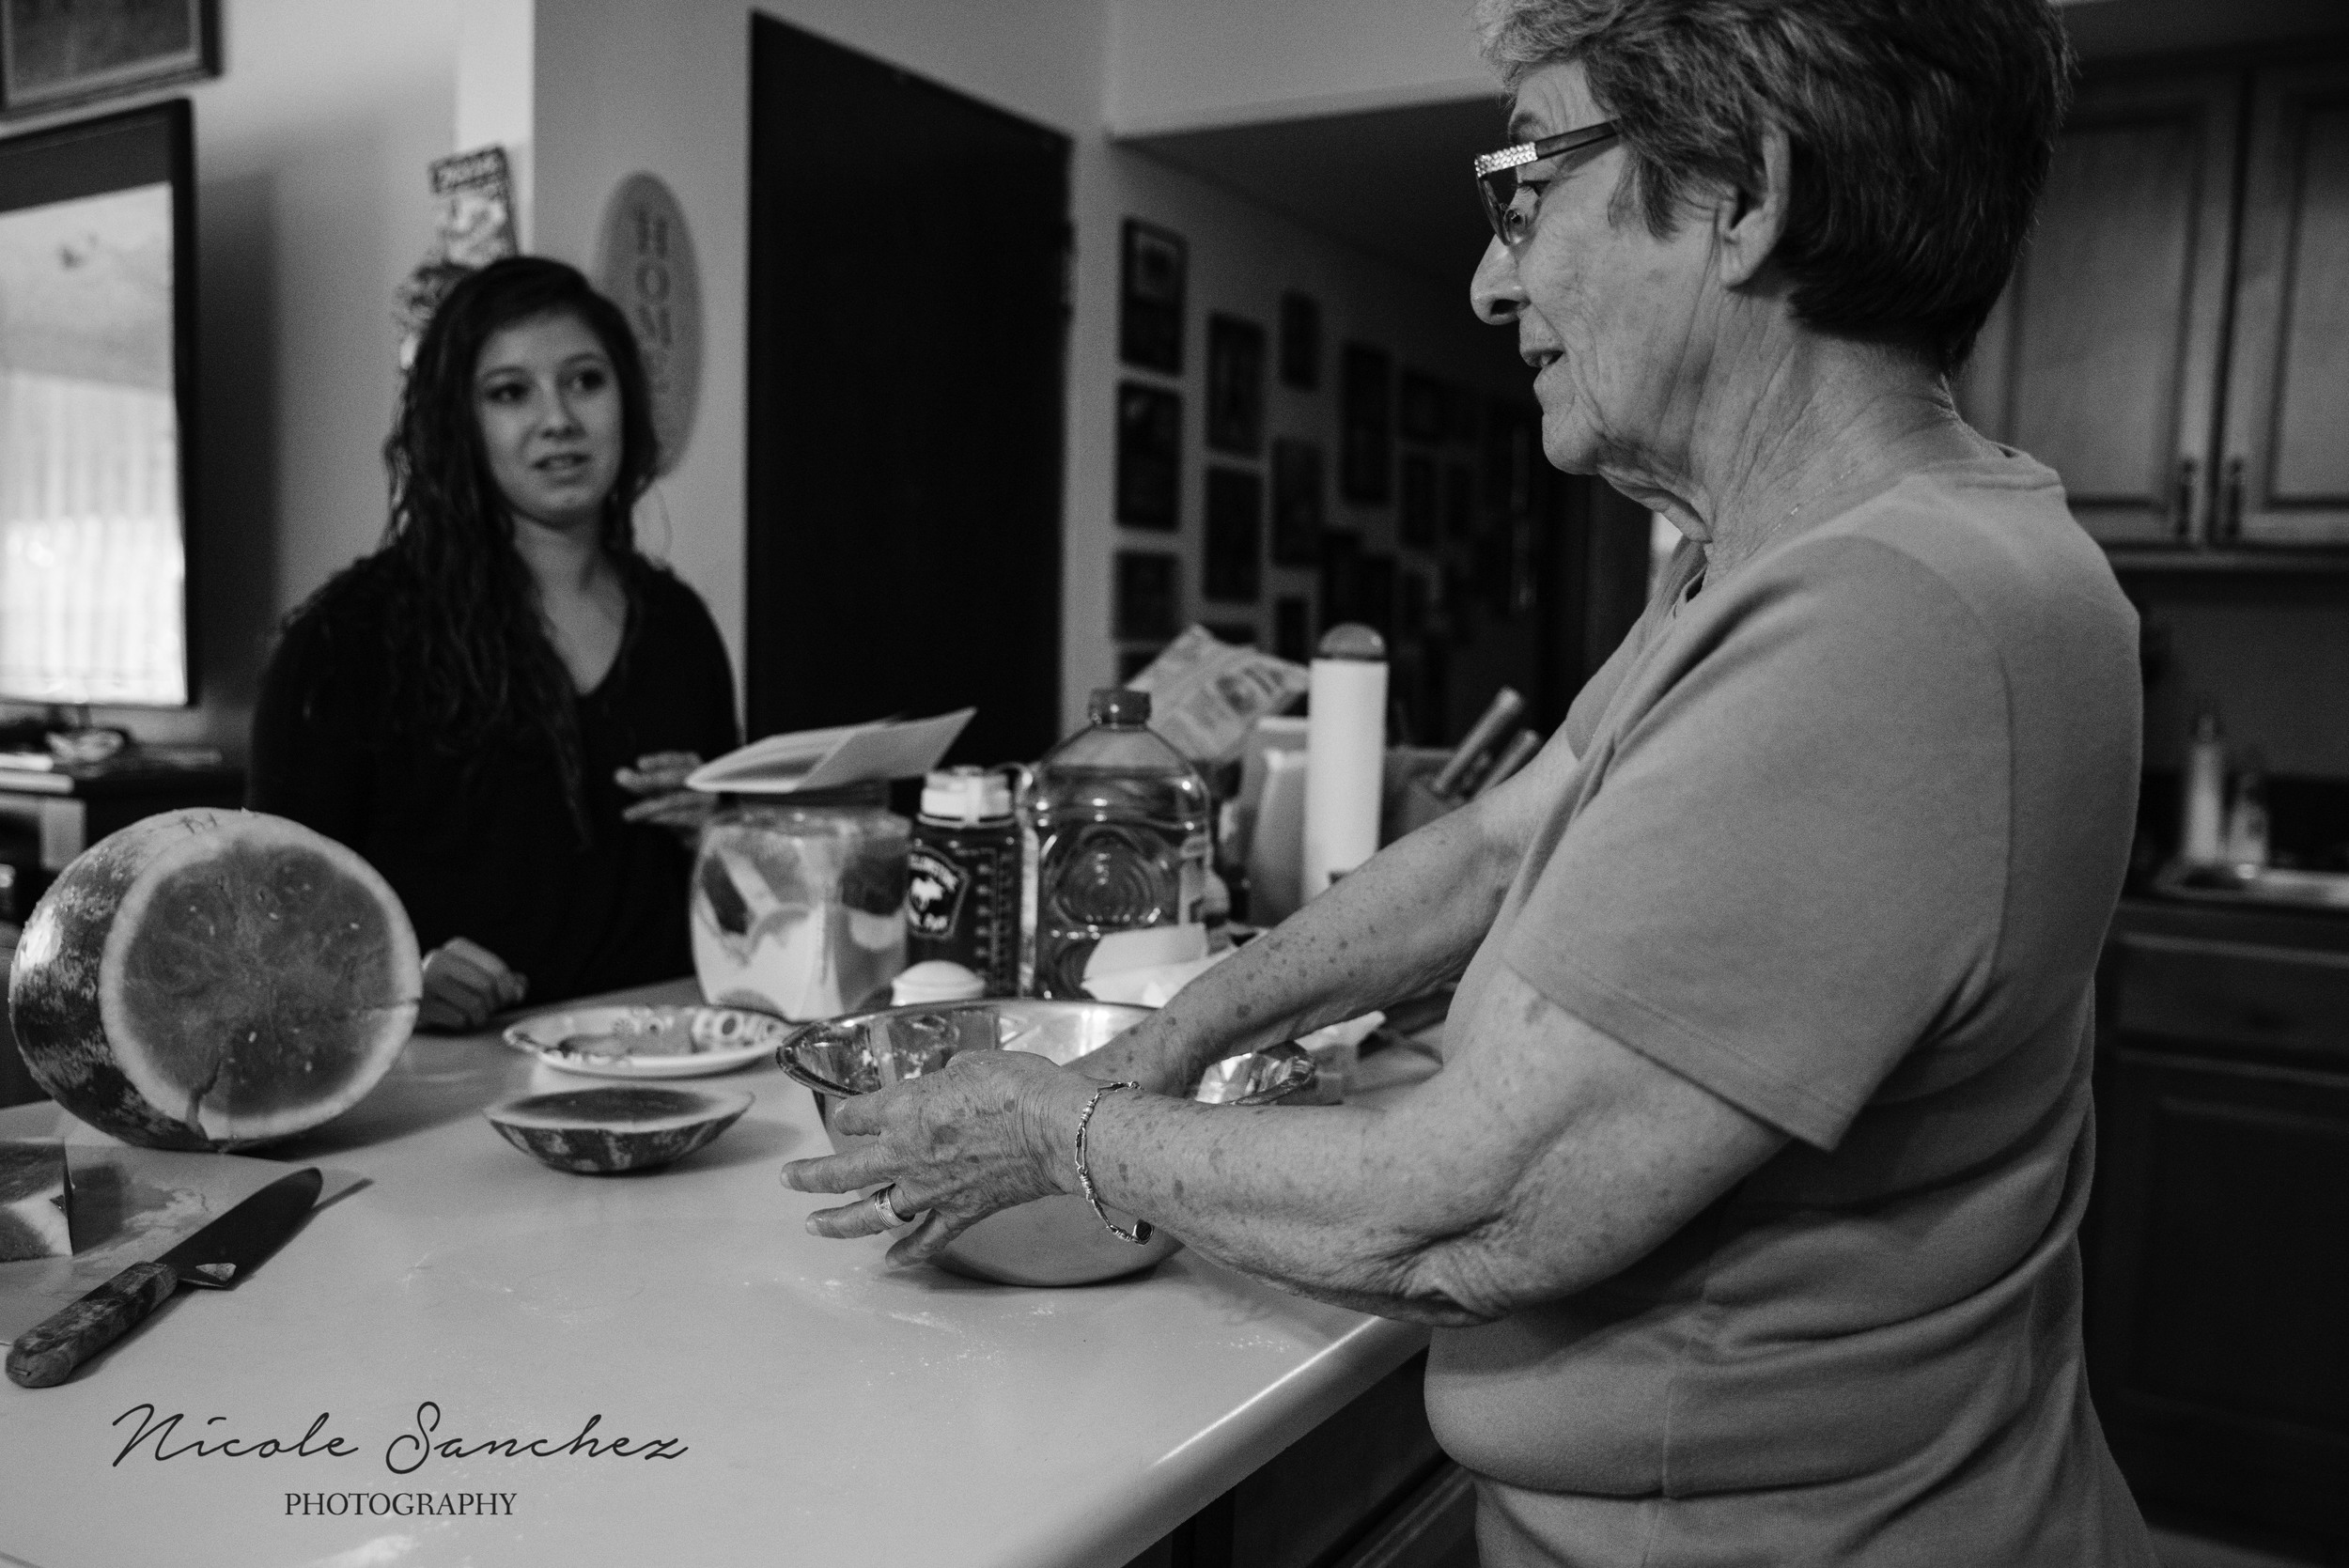
4. Don't discount the in-between.  These pictures (and the couch image above) were taken on a restful afternoon between activities.  Nothing much was happening, but I kept my camera out anyway.  And I'm so glad I was able to document my mother-in-law making tortillas - a delicious family tradition.

5. Have fun (and maybe let the rules slide a bit)!  Vacation is the perfect time to let loose, try new things, and let rules slide a bit.  Jumping on the hotel bed?  Sure, get that energy out! Sitting in the dirt to get a fun angle?  Why not? Staying up way past bedtime to keep the fun going (and take advantage of that beautiful golden light)?  We can just sleep in tomorrow!

6.  Finally, as always, get in the frame!  Because you were part of your vacation too!  Happy summer!