
I've had these blocks planned for months and thought I'd give some to family with prints as Christmas gifts, but I didn't get around to making them in time. It turns out, they didn't take much time at all. And now, I have them ready in time for Mother's Day gifts (if I remember to mail them). :-)
Here's what you need:

- square wood blocks cut to size for your print (see note below)
- wood conditioner
- wood stain in your color of choice
- paint brushes
- rubber gloves
- old rags/cloths
- sand paper
- clips
- hot glue or super glue
- saw tooth picture hangers
- mineral spirits (or paint thinner for cleanup)
A note on the wood blocks. We had them cut at Home Depot. I knew I wanted to use them for my 5x5 prints, so I asked (actually my husband was the one who went on the Home Depot run, so I had him ask!) for 6x6 blocks cut to be cut from a plank. We ended up with 12 and a few of those were a bit oddly sized.
Here's what to do:

1. First sand any rough edges on the wood and wipe away any dust. I went over all edges and corners with a sanding pad. This isn't entirely necessary depending on how smooth the edges are on your blocks and whether you want a bit of an "aged" look. I did, so I sanded all around.
2. Put on your rubber gloves to protect your hands and make sure you're in a well-ventilated area or outside (I wouldn't do the staining process inside because of the fumes.)
Use a paint brush to apply wood conditioner to the plaque. Allow to rest for 5-10 minutes, then wipe off any excess with a clean, dry cloth. In my case, I took the dog for a walk and by the time I got back there was no need for wiping.

3. Next, the staining. But first a note: It's useful to do a bit of testing on an extra piece of wood to determine how long to leave the stain on and how many coats you need to apply to get your desired color. It lengthens the process, especially if you wait for the test piece to dry, but it's worth it to ensure your end result has the color you want. I went with only one coat on these blocks, but any imperfections in the wood are fairly apparent, so if that's a concern for you, you might choose to go with a darker stain or more coats.
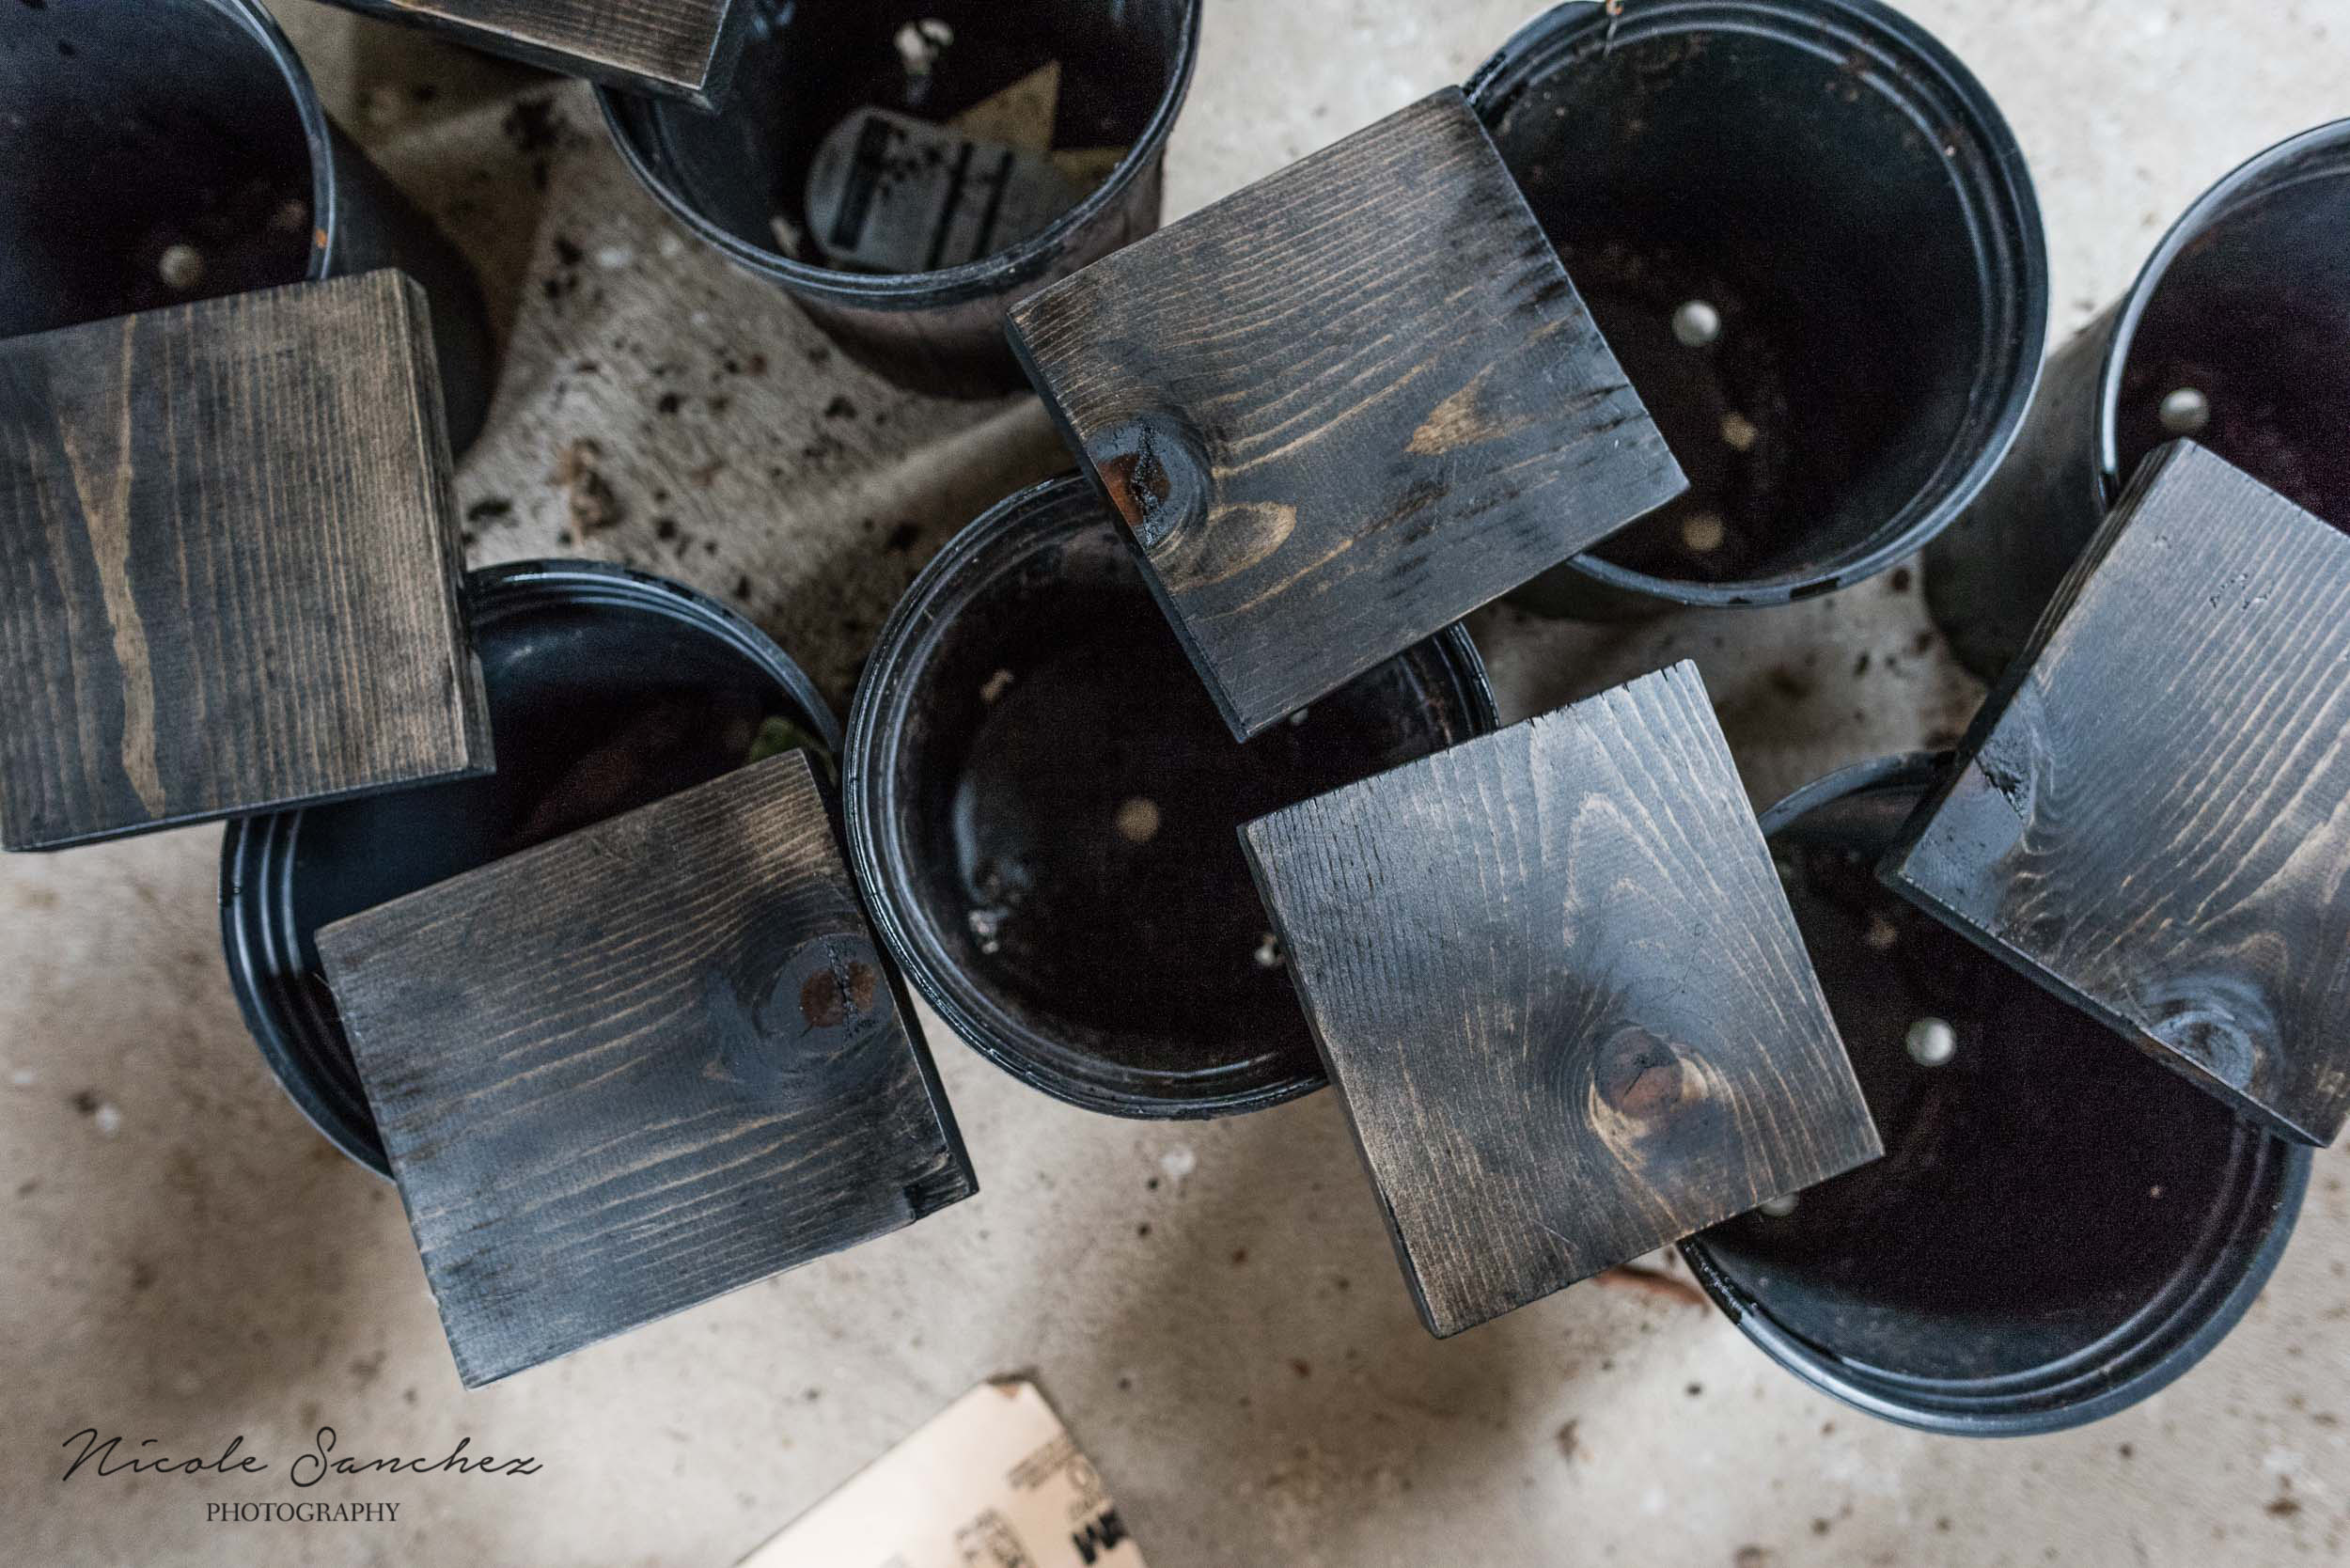
Apply a coat of stain with paint brush. I used one coat of Minwax Ebony and let rest for about 15-20 minutes. Then, wipe away excess with cloth and let dry. (Mine rested for several days before I was able to get back to them.)
4. Apply wax coat. I wanted something a bit different than the sheen of varnish to finish the wood (see my vacation photo display tutorial). I loved the idea of a matte finish to work with the matte square prints, so I went with a finishing wax.

I scooped some of the wax into a double-folded cheesecloth and went over the blocks until they were coated. After a couple of hours (though I think they were probably dry in about half an hour), I wiped down the wood with a clean cloth (okay, it was an old sock).

5. Next, attach the saw tooth picture hangers.
6. Measure and attach the picture clips to the other side of the board. I tried hot glue first, but the clips popped off too easily when I inserted the print, possibly from the wax finish, so super glue ended up a better option for me.
7. Add your prints and display happily! I'm looking forward to sharing these for gifts!


Did you enjoy this tutorial? Check out my free guide 4 Steps to Stop Time and Savor the Moment with Your Family. It's a simple and fun plan for documenting your family's life with beautiful photographs.