No guilt photobooks | Northern Virginia Family Photographer

My life motto since having kids has been, "Done is better than perfect." Maybe there will be time for perfect some day (I won't hold my breath), but in the meantime this motto applies to just about everything, including making photo books.

Many of us start our parenting journey with Pinterest-worthy plans of documenting our kids' childhoods. We may even have special baby books and keepsakes from that first year of milestones. Maybe we even kept it up a second year. (Or maybe we never even got to our wedding album.) Then life happened and all our plans sort of fell apart.

If you're like me, despite your best intentions, you're a year (or a few) behind on printing photo books for your family. I don't have any magic remedies to check all the books off your list, but I do have a few tips to ease the backlog (and the mom guilt) a bit.

Stack of photo books featuring family vacations by Northern Virginia Photographer Nicole Sanchez

Choose an event instead of a whole year. 

Like any big project, breaking it into pieces makes it more doable. You may have thousands of photos throughout a year. They're probably on multiple computers or multiple devices. It's too much to go through in one sitting. You have to break it up into manageable chunks. My favorite way to do this is to have special photo books for vacations or family visits. (Bonus: these make great gifts for family members.)

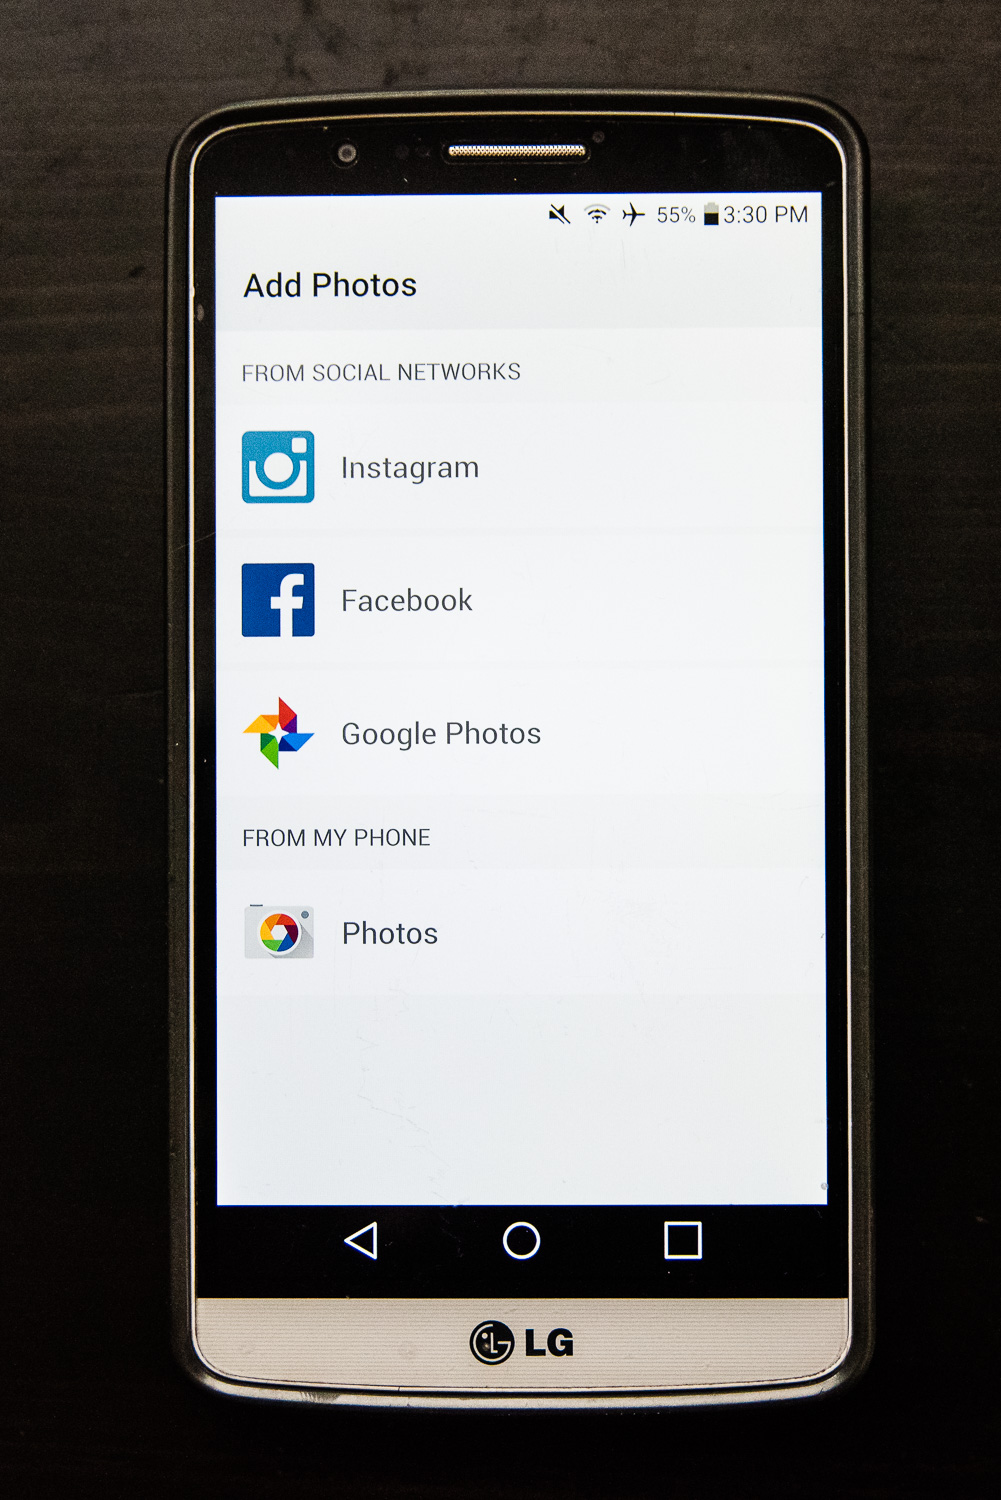
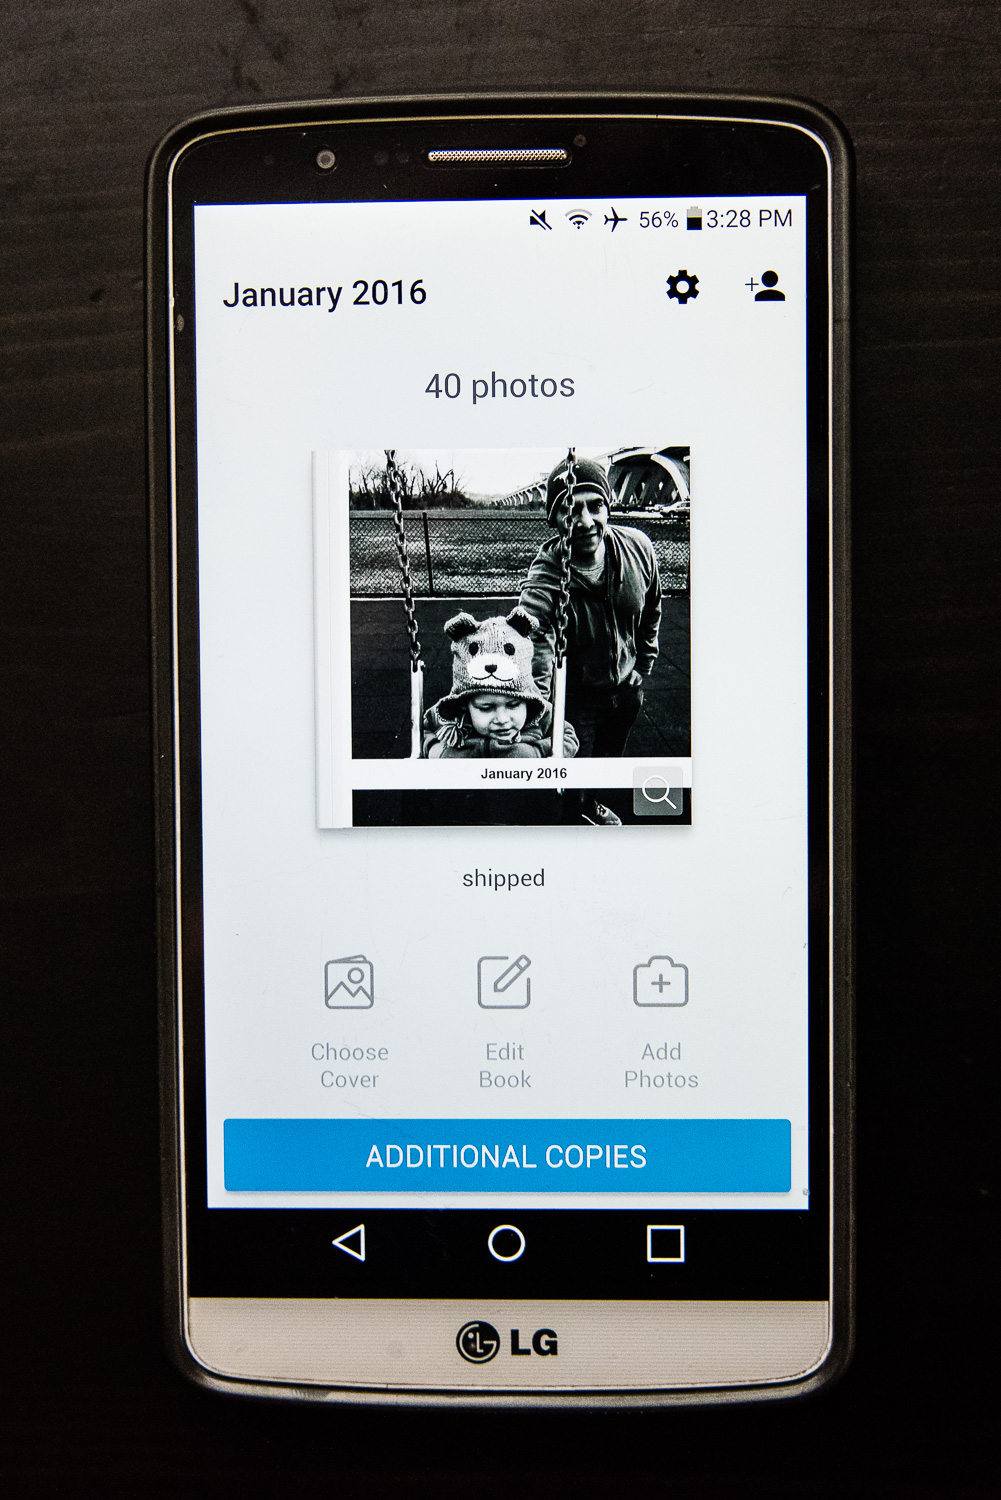
You could also do this by breaking the year up into sections. For my phone photos especially, I find that printing one or two months at a time is much more manageable than organizing a whole year. If you use a service like Chatbooks, you can set up an automated feed and print whenever you reach a certain number of photos. 

Open photo book with pictures of family vacation by Nicole Sanchez Photography

Go date forward.

Start of with a win and go date forward rather than picking up where you left off with your last album. Maybe one glorious day you'll have time to go back and fill in the gaps, but for now just celebrate the small successes and work your way to the bigger ones. Start with a fun summer album and work your way through each season.

Embrace cloud storage and organization.

I use OneDrive to back up all my photos. The phone app automatically backs up all my mobile images to the cloud (and cleans up space on my phone), which makes me rest easier knowing my photos are safe in case I lose or damage my phone (like I just did while on vacation).

I can access these images from either my phone or my laptop when it's time to make a book. I also love that you can share folders as well. I have real-time access to all my husband's pictures and can add them to my own folders for albums.

Close-up of family vacation photo in a photo book by Northern Virginia Family Photographer Nicole Sanchez

Don't totally forgo digital. 

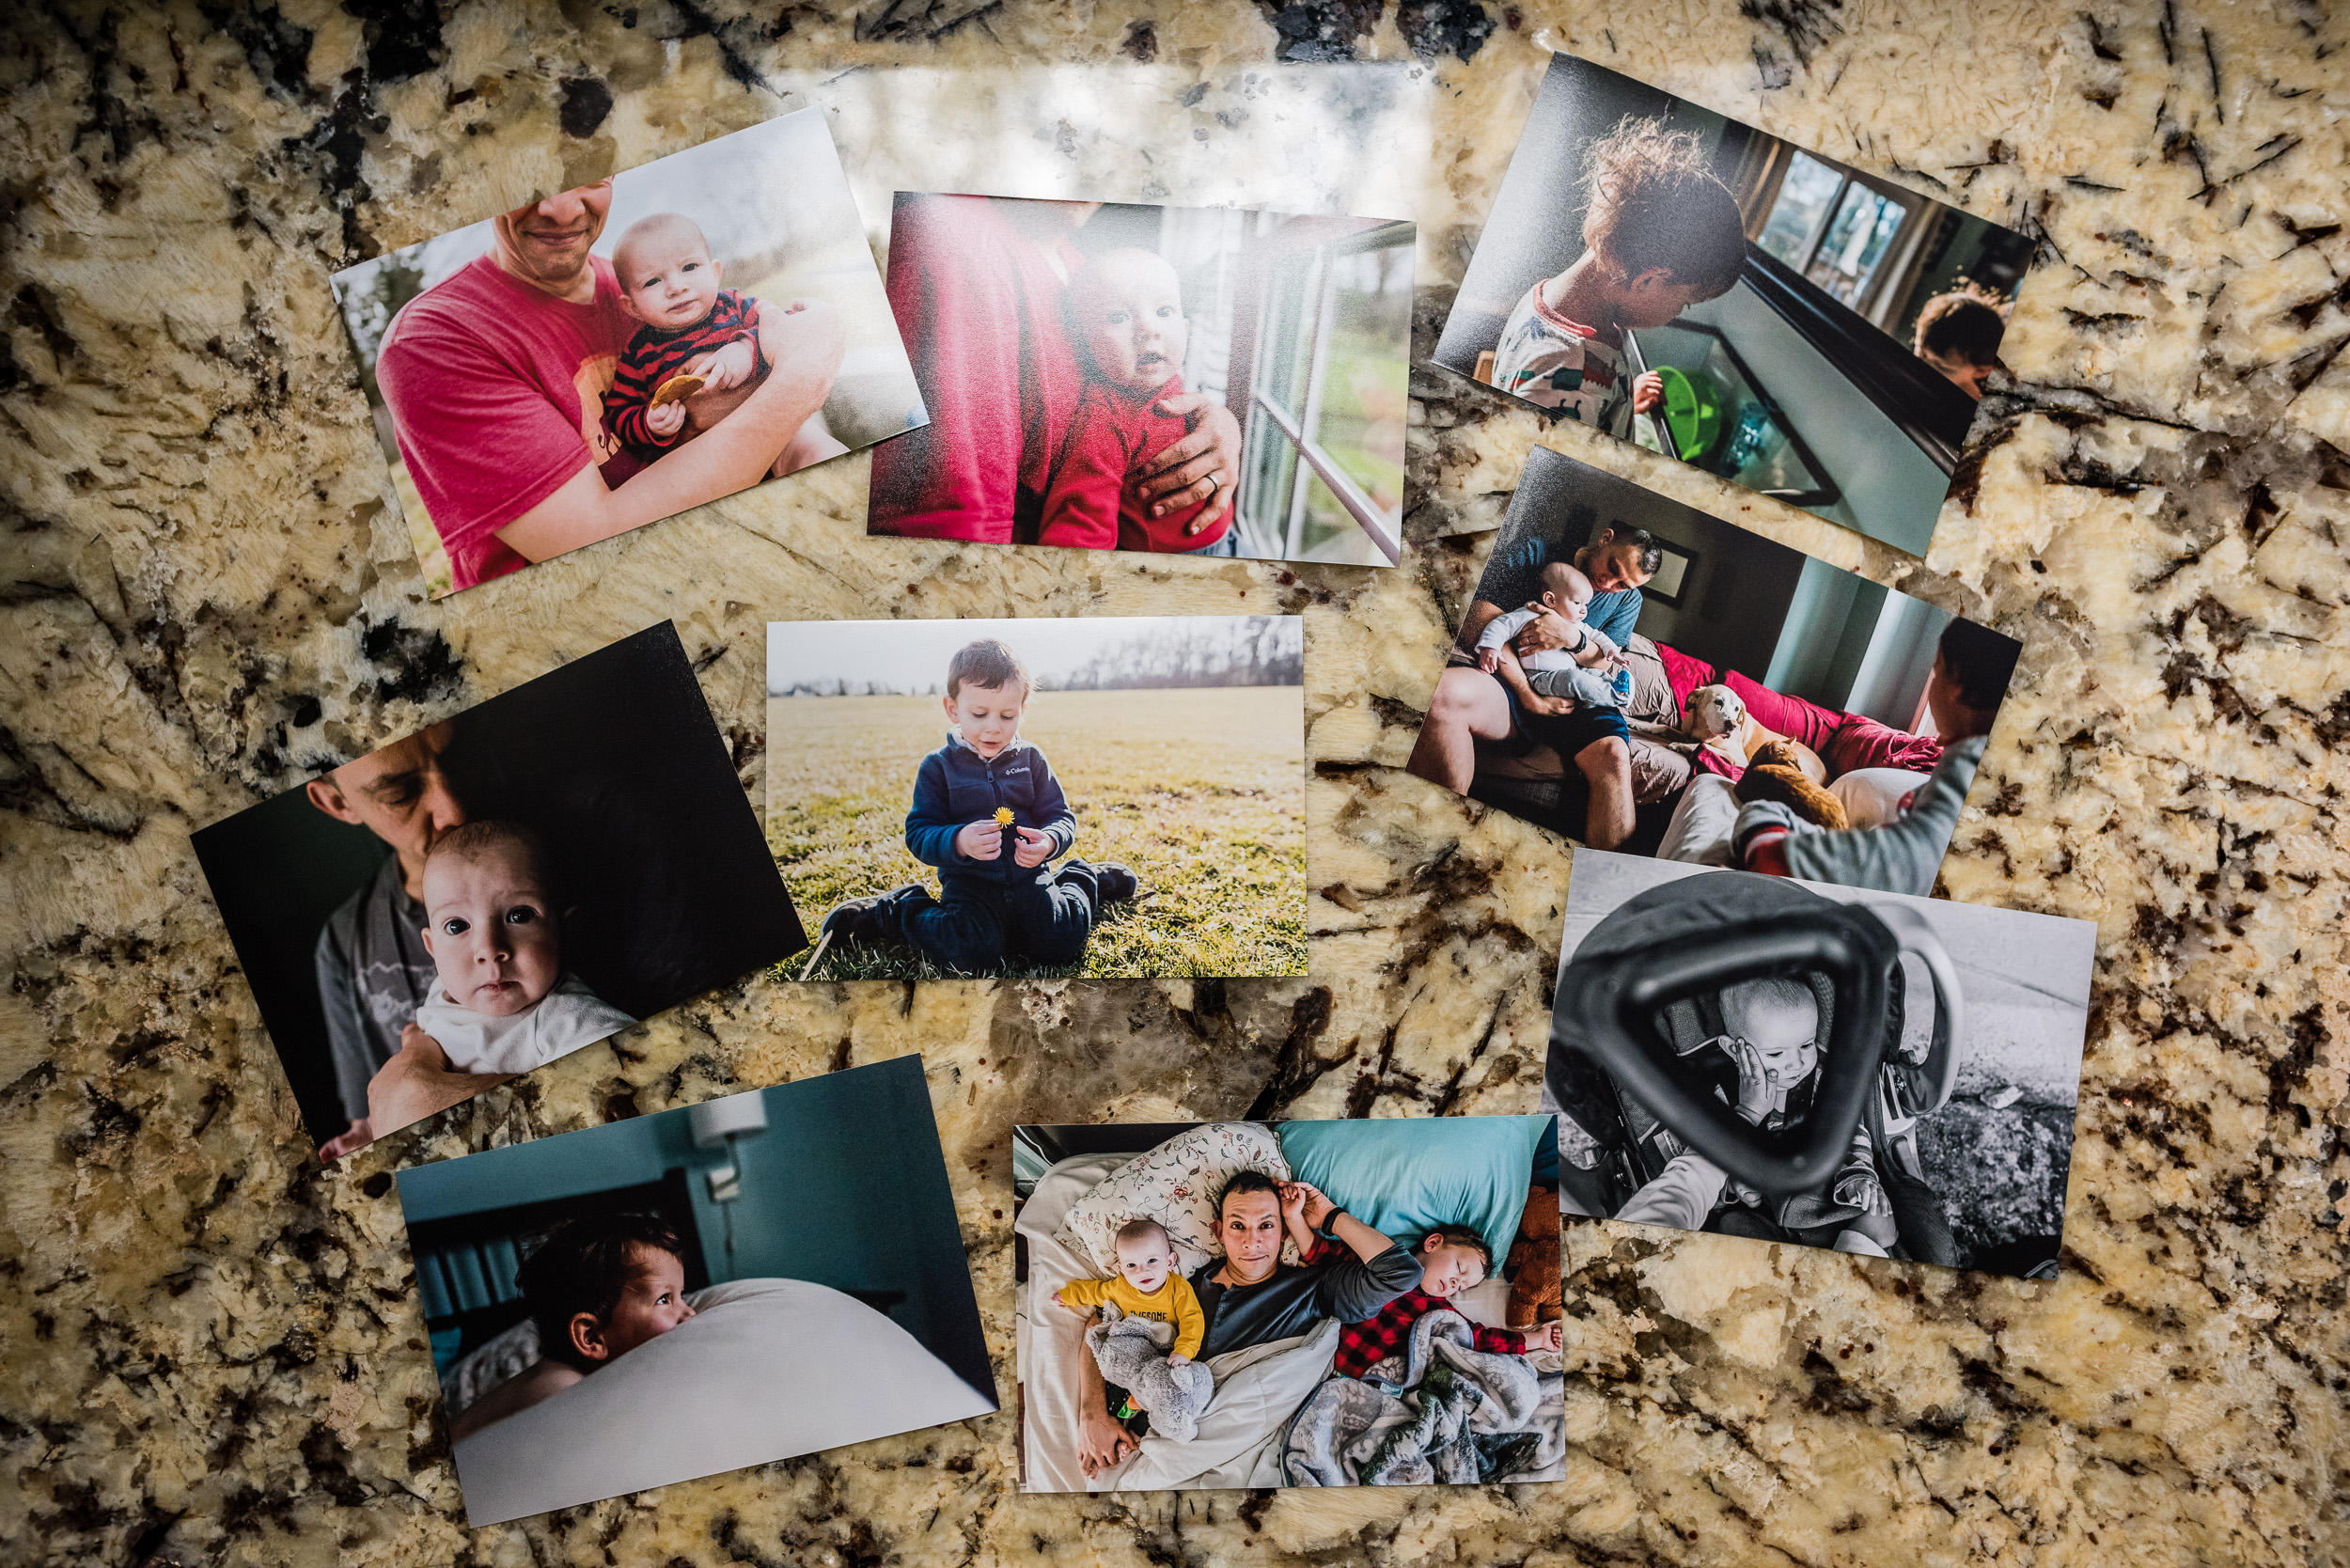
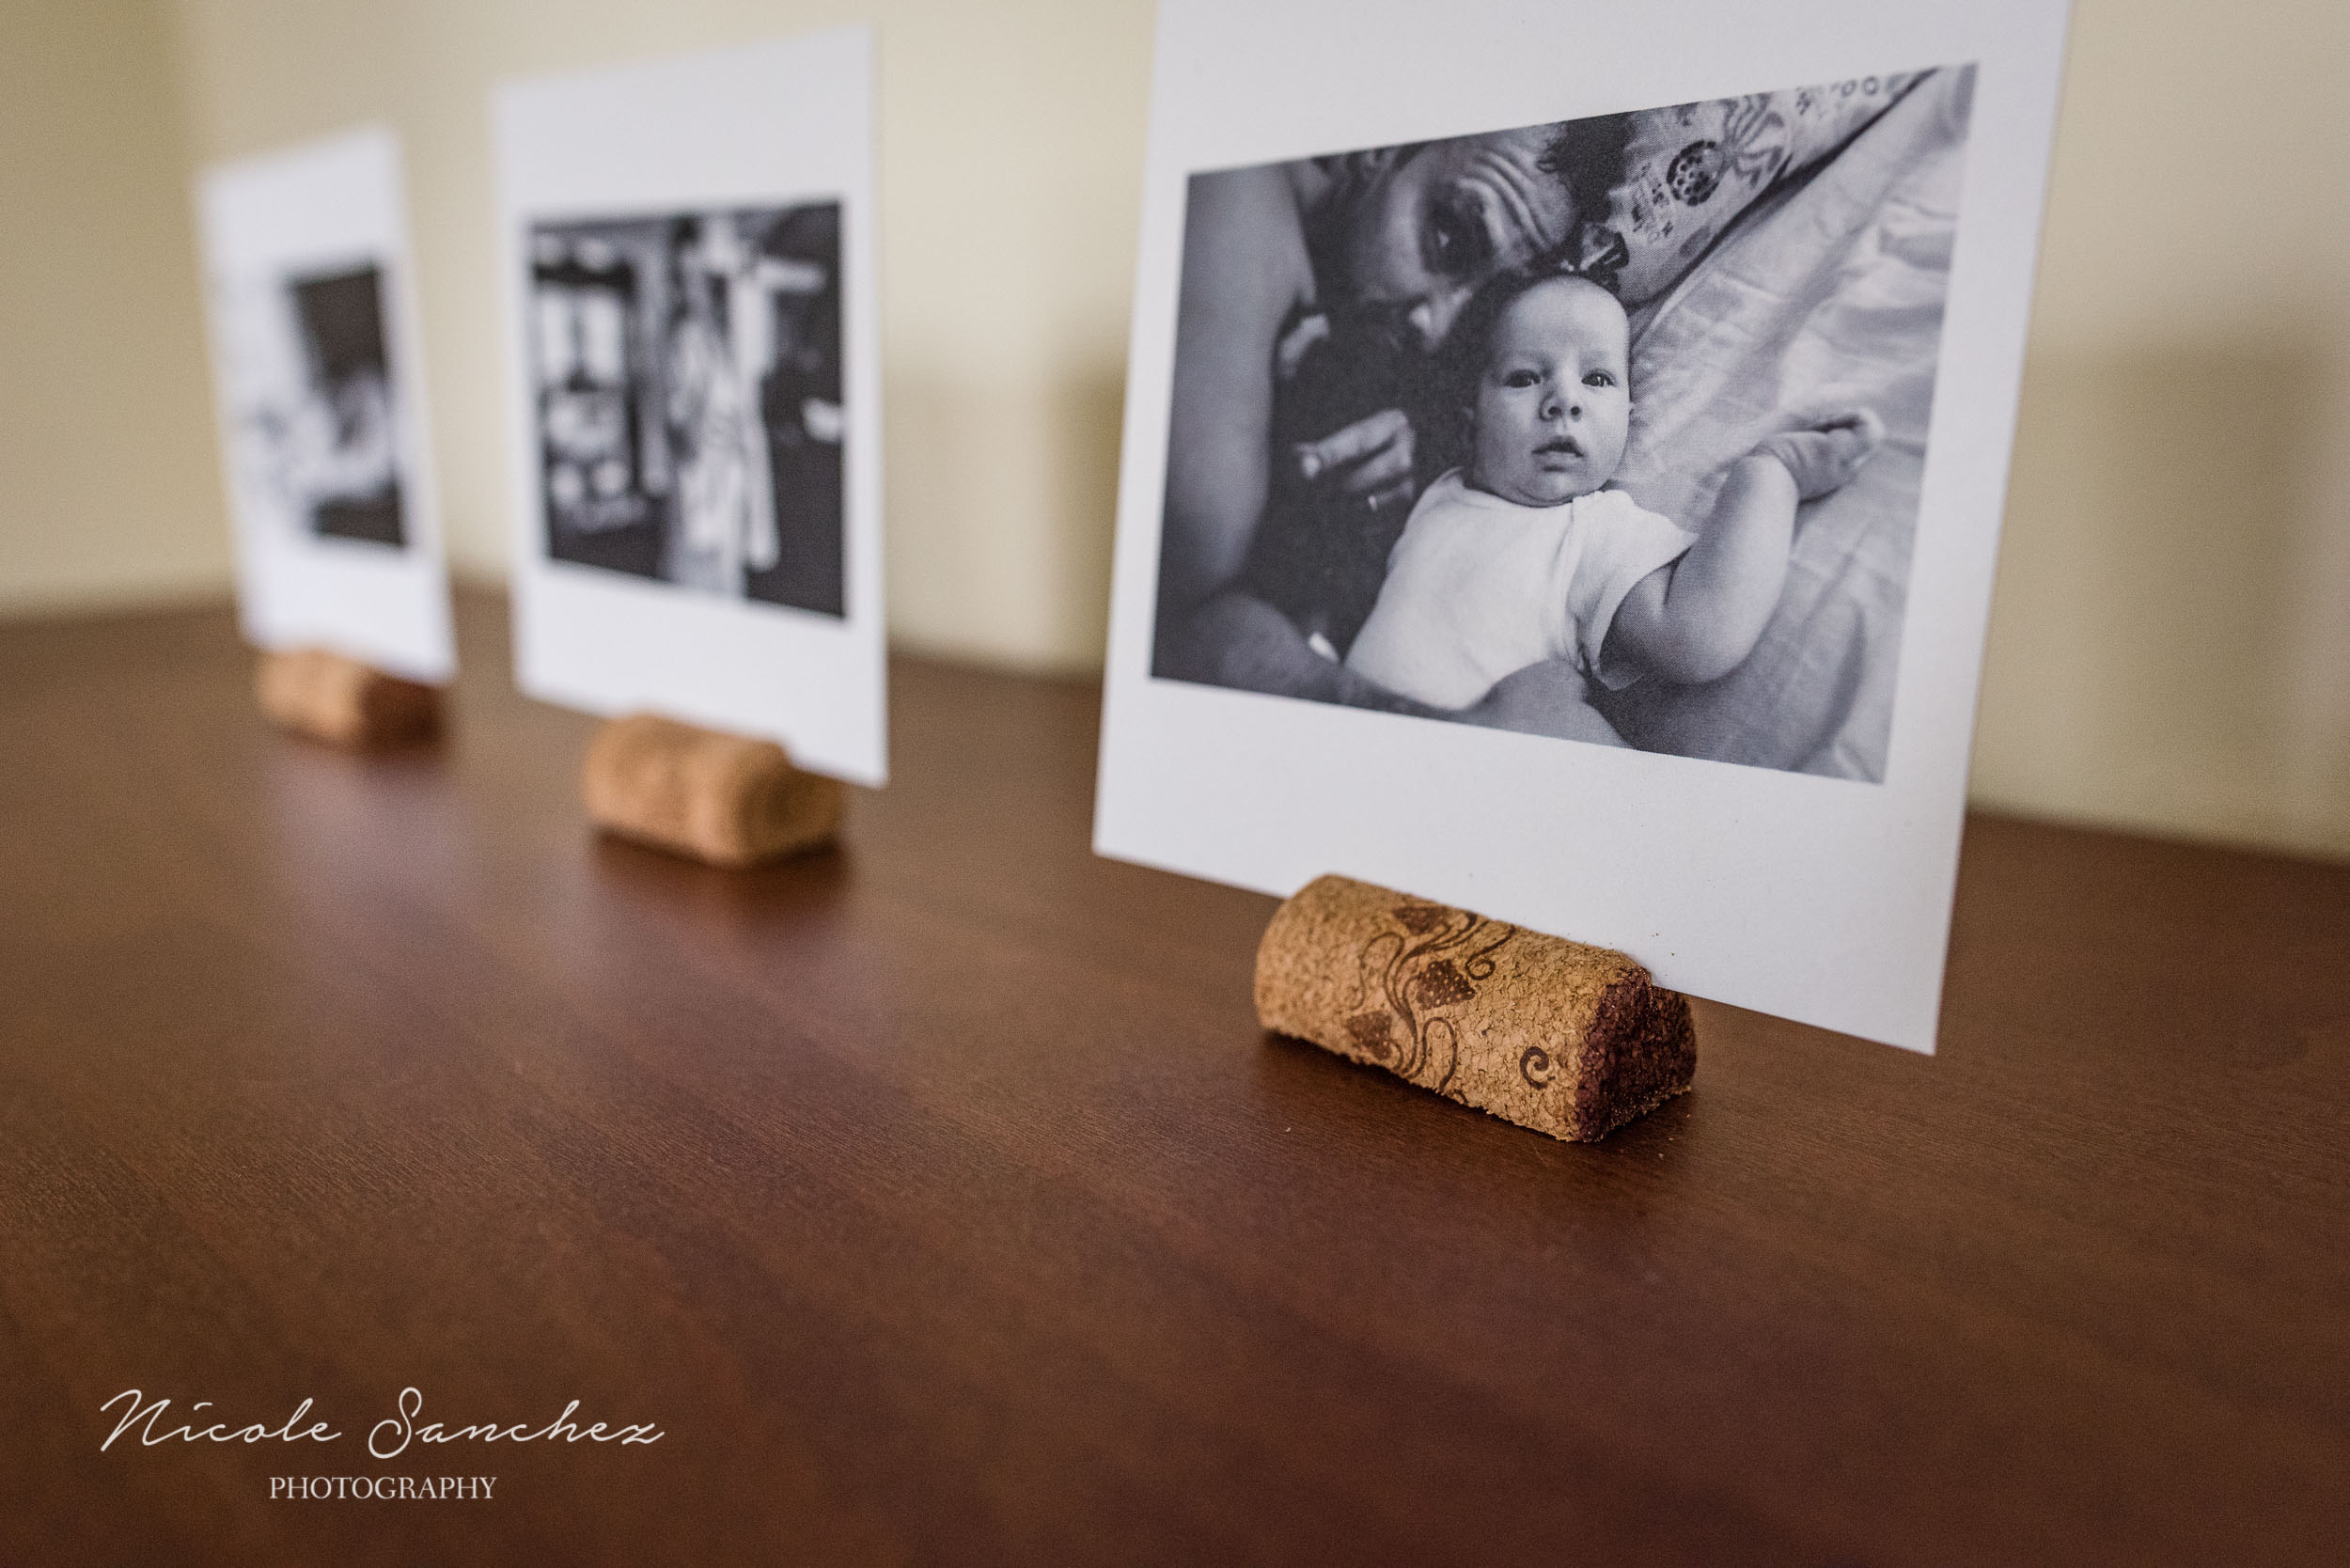
Printing is really important. Having all these images collecting digital dust on your hard drive or your phone is a waste, but you don't have to shun digital altogether. One thing I love about using Lightroom to make my photo books is that I can easily create and save a PDF version to my hard drive. We've set up email accounts for our boys (don't get me started on my lofty plans of writing letters to my kids every birthday...) and I can send them the files as an added measure in case the hard copy books ever get lost or destroyed. 

Variety of family photo books by Northern Virginia Family Photographer Nicole Sanchez

Ditch perfection and celebrate whatever you're able to accomplish.

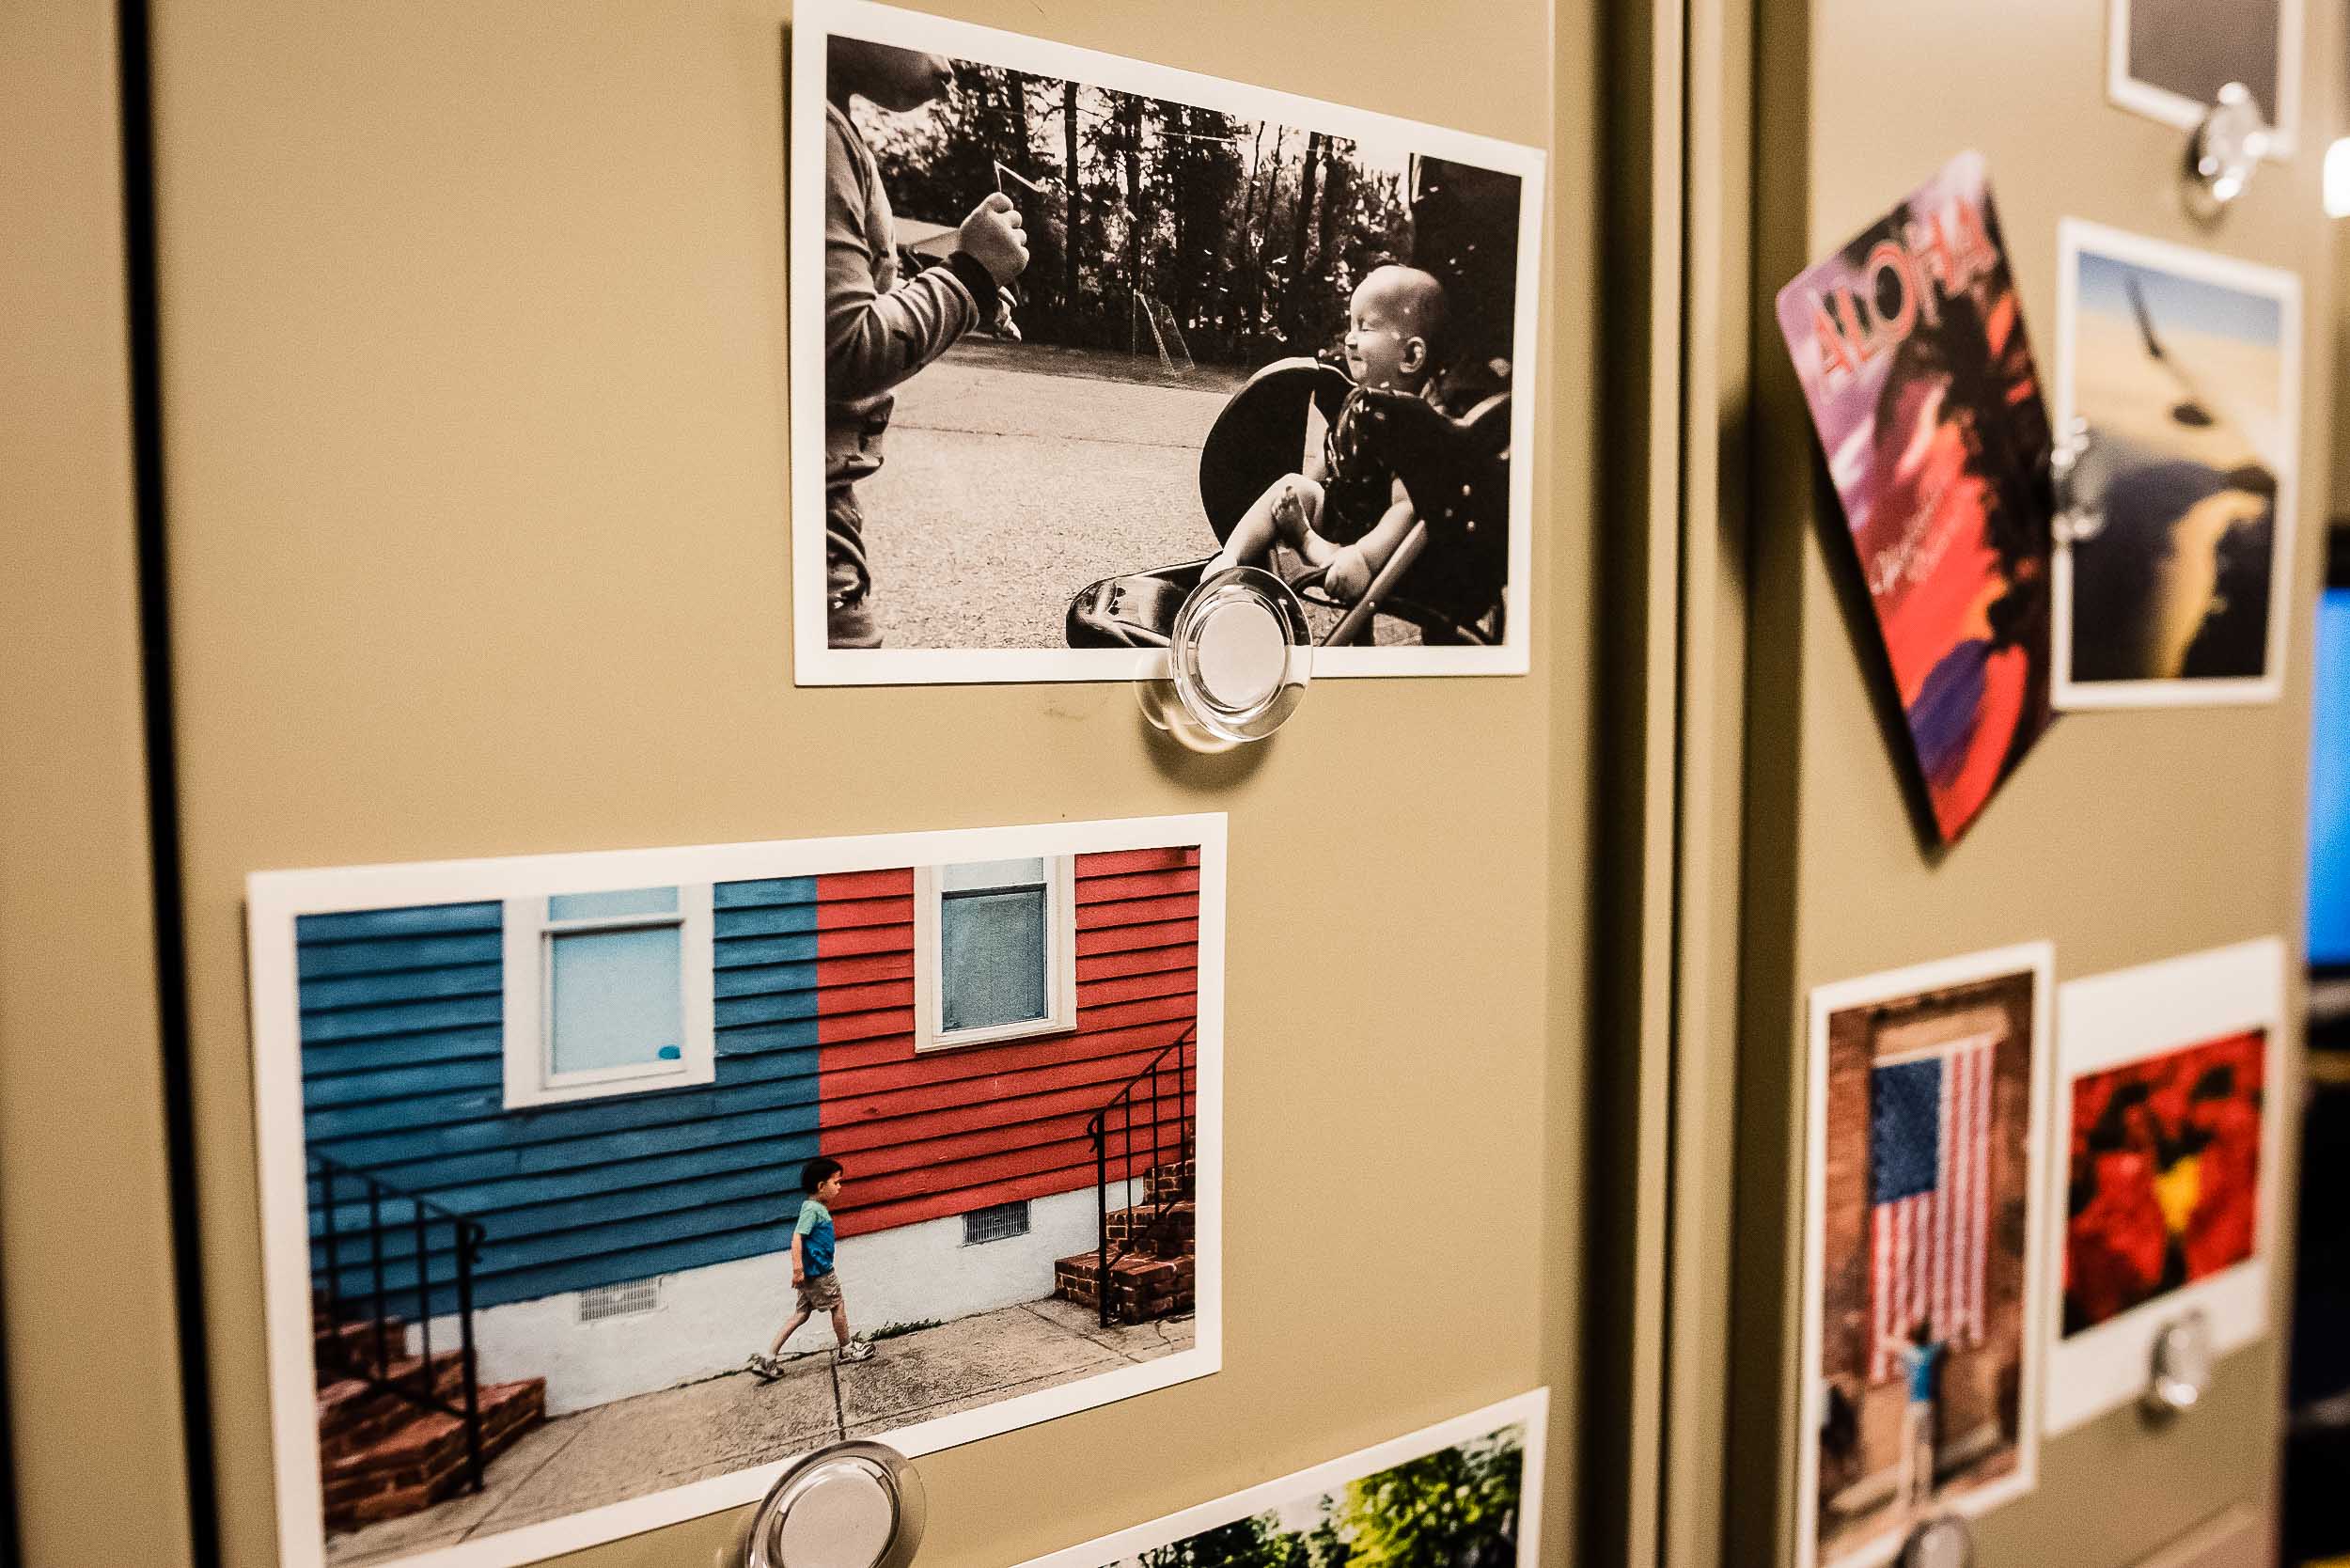
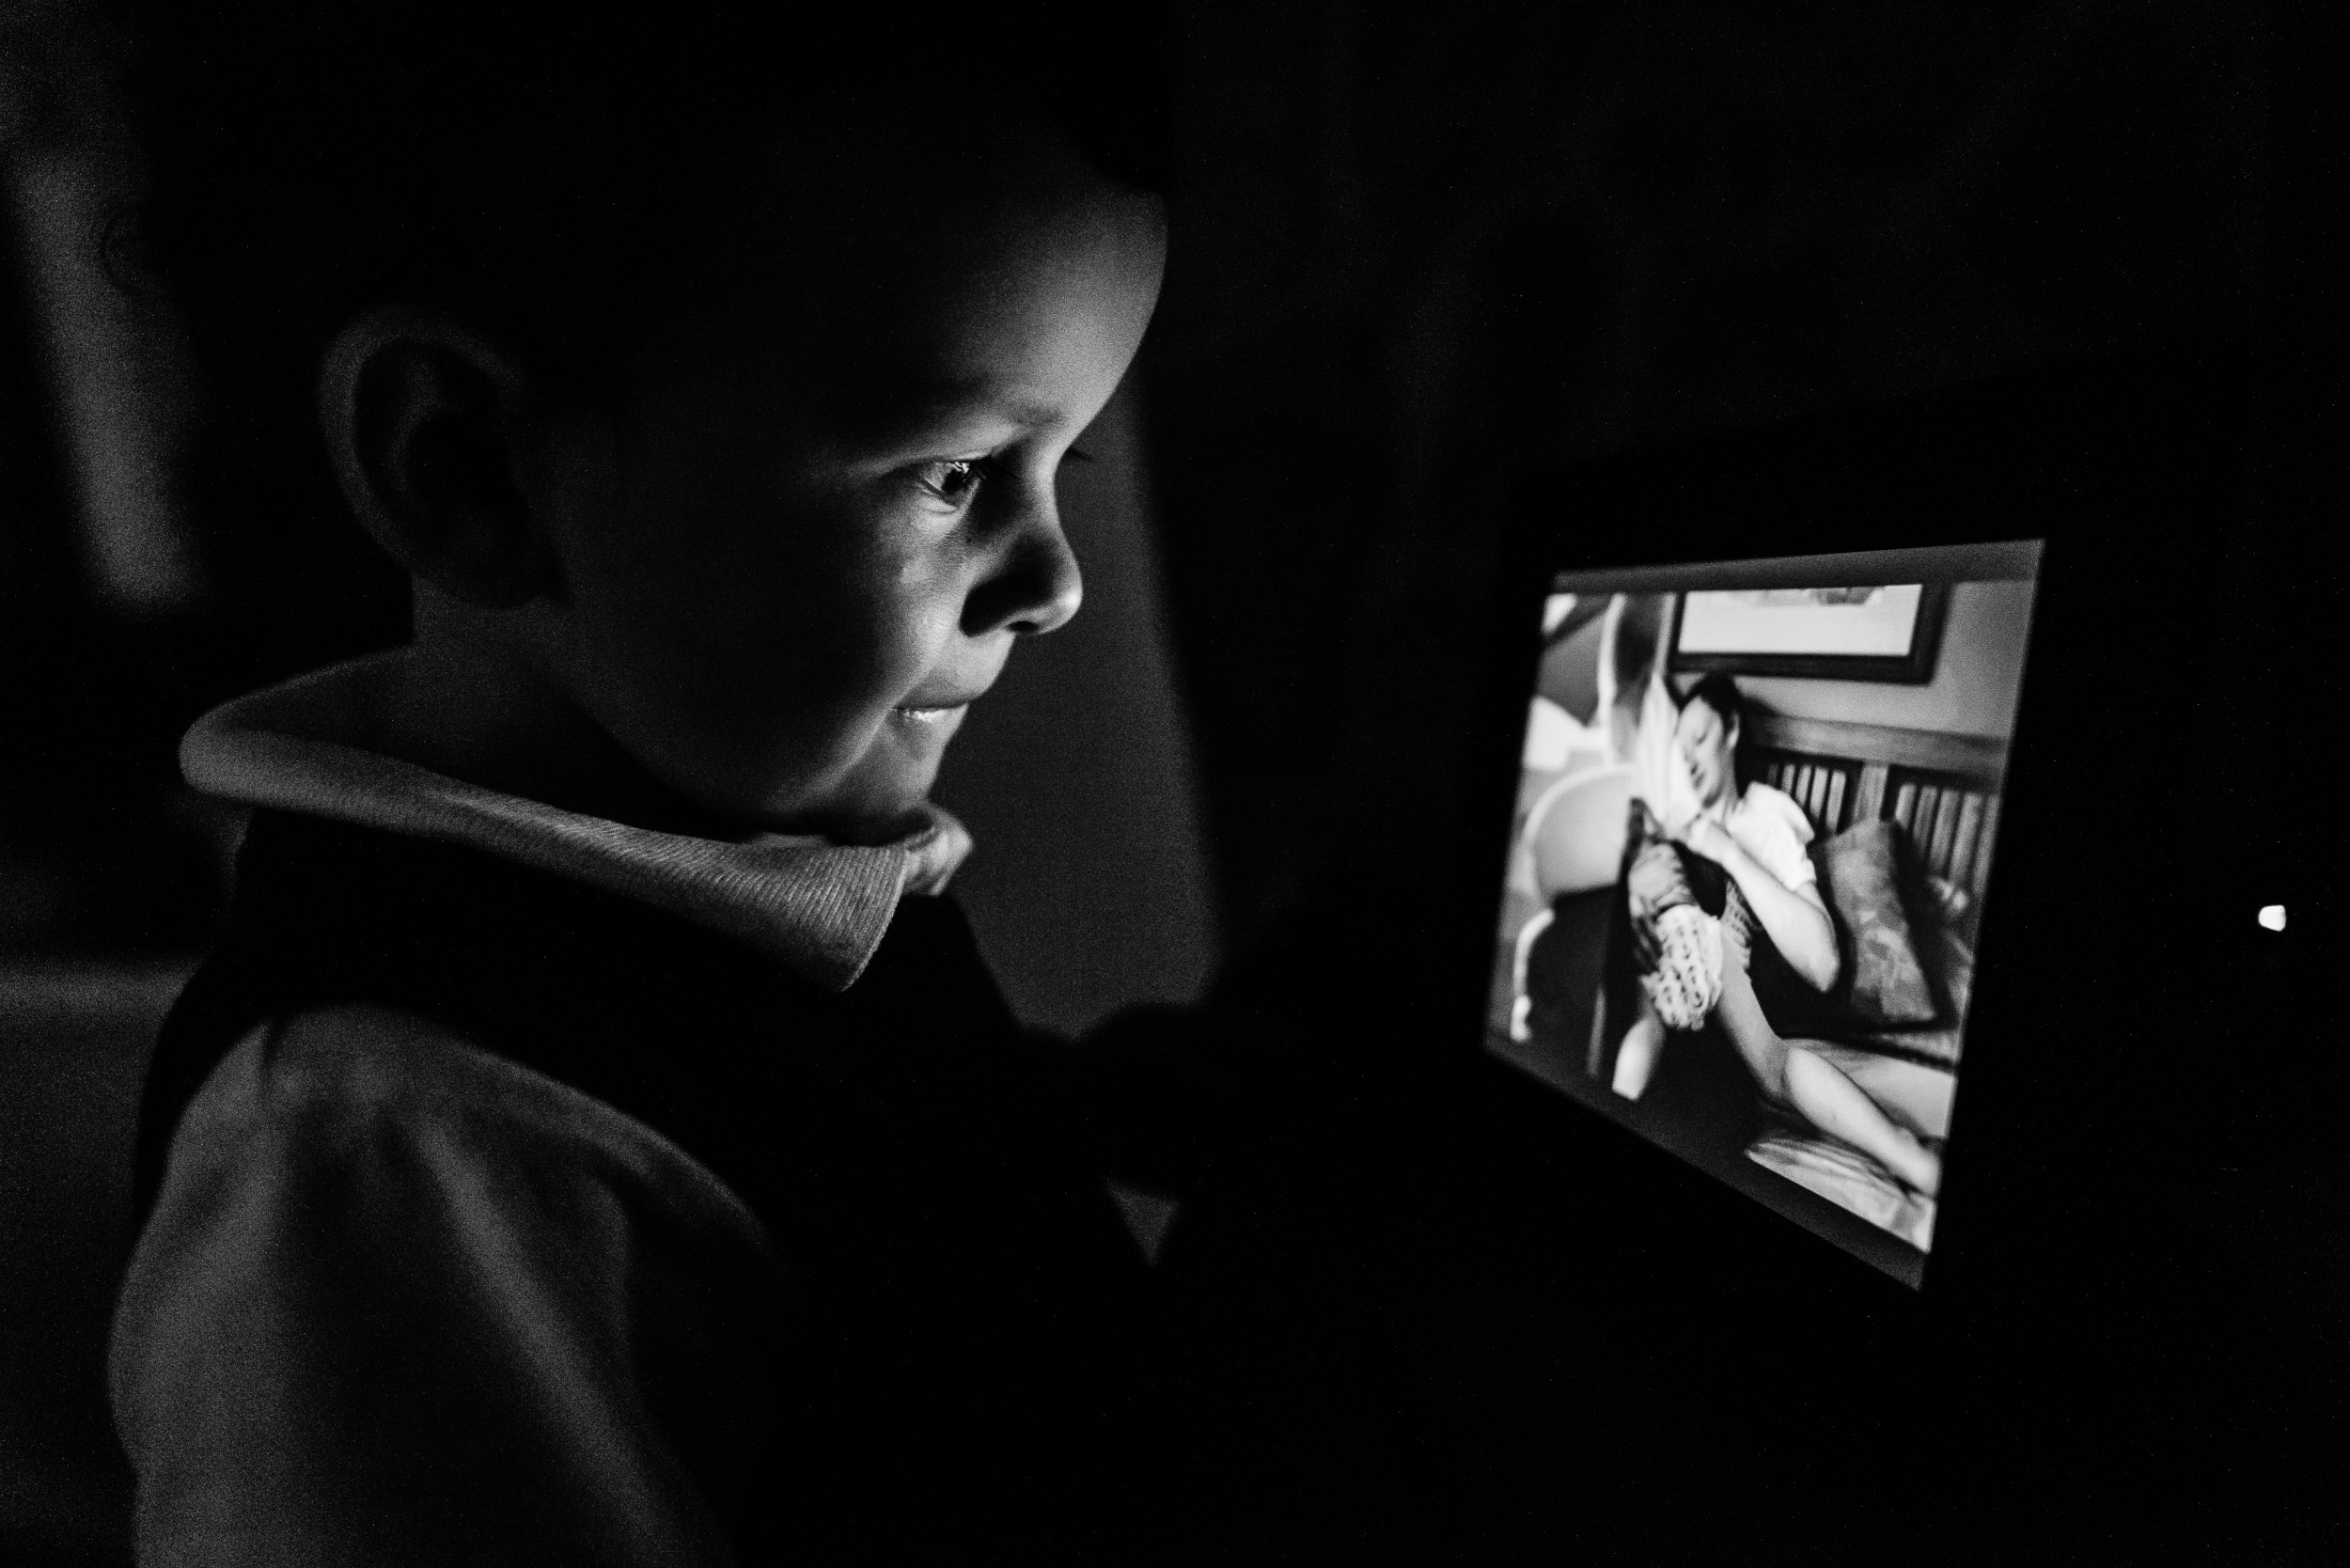
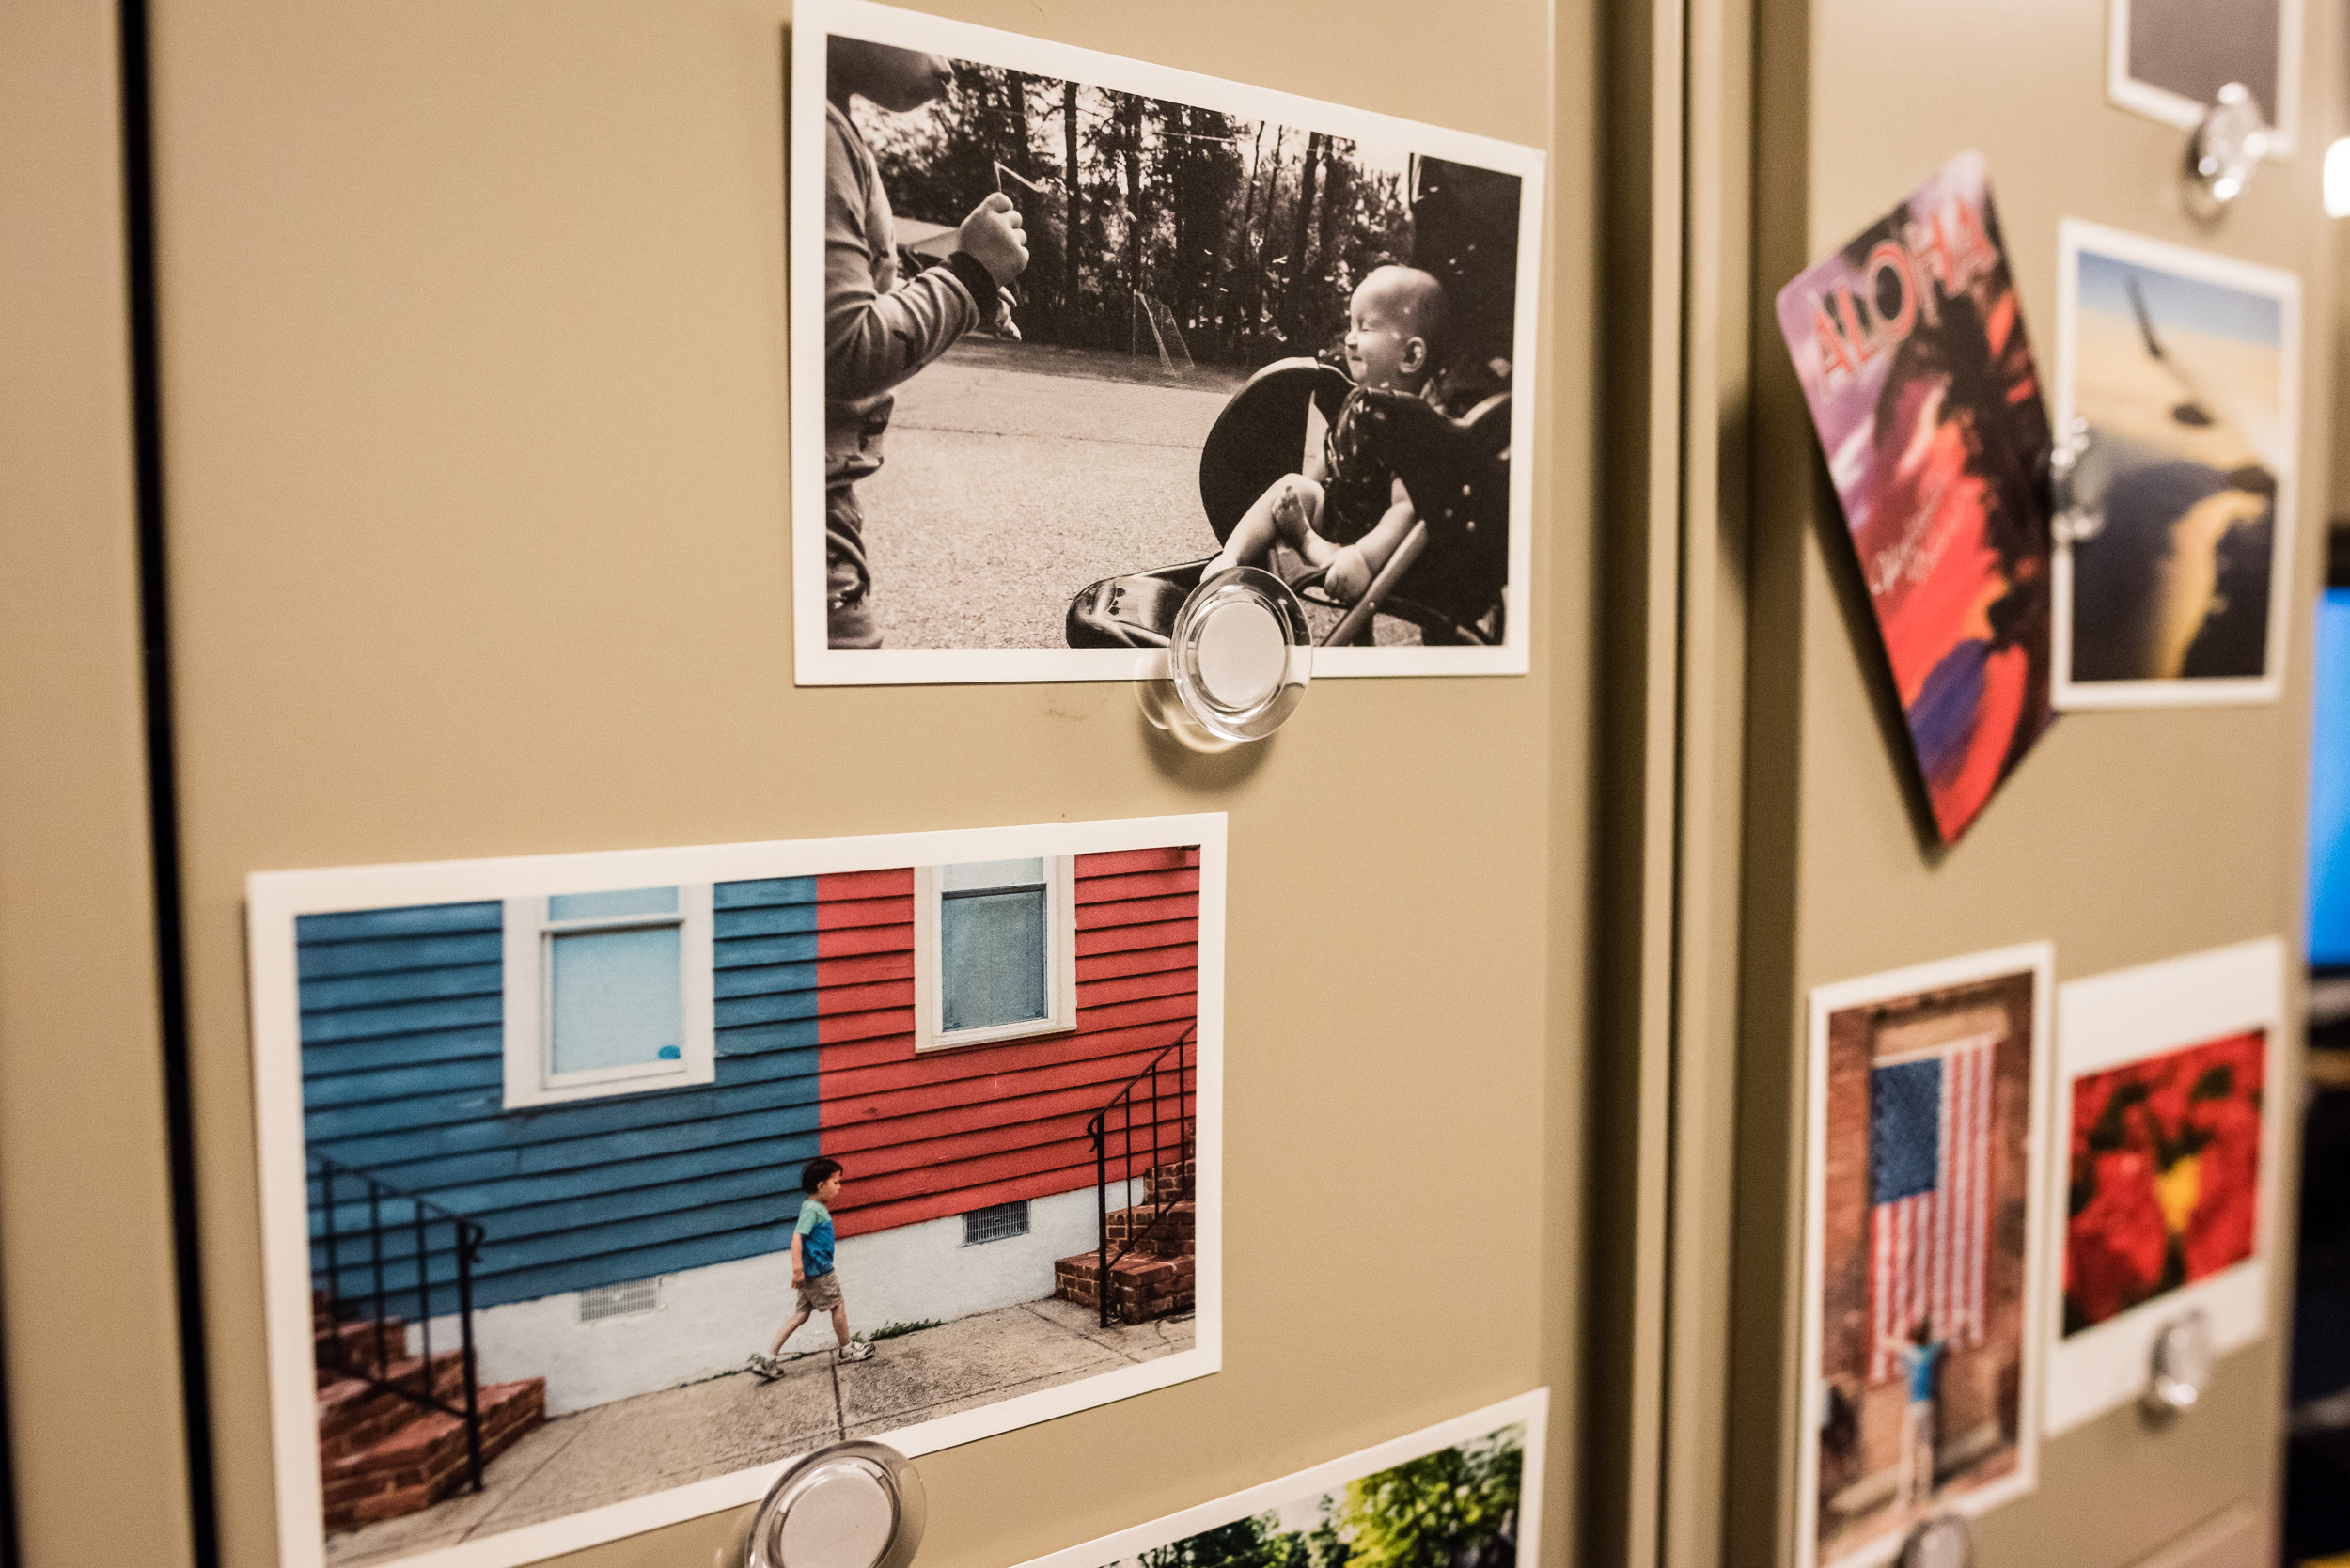
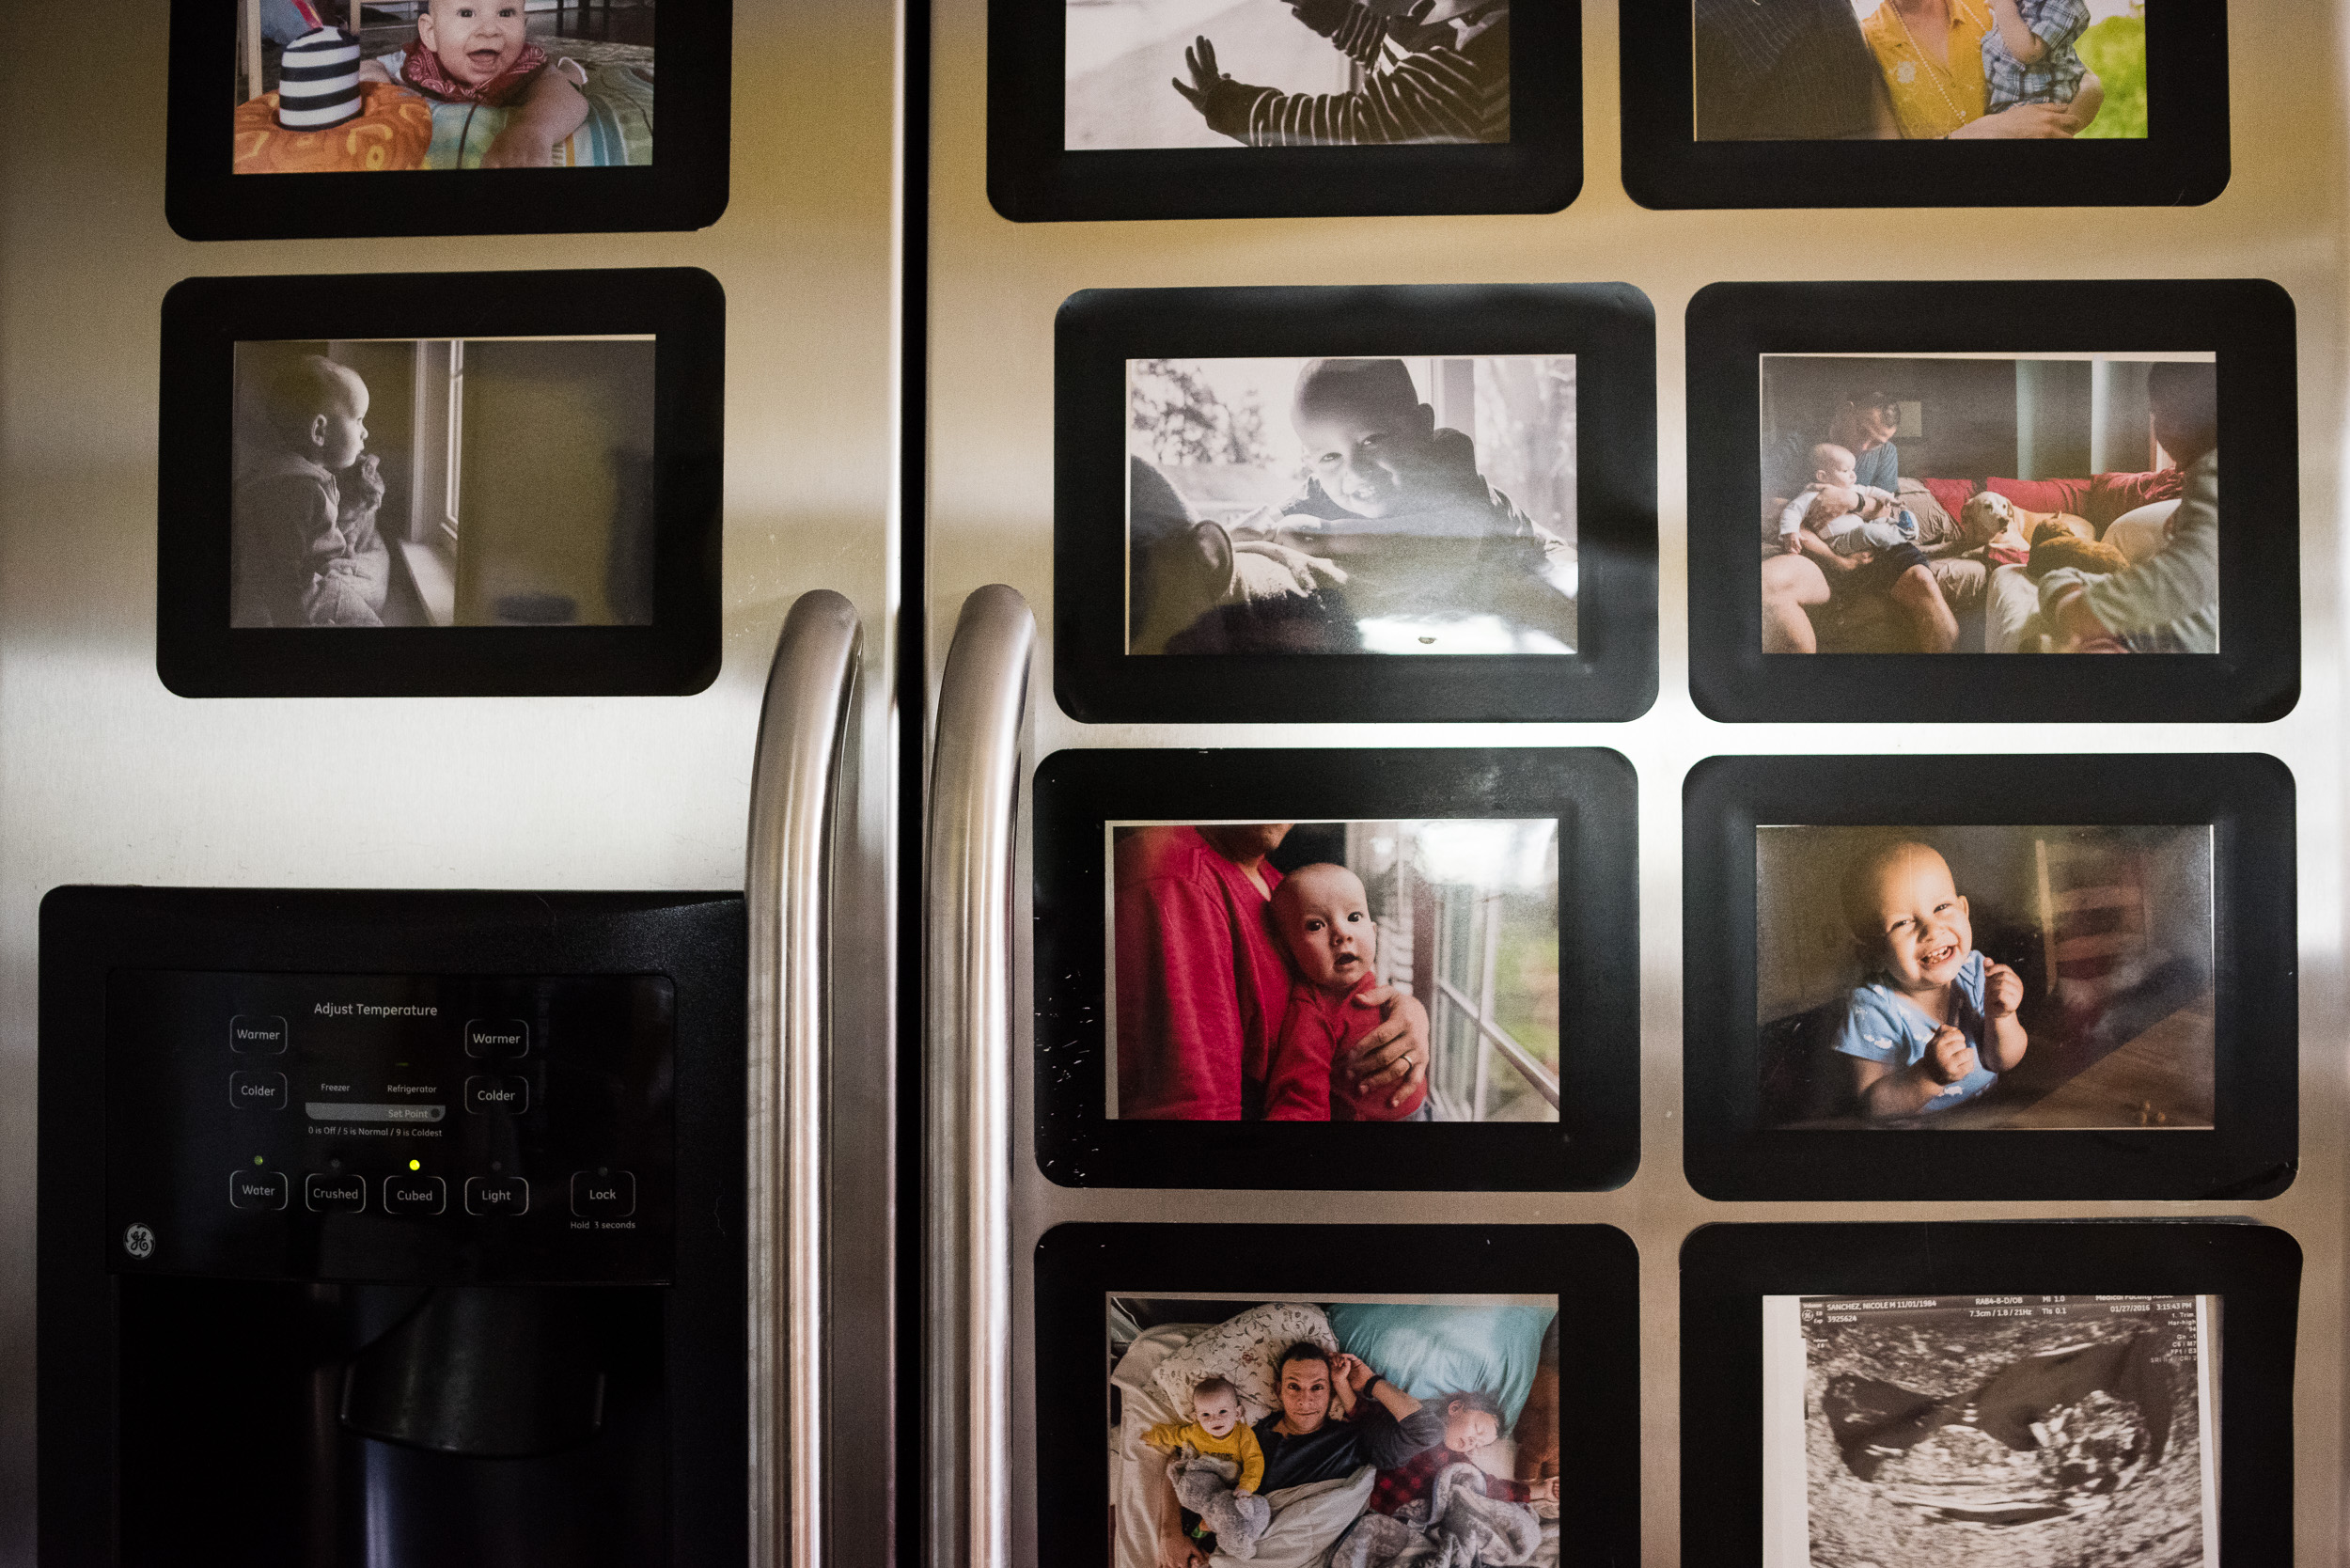
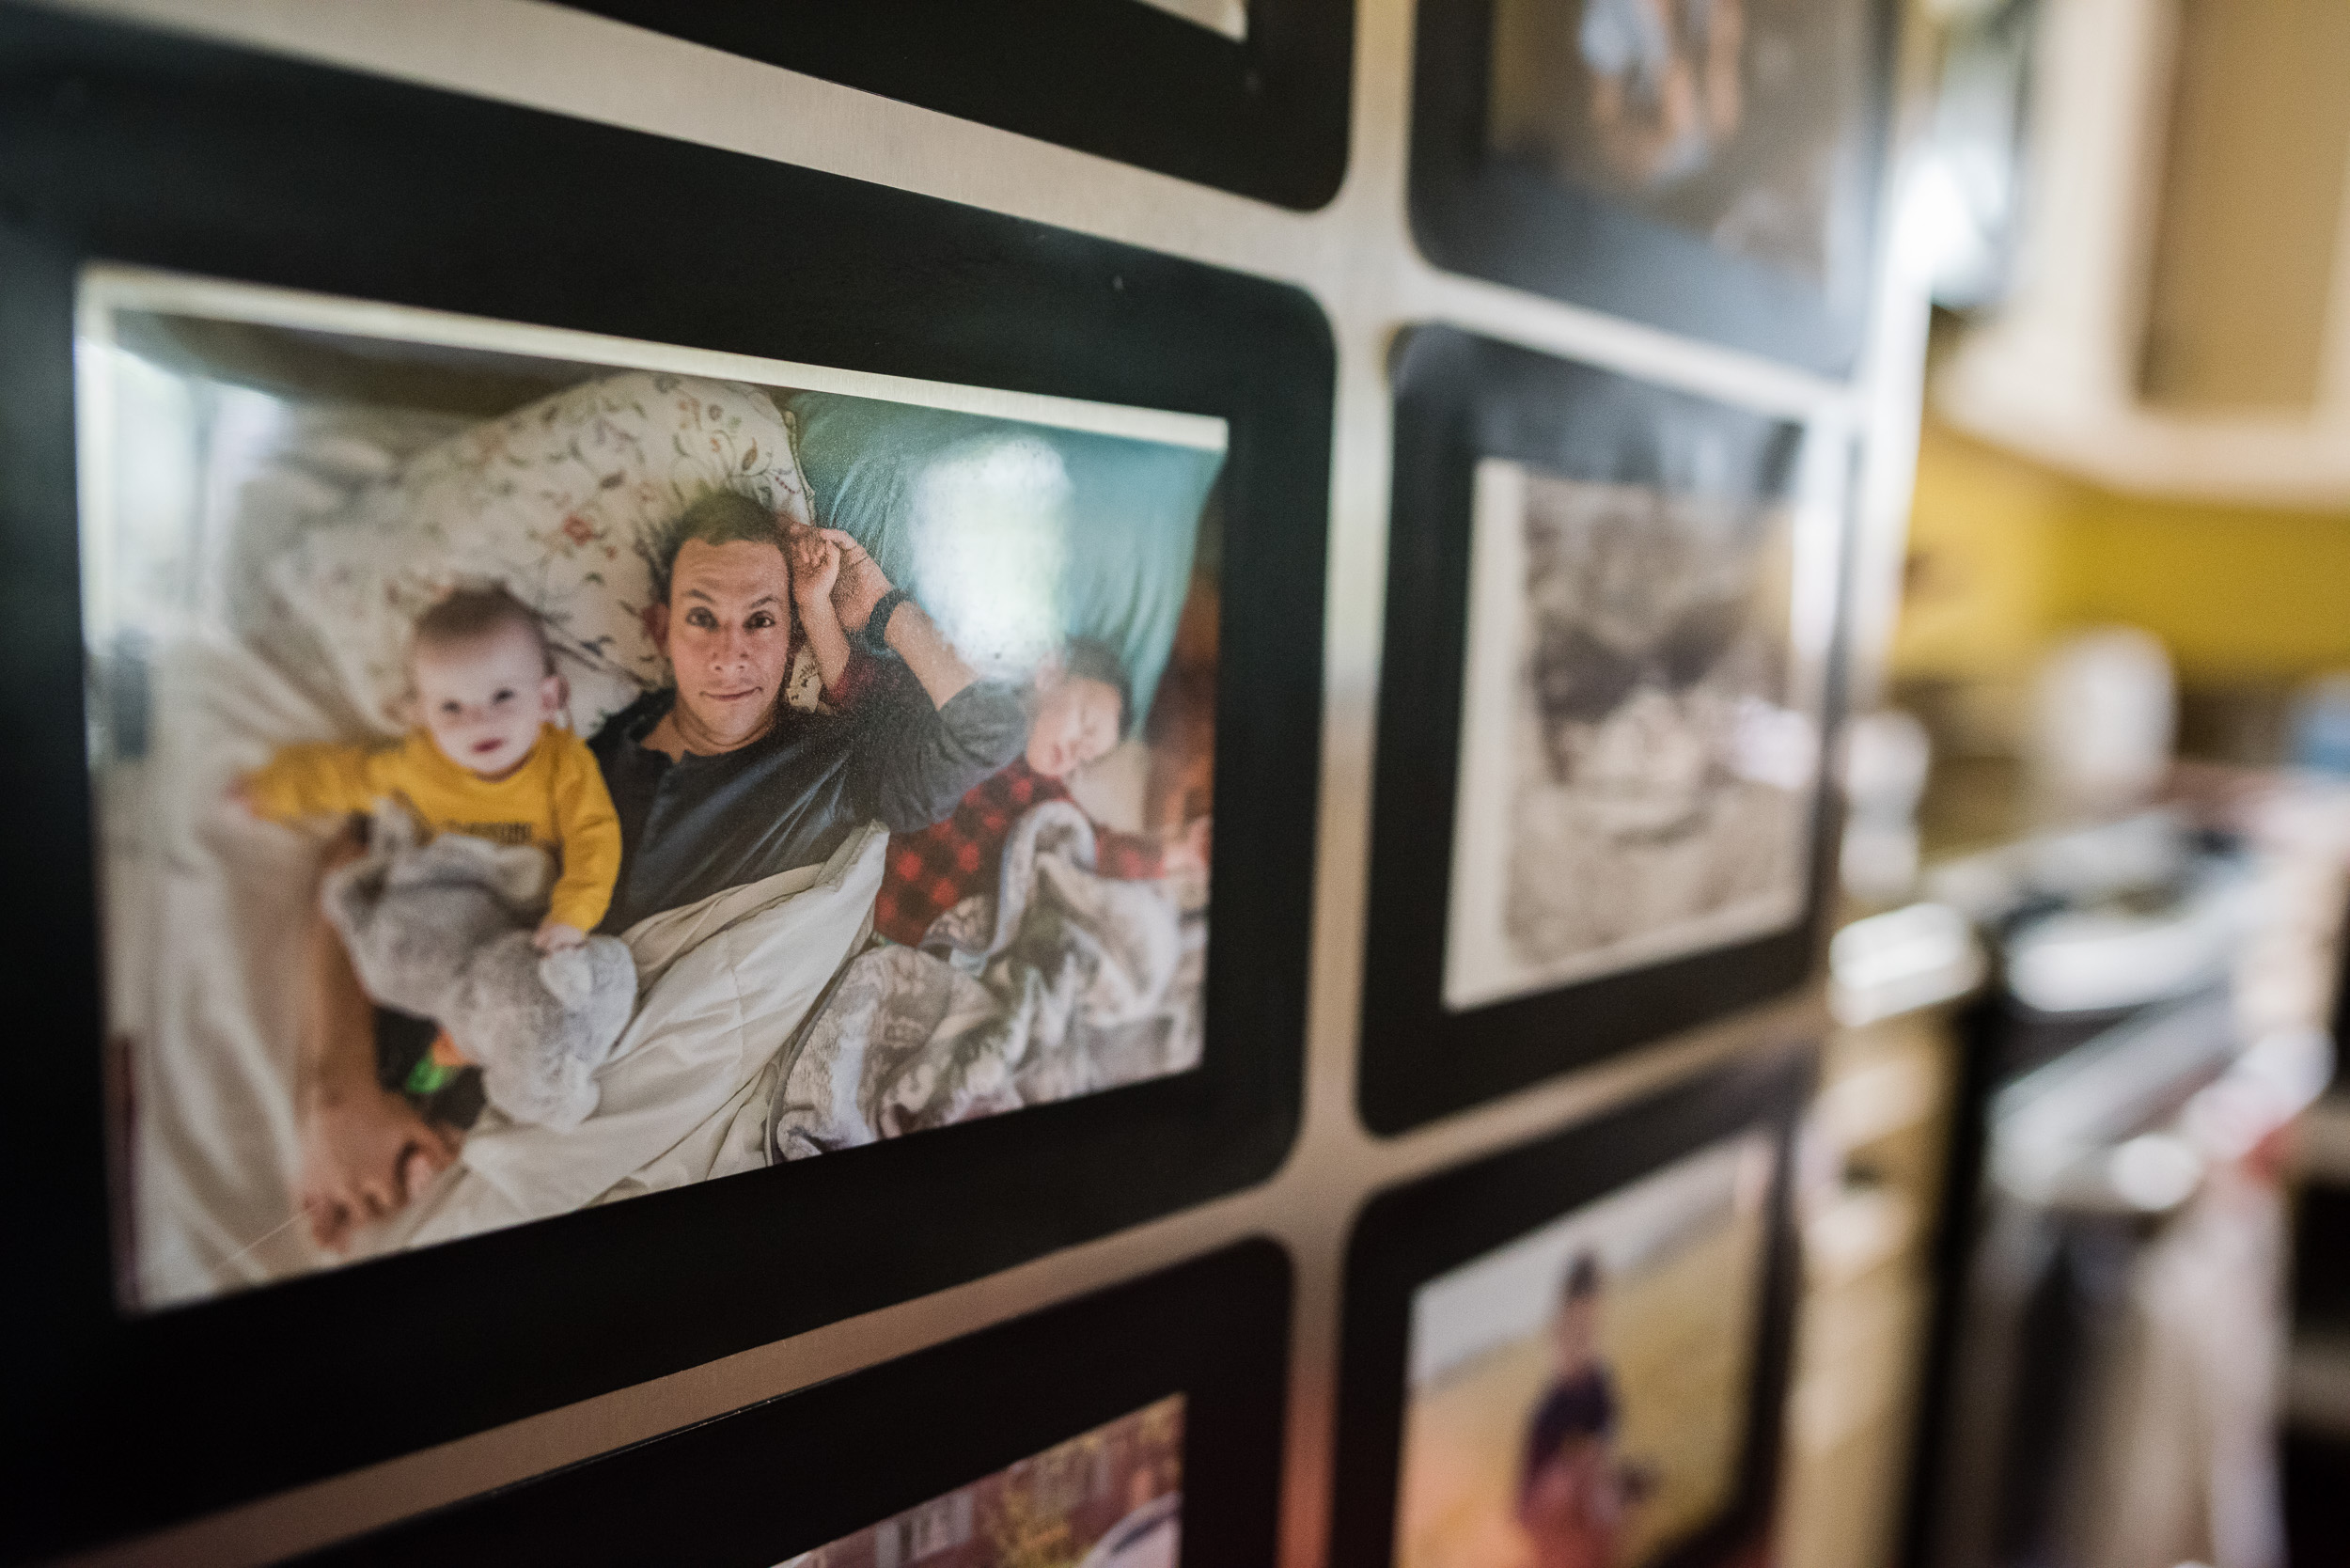
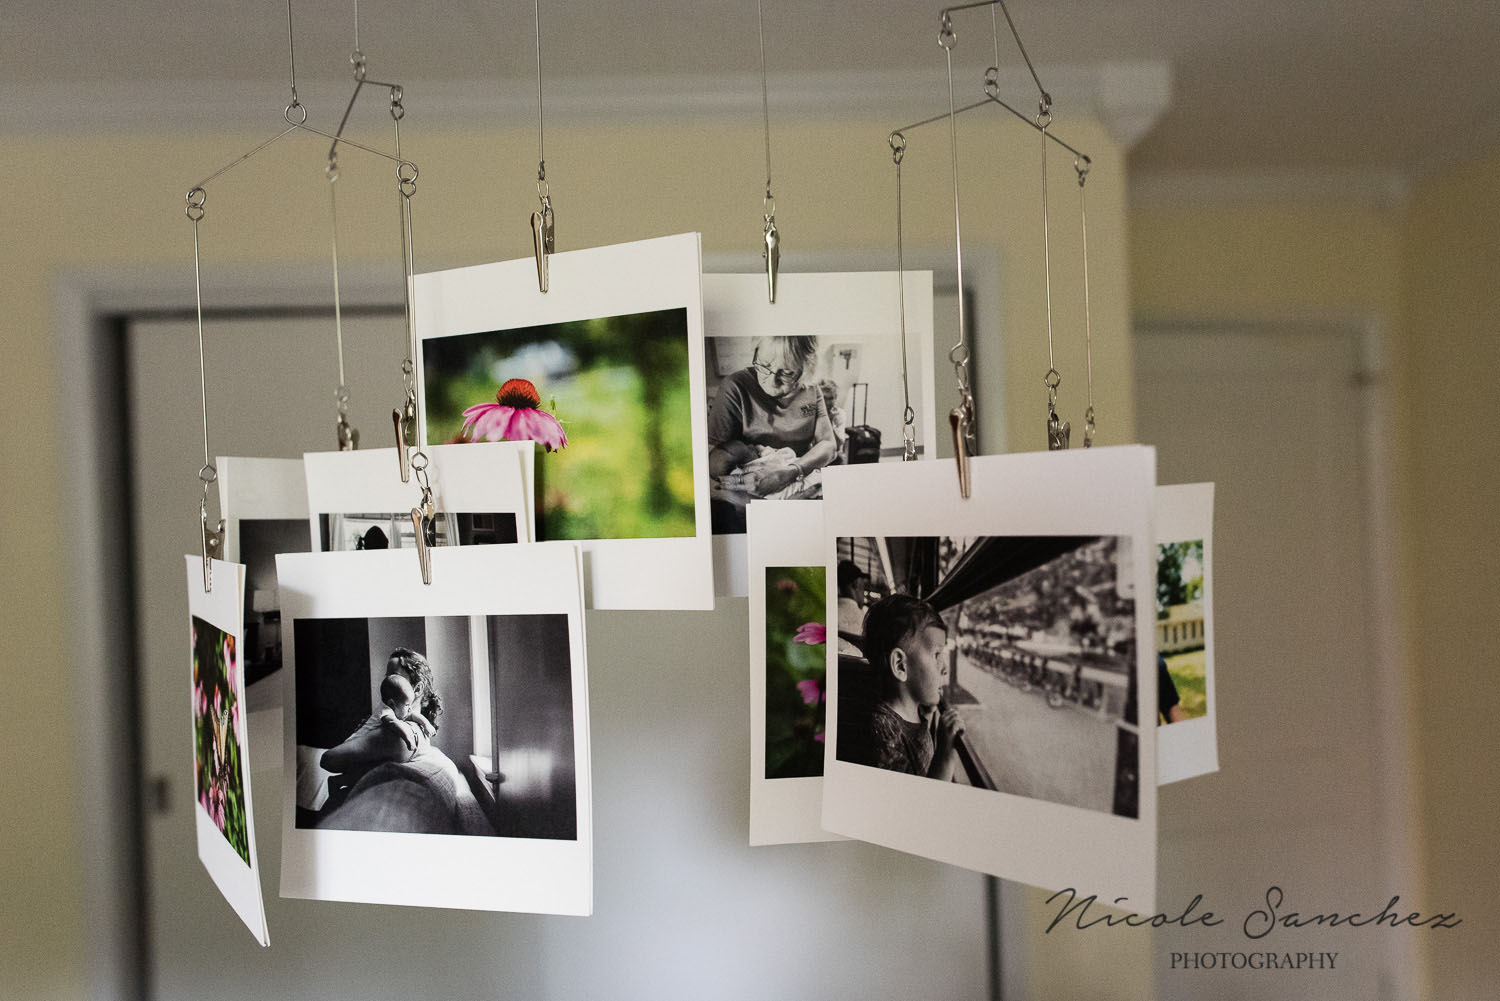
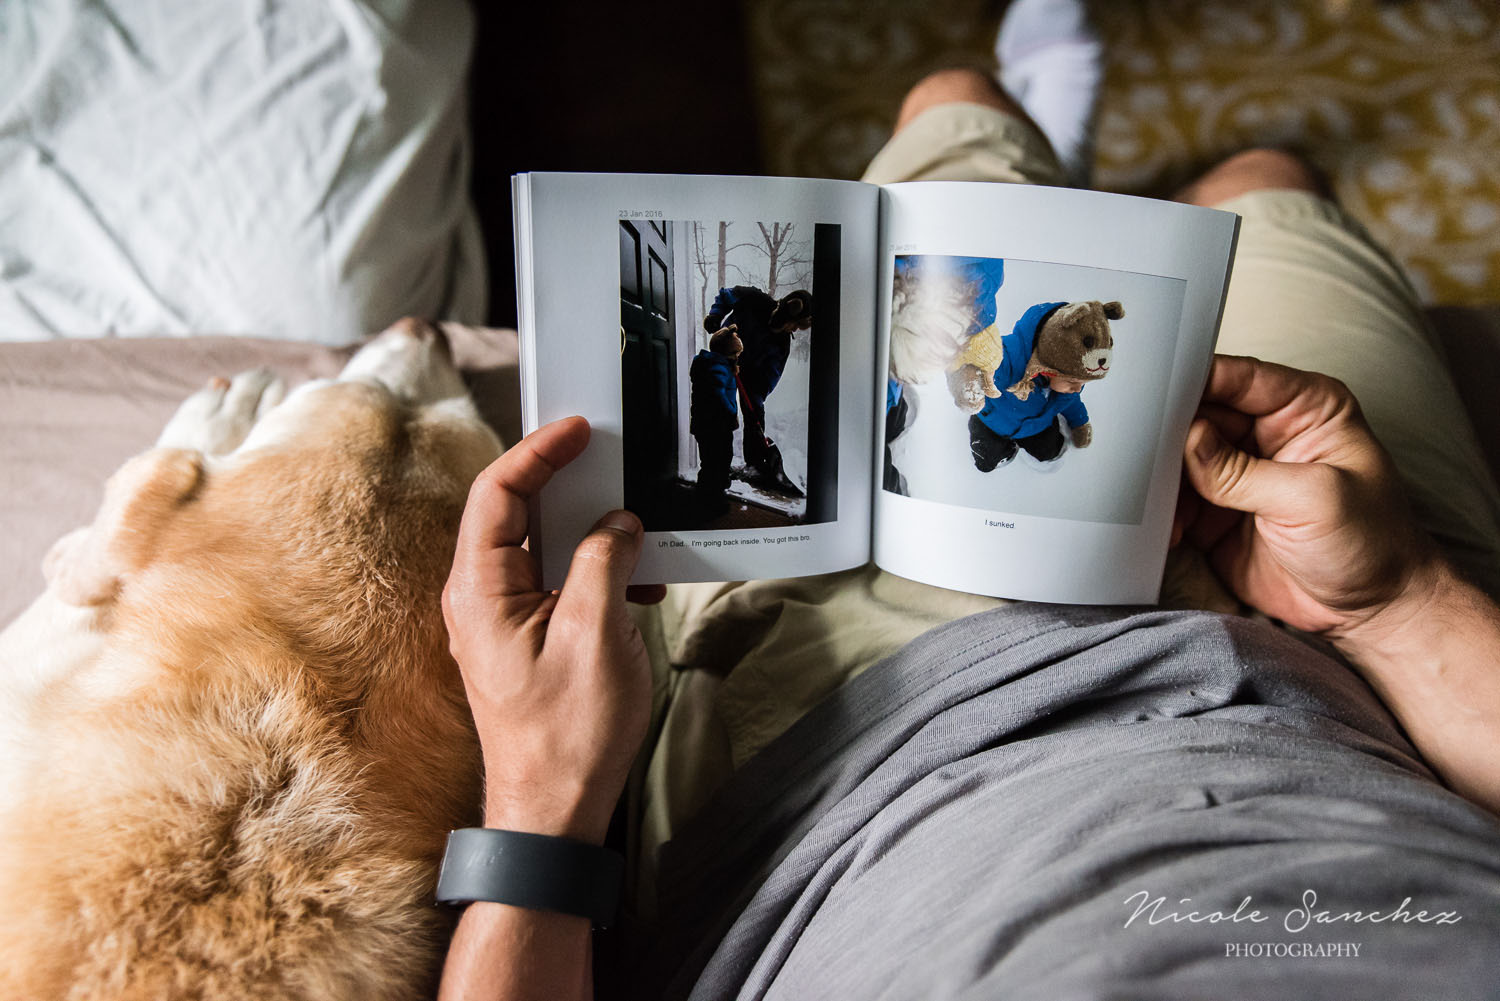
I may have left off yearly albums after my oldest son's first year, but I have managed to print vacation and family visit books. Not only do they make great holiday gifts, but I love seeing the growing stack that each of my kids have in their closet. I keep one set for my husband and me that is on our bookshelf. Lately my oldest has added these albums to his reading rotation. The other night I walked by to hear my husband reading some of the captions from his first year. And it made all the work that goes into making these books worth it. 

And if you haven't managed to print any books, don't despair. Back your pictures up and they'll still be there when you get around to it. 

Nicole Sanchez Photography works with busy parents in Northern Virginia, Washington, DC, and Maryland to create stress-free photo sessions that take all the loving, fun, and chaotic moments of family life to make beautiful photos and films that families will love looking at year after year. Contact me today to start planning a custom photography experience that's perfect for your family.

3 Reasons to Print Your Photos Right Now | Northern Virginia Family Photographer

Printing photos is one of those tasks I put off for too long and when I finally get around to doing it, I ask myself why I waited so long. Usually it's because I have a hard time choosing what to print and how to display them. Tips for both can be found here. For now, here's a little motivation for getting some prints made. Special bonus is that it's early November, so you've got plenty of time to print for gifts before the holidays!

gallery-wall-of-square-images-by-northern-virginia-family-photographer-nicole-sanchez

Here are 3 reasons to print your photos right now:

  1. Conversation starter - I have several “gallery” walls in my house made from print sets I make with Artifact Uprising a few times a year. They're easy to change out and update, though I like to keep some of the oldest ones around to reminisce. Like the other day, my husband and I stood by a picture of our now 4-year-old when he was around two and tentatively stepping around a giant puddle. Now he just charges through them. Life is busy and it's sweet to be reminded of those moments that seem like forever ago.

  2. Smile bringer - I can't count the number of times walking by a picture of my kids has brought a smile to my face. It's especially welcome at the office where it's easy to get caught up in the daily grind. Seeing a favorite picture of my oldest leaping of the couch or my youngest grinning ear to ear helps me take a moment to reflect and reset.

  3. Family history opportunity - As my son had gotten older, it's become more important to share stories of our family with him. Nurturing family roots is an important thing to do in childhood and pictures can be so helpful. He sees pictures of himself when he was a baby with his grandparents and other family members. Having them on display helps him know that even though we live far apart, he has family that loves him very much.

The more you take the more you can print! Want to learn how to better document your own family's day-to-day?  Sign up for my mailing list to receive 4 Steps to Stop Time and Savor the Moment with Your Family.  It's a simple and fun guide to documenting your family's life with beautiful photographs (worth printing!).

Print Your Photos - For your office space | Northern Virginia Family Photographer

An alternate title for this post might be “Print Your Photos - How to distract your coworkers from your messy desk.” I spared you the picture of my messy desk - just know neatness is not my forte. At home, my husband encouraged me to move my desk to our attic so I would have more space (and he wouldn't have to stress about my mess).  I've now taken up half the attic and though I had great ideas to get organized (thanks to Marie Kondo and several trips to Ikea), I am not there. Yet. I still have hope...

Anyway, at work, I try to make up for it by putting up pictures. Besides brightening up the drab cubicle environment, they're nice conversation starters and since they're so easy to change, they're a great way to keep interested coworkers up to date on family life. I like to post a mix of family images with other subjects that make me happy, like travel, flowers, and landscapes.]

How to you hide your messy workspace?  Or, if you're not messy, how do you personalize your workspace?

Want to learn how to document your own family's day-to-day?  Check out 4 Steps to Stop Time and Savor the Moment with Your Family.  It's a simple and fun guide to documenting your family's life with beautiful photographs.

Print Your Photos - For the Fridge | Northern Virginia Family Photographer

I'm often annoyed by the paid advertisements on my social media feeds. Some of them are so far off their targeted market that it's comical. But sometimes, they get me. And I'm actually appreciative. Chatbooks is a great example with their encouragement to get moms in the picture.

Recently, I saw a Shutterfly ad for unlimited free prints through their mobile app. It had been awhile since I'd ordered prints through my usual lab and we had no pictures of our youngest on the fridge (he's eight months old now!) so I thought, why not? I was also curious to see how the quality compared to my professional lab.

The free prints are for their 4x6 and 4x4 square images.  The process from my phone was simple. I upload my favorite images at full resolution to Flickr as I edit them, so it's easy for me to download therm from the Flickr app to my phone and then pull them from my phone's gallery into the Shutterfly app. Once I picked the ones I wanted, I paid for shopping and was done. It took less than ten minutes.

My prints arrived in a little over a week. It was immediately apparent that my monitors are not calibrated to their printers (meaning the color looks off - this is why it's a good idea to check with your photographer before making prints from a professional session), but for the cost and effort that went into getting them printed, I'm satisfied.  And now I finally have updated prints for my fridge!  We have stainless steel fridge doors, so magnets aren't an option, but I love these durable and removeable sticky frames.  

Want to learn how to document your family's everyday?  Check out 4 Steps to Stop Time and Savor the Moment with Your Family.  It's a simple and fun guide to documenting your family's life with beautiful photographs.

How to Make a Wood Block Photo Display | Northern Virginia Family Photographer

I've had these blocks planned for months and thought I'd give some to family with prints as Christmas gifts, but I didn't get around to making them in time.  It turns out, they didn't take much time at all. And now, I have them ready in time for Mother's Day gifts (if I remember to mail them). :-)

Here's what you need:

How-to-make-square-wood-photo-block-display-Nicole-Sanchez-Photography (2).jpg
  • square wood blocks cut to size for your print (see note below)
  • wood conditioner
  • wood stain in your color of choice
  • paint brushes
  • rubber gloves
  • old rags/cloths
  • sand paper
  • clips
  • hot glue or super glue
  • saw tooth picture hangers
  • mineral spirits (or paint thinner for cleanup)

A note on the wood blocks. We had them cut at Home Depot.  I knew I wanted to use them for my 5x5 prints, so I asked (actually my husband was the one who went on the Home Depot run, so I had him ask!) for 6x6 blocks cut to be cut from a plank.  We ended up with 12 and a few of those were a bit oddly sized. 

Here's what to do:

1. First sand any rough edges on the wood and wipe away any dust. I went over all edges and corners with a sanding pad.  This isn't entirely necessary depending on how smooth the edges are on your blocks and whether you want a bit of an "aged" look.  I did, so I sanded all around.

2. Put on your rubber gloves to protect your hands and make sure you're in a well-ventilated area or outside (I wouldn't do the staining process inside because of the fumes.)

Use a paint brush to apply wood conditioner to the plaque. Allow to rest for 5-10 minutes, then wipe off any excess with a clean, dry cloth. In my case, I took the dog for a walk and by the time I got back there was no need for wiping.

3. Next, the staining. But first a note: It's useful to do a bit of testing on an extra piece of wood to determine how long to leave the stain on and how many coats you need to apply to get your desired color.  It lengthens the process, especially if you wait for the test piece to dry, but it's worth it to ensure your end result has the color you want.  I went with only one coat on these blocks, but any imperfections in the wood are fairly apparent, so if that's a concern for you, you might choose to go with a darker stain or more coats.

Apply a coat of stain with paint brush. I used one coat of Minwax Ebony and let rest for about 15-20 minutes.  Then, wipe away excess with cloth and let dry. (Mine rested for several days before I was able to get back to them.)

4. Apply wax coat. I wanted something a bit different than the sheen of varnish to finish the wood (see my vacation photo display tutorial). I loved the idea of a matte finish to work with the matte square prints, so I went with a finishing wax.

How-to-make-square-wood-photo-block-display-Nicole-Sanchez-Photography (6).jpg

I scooped some of the wax into a double-folded cheesecloth and went over the blocks until they were coated.  After a couple of hours (though I think they were probably dry in about half an hour), I wiped down the wood with a clean cloth (okay, it was an old sock).  

5.  Next, attach the saw tooth picture hangers.

6.  Measure and attach the picture clips to the other side of the board.  I tried hot glue first, but the clips popped off too easily when I inserted the print, possibly from the wax finish, so super glue ended up a better option for me.

7.  Add your prints and display happily!  I'm looking forward to sharing these for gifts!

How-to-make-square-wood-photo-block-display-Nicole-Sanchez-Photography (9).jpg
How-to-make-square-wood-photo-block-display-Nicole-Sanchez-Photography (10).jpg

Did you enjoy this tutorial?  Check out my free guide 4 Steps to Stop Time and Savor the Moment with Your Family.  It's a simple and fun plan for documenting your family's life with beautiful photographs.

How to Make a Wine Cork Photo Stand | Northern Virginia Family Photographer

I have a bag of wine corks that has followed my husband and me through three living spaces and two moves. I had every intention of taking it to the nifty wine cork recycle bin at Whole Foods. My husband told me it would never happen and that we should just throw the corks away. Well, he was right. But I got the last word! At least about three of the corks, anyway. :-D

Bag of wine corks by Northern Virginia Family Photographer Nicole Sanchez

I'm always looking for fun ways to display my prints, especially my square prints, which don't lend themselves to framing. So when I came across wine cork displays for wedding seating arrangements on Pinterest, I thought they would be perfect for pictures. 

Here's how I did it:

What you need:

- wine corks

- small pot (steamer optional) and stove

- small hand saw (recommended) or serrated knife

- large binder clip (optional)

- photos

Using hand saw to cut cork by Northern Virginia Family Photographer Nicole Sanchez

What to do:

Cork on table by Northern Virginia Family Photographer Nicole Sanchez
Corks steaming for photo project by Alexandria, VA Family Photographer Nicole Sanchez
Using a hand saw to cut cork by Alexandria, VA Family Photographer Nicole Sanchez
  1. Steam your corks. This softens them up a little and prevents the cork from breaking into pieces when you cut it. 15-20 should do the trick. If you don't have a steamer, you can also boil them. This is especially good if you want to remove the any wine stains from the cork.
  2. If you have a binder clip large enough to slide over your cork, use it to help secure the cork while you're sawing. I didn't have one, but my fingers would have felt safer with one. 

    Next, use the hand saw to slice off enough cork to leave a flat bottom for a secure stand. You could also cut the cork in half to make two stands, if you like. While you could use a serrated knife, I recommend a hand saw if you have one. It takes a surprising amount of pressure and sawing to cut through the cork. Or maybe my blade was dull. Either way, just be mindful of your fingers!

  3. Once you have the bottom of the stand shaved to your liking (it may take a bit of adjustment), use the saw to make a slit in the top of the cork. I made mind right in the middle. You may need to make the slit wider or deeper depending on your photos.

  4. Insert your photos and display proudly! Then figure out what crafty things to do with the rest of the corks in your bag. :-)

Close-up of cork photo stand by Northern Virginia Family Photographer Nicole Sanchez
Photos in cork photo stands by Alexandria, VA Family Photographer Nicole Sanchez

Do you have any fun photo display hacks? I'd love to hear about them in the comments (and maybe feature them here in another tutorial)!

Sign up for my newsletter below to receive tips on other fun ways to display your photos.

How to Make an Awesome Vacation Photo Display | Northern Virginia Family Photographer

I came across Melissa Stottman's vacation photo display tutorial while I was on vacation last summer and knew it would be the perfect way to showcase a little piece of our family reunion in Montana. I also knew the displays would make perfect Christmas gifts for our family and couldn't wait to make them. Except that I did wait...until almost the last minute.  After a bit of trial and error (I've never stained wood before) and a few extra trips to Lowe's and Michael's, I happily finished then this week and love the way they turned out. Now I just have to remember to ship them in time for Christmas! Here's everything you need to know to make an awesome vacation photo display.

Awesome Vacation Photo Display | Northern Virginia Lifesyle Photographer

Materials Needed:

  • wood plaques (these were $1.29 at Michael's) large enough to fit your print and any mementos you want to include
  • vacation memento. I used rocks to remember how much fun my son had throwing them in the lake. You could also use a vial of sand like Melissa shows in her tutorial. Or something else entirely!
  • photo of your choice
  • printout with location and date info, if desired
  • wood conditioner
  • wood stain in your color of choice
  • paint brushes
  • rubber gloves
  • old rags/cloths
  • sand paper
  • mod podge (I used satin finish)
  • hot glue gun
  • saw tooth picture hangers
  • mineral spirits (or paint thinner for cleanup)

After testing a couple of colors, I went with Minwax Ebony. I also learned after testing that unfinished wood can be soft and porous which can lead to blotchy staining, so pretreating with a wood conditioner is a good idea. 

1. First sand any rough edges of the wood and wipe away any dust. Put on your rubber gloves to protect your hands and make sure you're in a well-ventilated area or outside (I wouldn't do the staining process inside because of the fumes.)

Unfinished wood plaque with can of stain and paintbrush | Alexandria VA family photographer

Use a paint brush to apply wood conditioner to the plaque. Allow to rest for 5-10 minutes, then wipe off any excess with a clean, dry cloth. 

2. Next, the staining. But first a note: It's useful to do a bit of testing on an extra piece of wood to determine how long to leave the stain on and how many coats you need to apply to get your desired color.  It lengthens the process, especially if you wait for the test piece to dry, but it's worth it to ensure your end result had the color you want. 

Within 5-10 minutes of applying wood conditioner, apply a coat of stain with paint brush. I used one coat of Minwax Ebony and let rest for about 10 minutes.  Wipe away excess with cloth and let dry. (I let rest until the next day.)  Use the mineral spirits to clean your brush.

4. Once dry, you're ready to assemble everything else.  It's helpful to arrange everything on the plaque before you start gluing to make sure everything fits.  When you're ready, apply a thin layer of mod podge to the photo and place on plaque. Allow to dry.

materials in place for making photo display | Northern Virginia documentary family photographer

If you want to include a bit of info about your vacation, add that next. I printed the location and date of our trip, cut to size, and secured with a very thin layer of mod podge mod podge to prevent bubbling. I printed mine on regular letter paper (I tested three font sizes and 14 worked best for me), but you might try something thicker if you have it to prevent it from bubbling up when you glue it.

acation info disply | Alexandria Virginia family photographer

5. Before starting this next step, it can be helpful to ensure you have a clean workspace, free from any dust or pet hair (ahem, cat-who- insisted-on-assisting-me).  Once you start applying the mod podge, it's difficult to remove any dirt or stray hairs without smudges.

Apply thin layer of mod podge over entire plaque, including print. Be careful to go very thinly over printer paper. Mod podge dries very quickly, so when going over the photo, I found it helpful to be pretty liberal with the application and move quickly. If you start with the photo you can push any excess to the edges and use on the rest of the plaque. It will look cloudy at first, but will turn clear as it dries, which takes less than half an hour. 

od podge drying on wood photo  display | northern virginia family photographer

6. Next, use a hot glue gun to secure your memento(s).

7. Finally, secure a saw tooth hanger to the back of the plaque and hang proudly! 

ttaching sawtooth picture hanger | northern va lifestyle family photographer
inished vacation photo display hanging on wall | alexandria virginia lifesyle family photographer

inished vacation photo display hanging on wall | alexandria virginia lifesyle family photographer

Aside from the staining process which took a bit longer due to testing (and that I've never stained wood before) this was a really quick process and super easy.  Check out Melissa's tutorial to learn how to make a display using paint and a sand vial. And please come back to share if you make one yourself.

Sign up below for my email list to receive more ideas for how to display your photos and tips for documenting your family.
 

Print Your Photos! | Baby Mobile

I love writing posts here about the importance of printing your photos, because it gives me an incentive to come up with fun ways to display my own photos - like this fun baby mobile that doubles as a hanging picture display.  I came across it at an art museum gift shop awhile ago, but only remembered it recently when I was looking for ways to display my square prints.

It's really great for children's development to see pictures of themselves around their home environment.  I think it's great for parents too. ;-) I love that our son can look up and see pictures of himself and our family. And I love that I can change them out easily whenever I get new prints. I used two prints for each of the ten clips and taped the inside of the pictures together to keep them from spreading apart.

Now I just need to get a few more for other places in the house.  One of the funniest things I remember about when our first son was a baby was the random placement of mobiles in our house.  We had one above the dresser in our bedroom and one hanging from a light fixture in our dining room.  And at one point, we had one hanging above the dining table in the kitchen. We tend to use spaces in our house as the need calls for, with a couch or the floor usually serving as a diaper changing station.  Life just happens wherever we are. :-)

You can find the mobile on Amazon.  These prints are from Artifact Uprising.  Check out my earlier post about their prints (and how to get them for free!).  And stay tuned for a similar review of Parabo square prints.  I'm waiting for those to come in the mail. :-)

Oh, and sign up for my newsletter below to receive more tips on creative ways to display your family photos!

Print Your Photos - Gallery Wall | Northern Virginia Family Photographer

I've had grand visions for several years of beautiful gallery walls of pictures throughout my house. Pinterest-worthy galleries with various vintagey frames found in random mom-and-pop stores. Frames that, when asked, I could say, "Oh that one? I found it at the cutest little thrift store for $5." In my grandest of visions, these thrift store finds were made in some quaint beach town while on vacation...

In reality? I'm lazy. Gallery walls take time and lots of effort to look effortlessly put together. And while I adore beach vacations, vintage frame shopping with little ones is not something I've mastered. Heck, I'm still working on getting grocery shopping down. So when I came across gallery walls in-a-box, I thought, "Woohoo! A lazy lady's answer to home decor!"

While not quite effortless, for the price and time spent, these gallery in a box sets are perfect for our family. Here's how I put together our latest wall. Nevermind that it took me a year to get these pictures printed...

I'll note that I took each of these behind-the-scenes pictures on a different day, so this was not a done-in-one-afternoon job.  The gallery wall kit takes some of the guess-work out of how to place frames, but it's not foolproof.  I always end up cutting up the suggested templates to make my own to better fit the pictures I choose to print.  And in the ones I've purchased, the hardware for hanging the frame doesn't allow you to adjust them for leveling once you've placed the screw/nail (although they thankfully seem to have changed this in their latest frame sets).

So, it's still not as easy as I'd wish it to be, but it's easy enough that I'll actually get it done.  And I love walking by these pictures in my hallway every day.  

I still have two sets left to hang before maternity leave is up.  I remain optimistic, but I count getting this one up as a big win. :-)  How do you display your prints?  Any framing tips?

Sign up below for my mailing list to receive other tips for displaying your pictures (and lots of encouragement and reminders to print them!).

Print Your Photos - Part II | Photobooks From Your Phone | Northern Virginia Family Photographer

I take a lot of pictures. (Maybe unnecessary to state. And maybe an understatement as well. ;-)  I've worked out a pretty solid system for organizing most of my images on my computer using Lightroom.  Having a system makes it easier to find my pictures when it's time to order prints or put together photo books (which I look forward to sharing in another post). The exception to my system is my phone pictures.

I've already written about the importance of backing up your pictures, including the ones on your phone. But what about getting them off your phone (where you may never look at them) and into your hands?  I love the pictures I take with my DSLR and I love the photobooks I make with them. But there are so many moments from our life that I capture only with my phone. And these photos don't make it into my photobooks.  At the most, I'm reminded of them by the Facebook or Google popups that tell me what I posted one or two or however many years ago. Otherwise, they live silently on my phone.

I've tried incorporating my phone images with my DSLR images on my computer.  It's a workable solution, but it is time consuming to transfer the files.  Also, while it's possible to take beautiful images with a camera phone, I haven't mastered that skill. Most of my phone pictures are snapshots and I prefer to keep them together with other snapshots rather than integrate them with my other images.  So I needed an easy and quick solution to make sure my phone images and the memories they hold aren't forgotten.

Enter Chatbooks.  I'd been seeing their ads on my Instagram feed for months and when they ran a summer sale a couple of months ago, I decided to try them out. Chatbooks is a phone app that compiles pictures from your phone into a cute 6x6 book that features one picture per page. They start at $8 a book for 30 pages.  There are lots of great features to this service (including an automated series option and the ability to add captions and include dates and locations), but the main draw for me was the ability to collaborate with others.  My husband takes a lot of pictures with his phone as well and I wanted to include both our photos.  Once he downloaded the app, I sent him a code and he was able to begin adding to our book.  Super easy.

One downside I found with Chatbooks was the lack of editing features in the app.  Instead, I edited all the pictures I wanted to include in my book in the VSCO app and then saved them to my phone.  It made the process a little longer than if I had just taken the photos as-is, but it still only took me a day's worth of of spare moments to compile a month's worth of photos for my book.  Another downside for me was that the automated series feature seems to be restricted to use with Facebook or Instagram only.  I was disappointed that I couldn't automate use of photos directly from my phone.  That would be the ultimate convenience.

So I ended going with a custom book, which starts at 30 pages, and adding an additional ten pages for $1. With shipping, my books were about $10 each. For that price, the quality isn't bad, but I was disappointed in the discoloration on the cover once I received them. Perhaps it's more apparent because I used a black and white cover image, but the yellow tinge was pretty noticeable.  I contacted Customer Service and they quickly shipped a replacement which was improved, although still not a true white.  Ultimately, I think the summer heat may have reacted with the paper during shipment, so I'll try again to see if there's any difference.  

Overall, I'm still happy with my books because the process was convenient and quick and now I have at least one month's worth of phone photos printed in something tangible that my son can look through. Bonus points that the books make good gifts for his grandmothers as well. :-)  

Have you tried Chatbooks or any similar apps for printing phone photos?  I'd love to hear about it in the comments!

Sign up for my email list to receive more tips for printing your photos and photographing your family!