Family films are the modern photo album | Northern Virginia Family Photographer

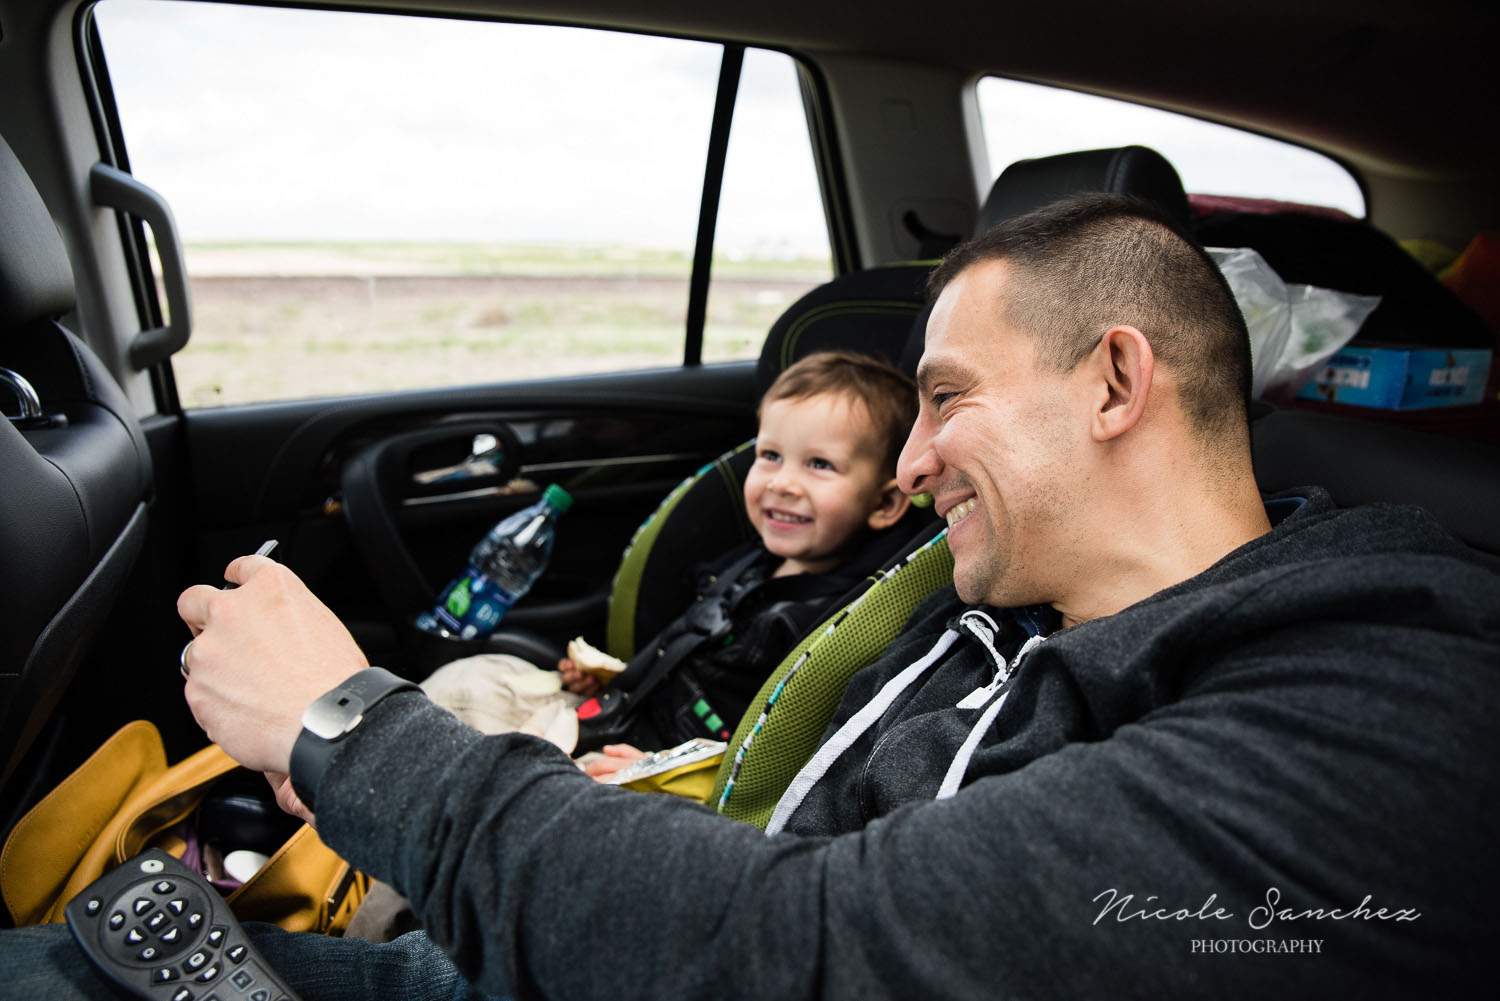
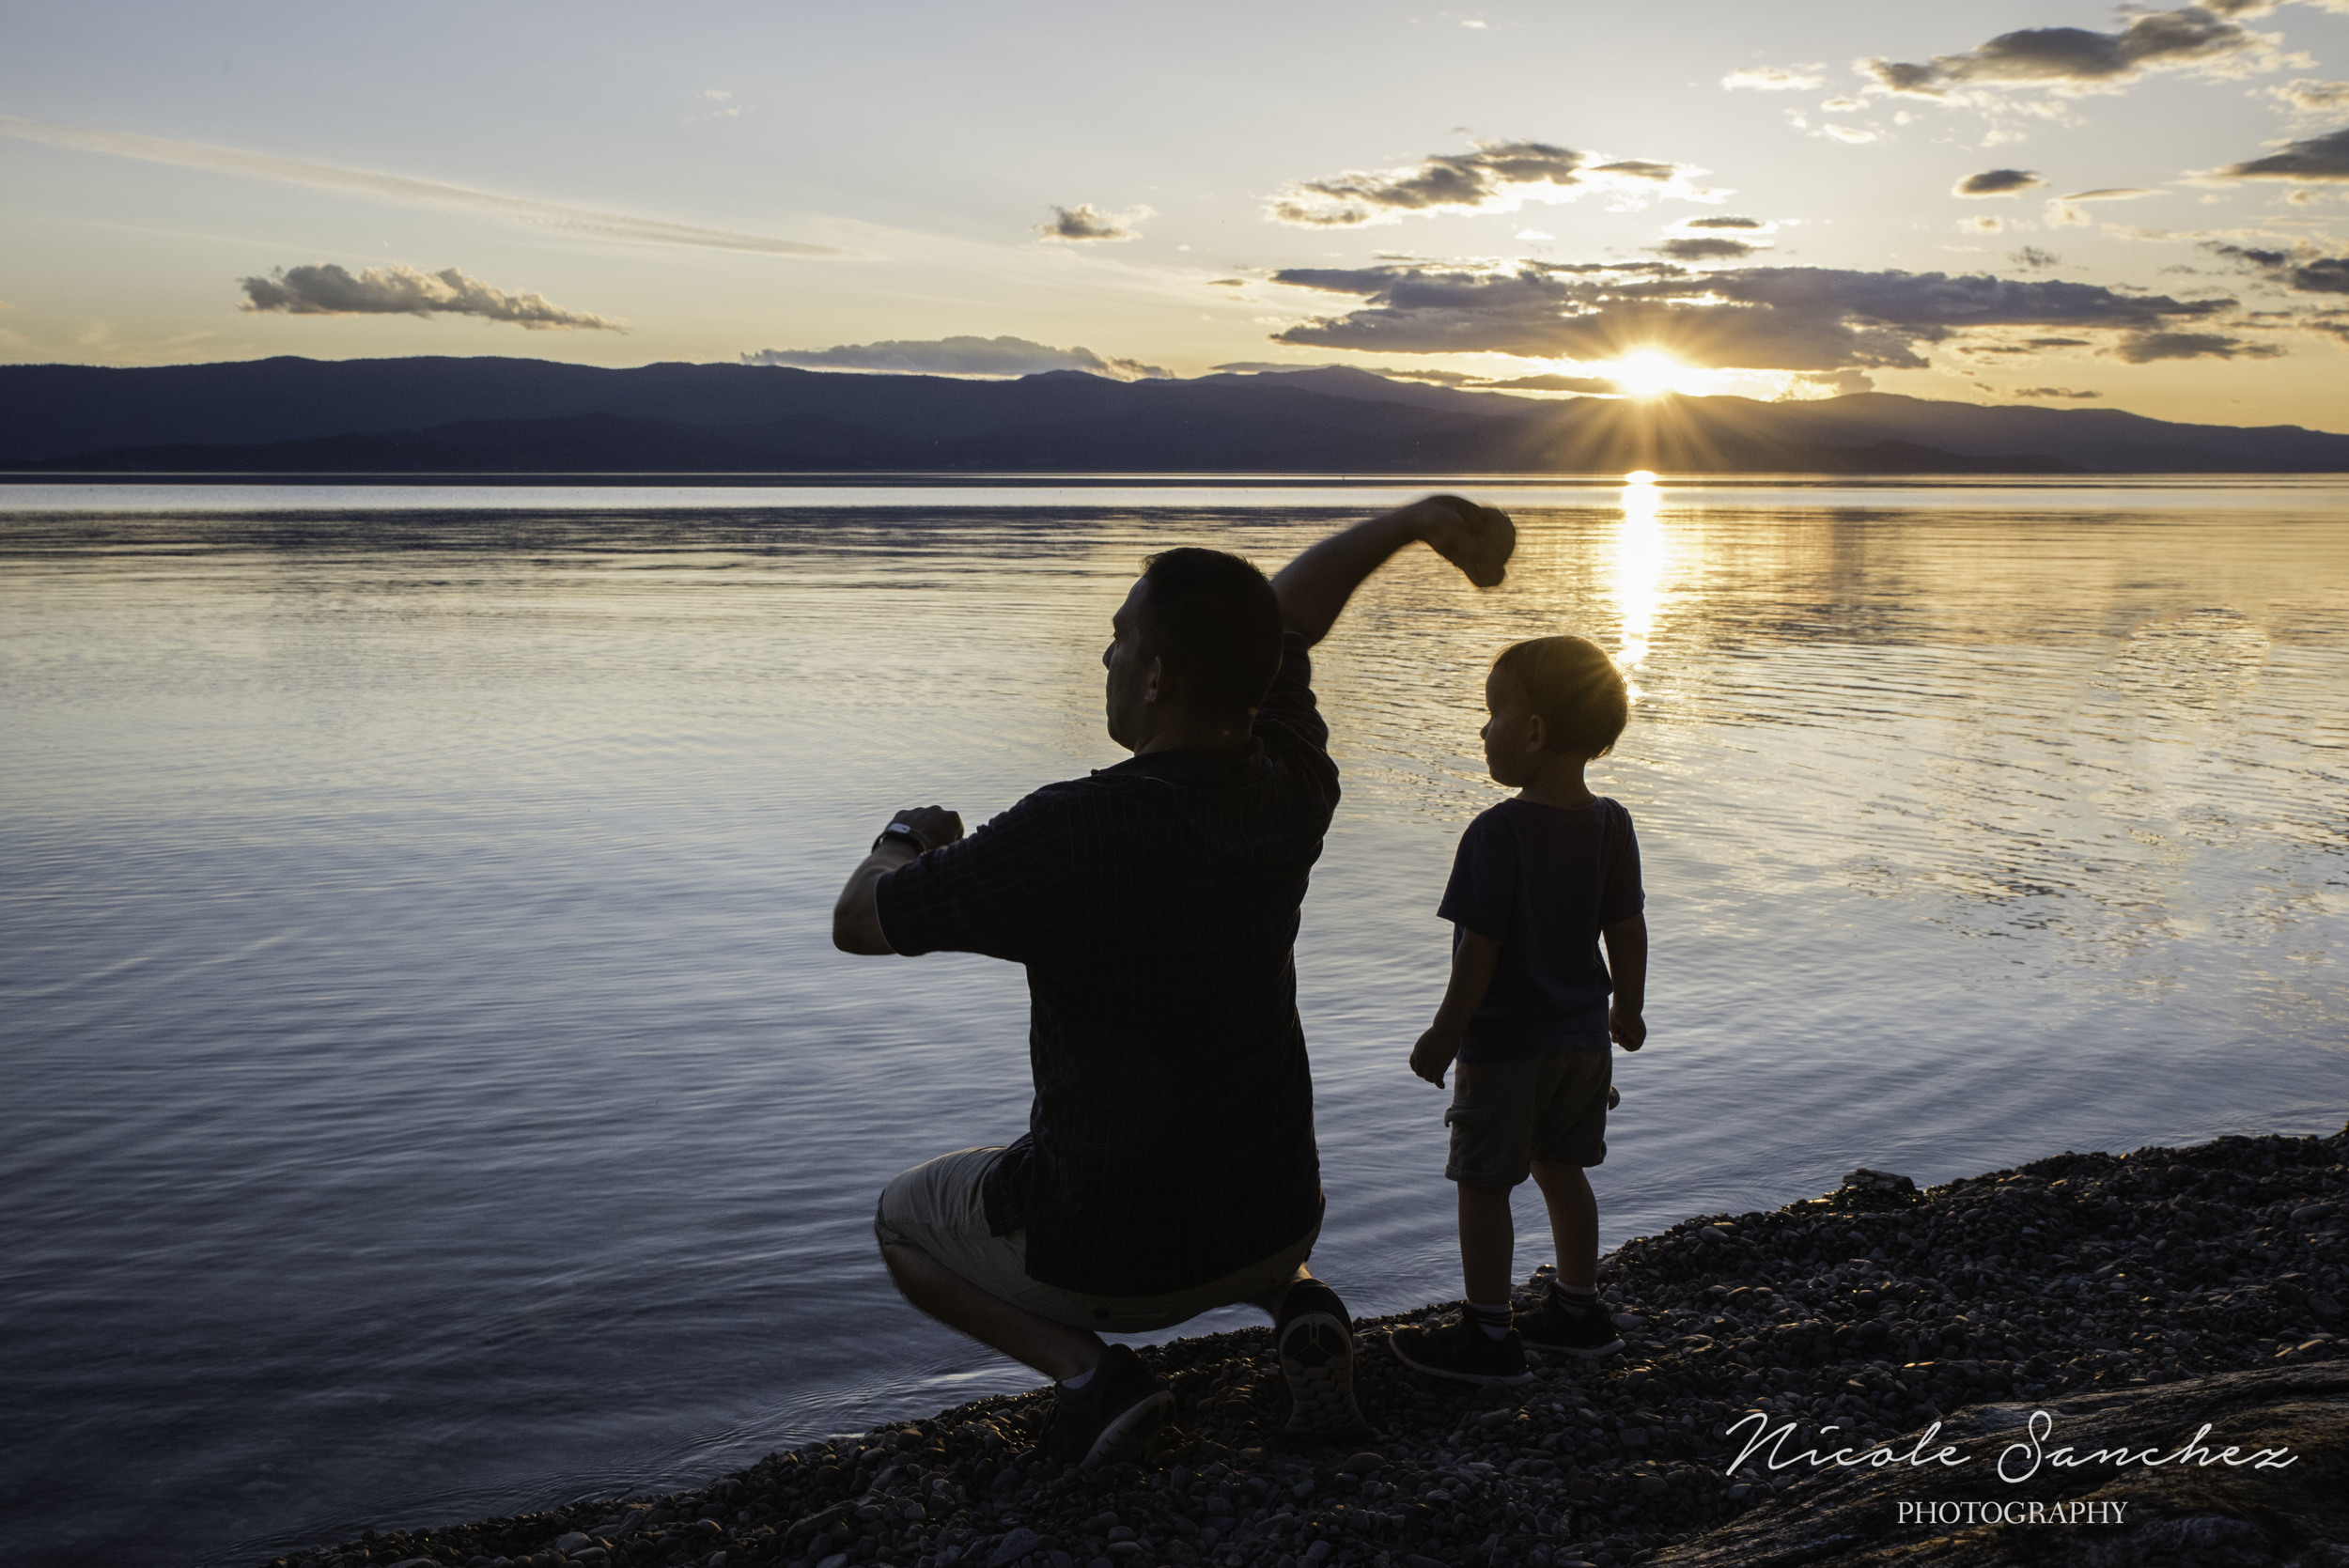
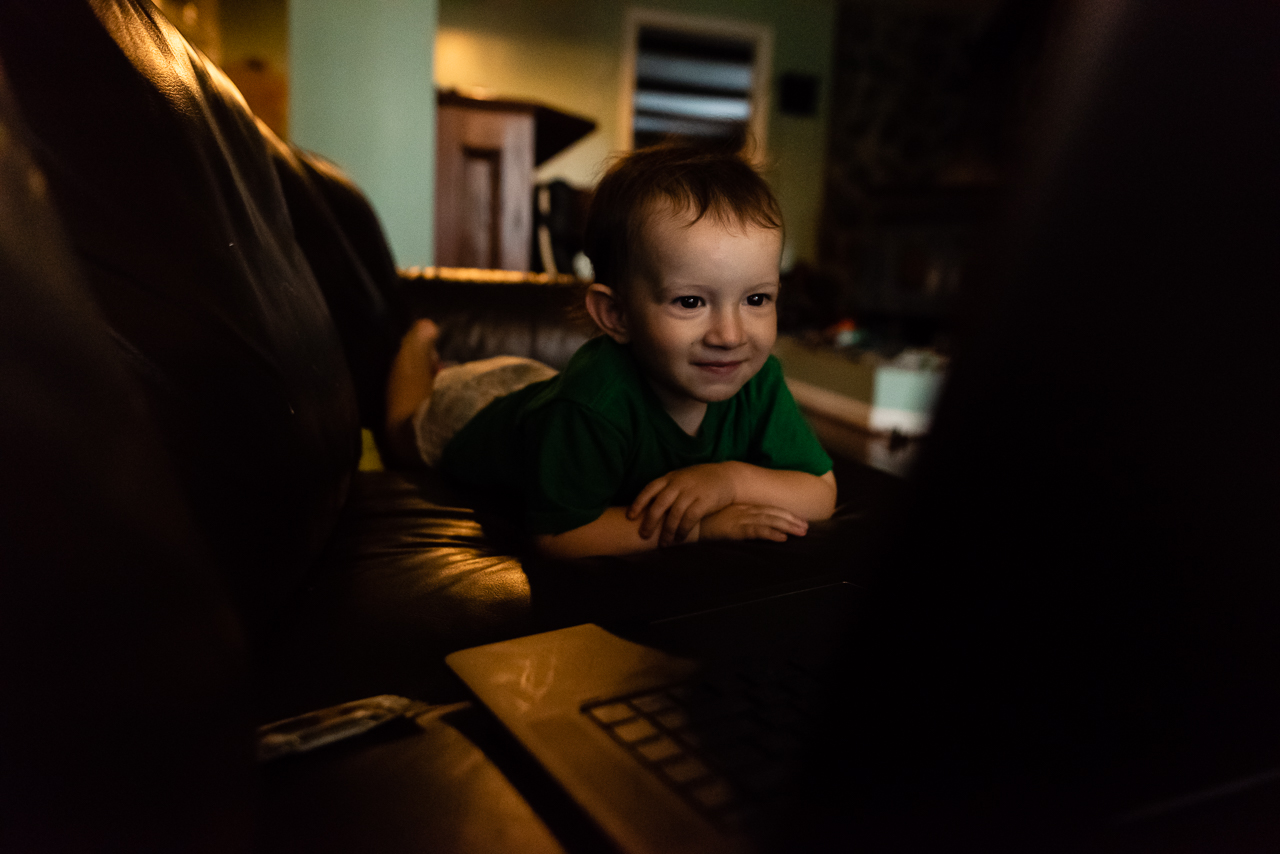
My family is my guinea pig when it comes to testing out new camera techniques and equipment. This has always been the case with photography and is equally true for videography. This summer, I got an underwater bag for my DSLR and had a blast documenting my family at the pool and at the beach. We ventured out of Northern Virginia in July for a family vacation and I started planning for this film the moment I knew we were going. I'm so excited to share it this week!

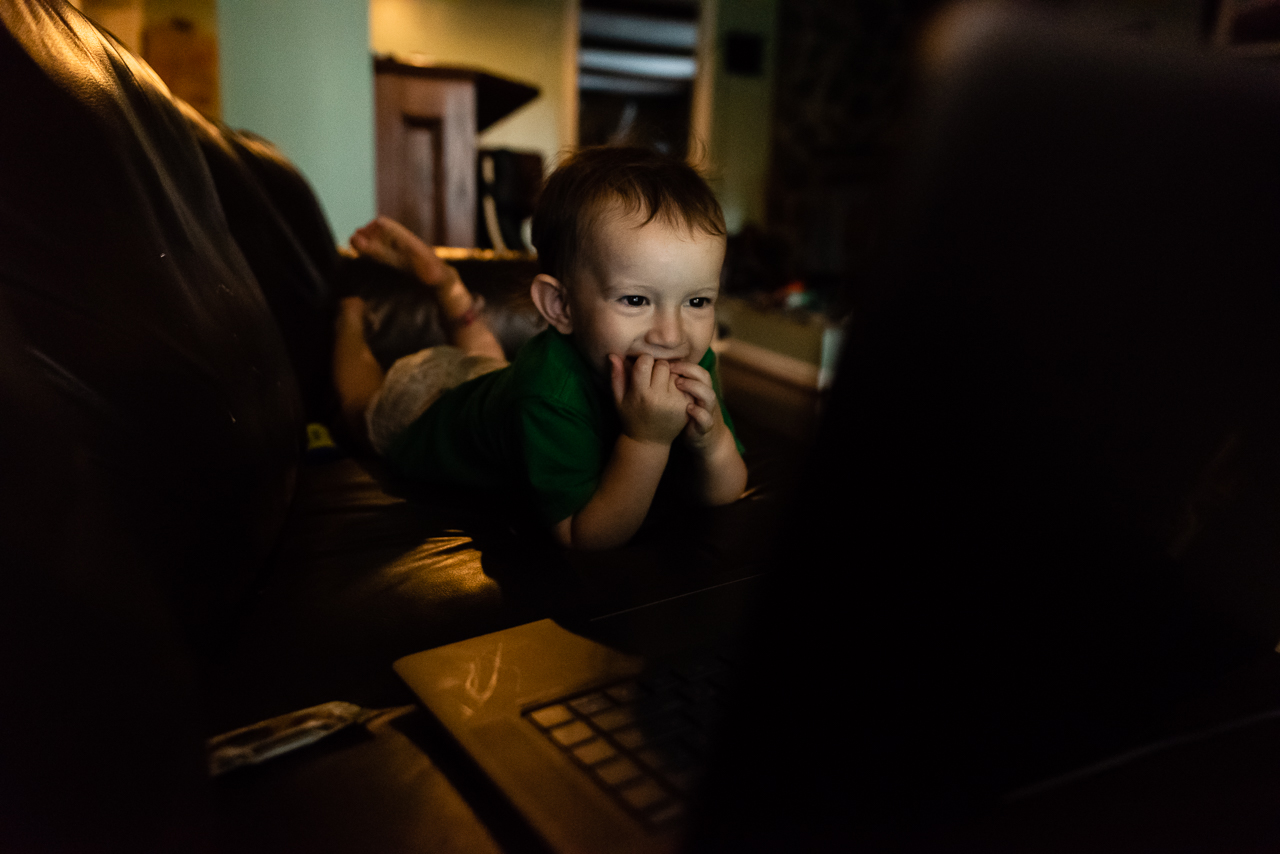
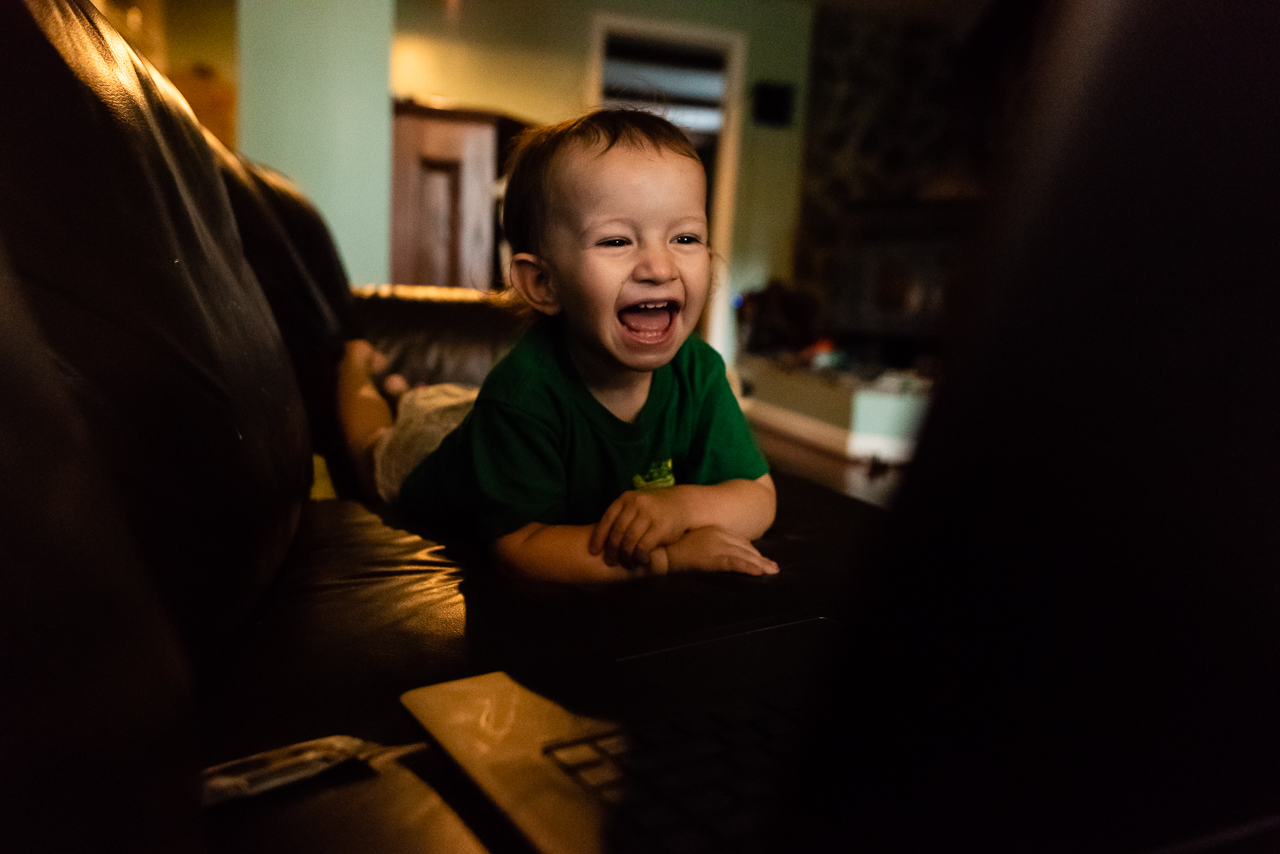
Each time I complete one of these films for my clients or my own family, I'm struck by what a moving experience it is. I love seeing my children flipping through the pages of the countless photo albums we have, but I've fallen way behind on yearly photo books. I've found that these films say more in 3-4 minutes than hundreds of printed photos can over the course of a year (especially if I'm not even printing them!). Movement, sound, and music convey so much emotion and story. I'm convinced that these family films are our modern day photo albums.

What will our children remember most from this time in their lives?

I've made taking video and making films a priority for vacations and trips to visit with family. My husband has films of himself from childhood and I'm a bit jealous. Childhood is a fleeting time in our lives but memories of events from that time make up a significant portion of our sense of self for the rest of our lives. Thinking about this and wondering what moments of our everyday lives our children are going to remember for the rest of theirs has given me incentive to invest more time in making personal family films for my family and for my clients. 

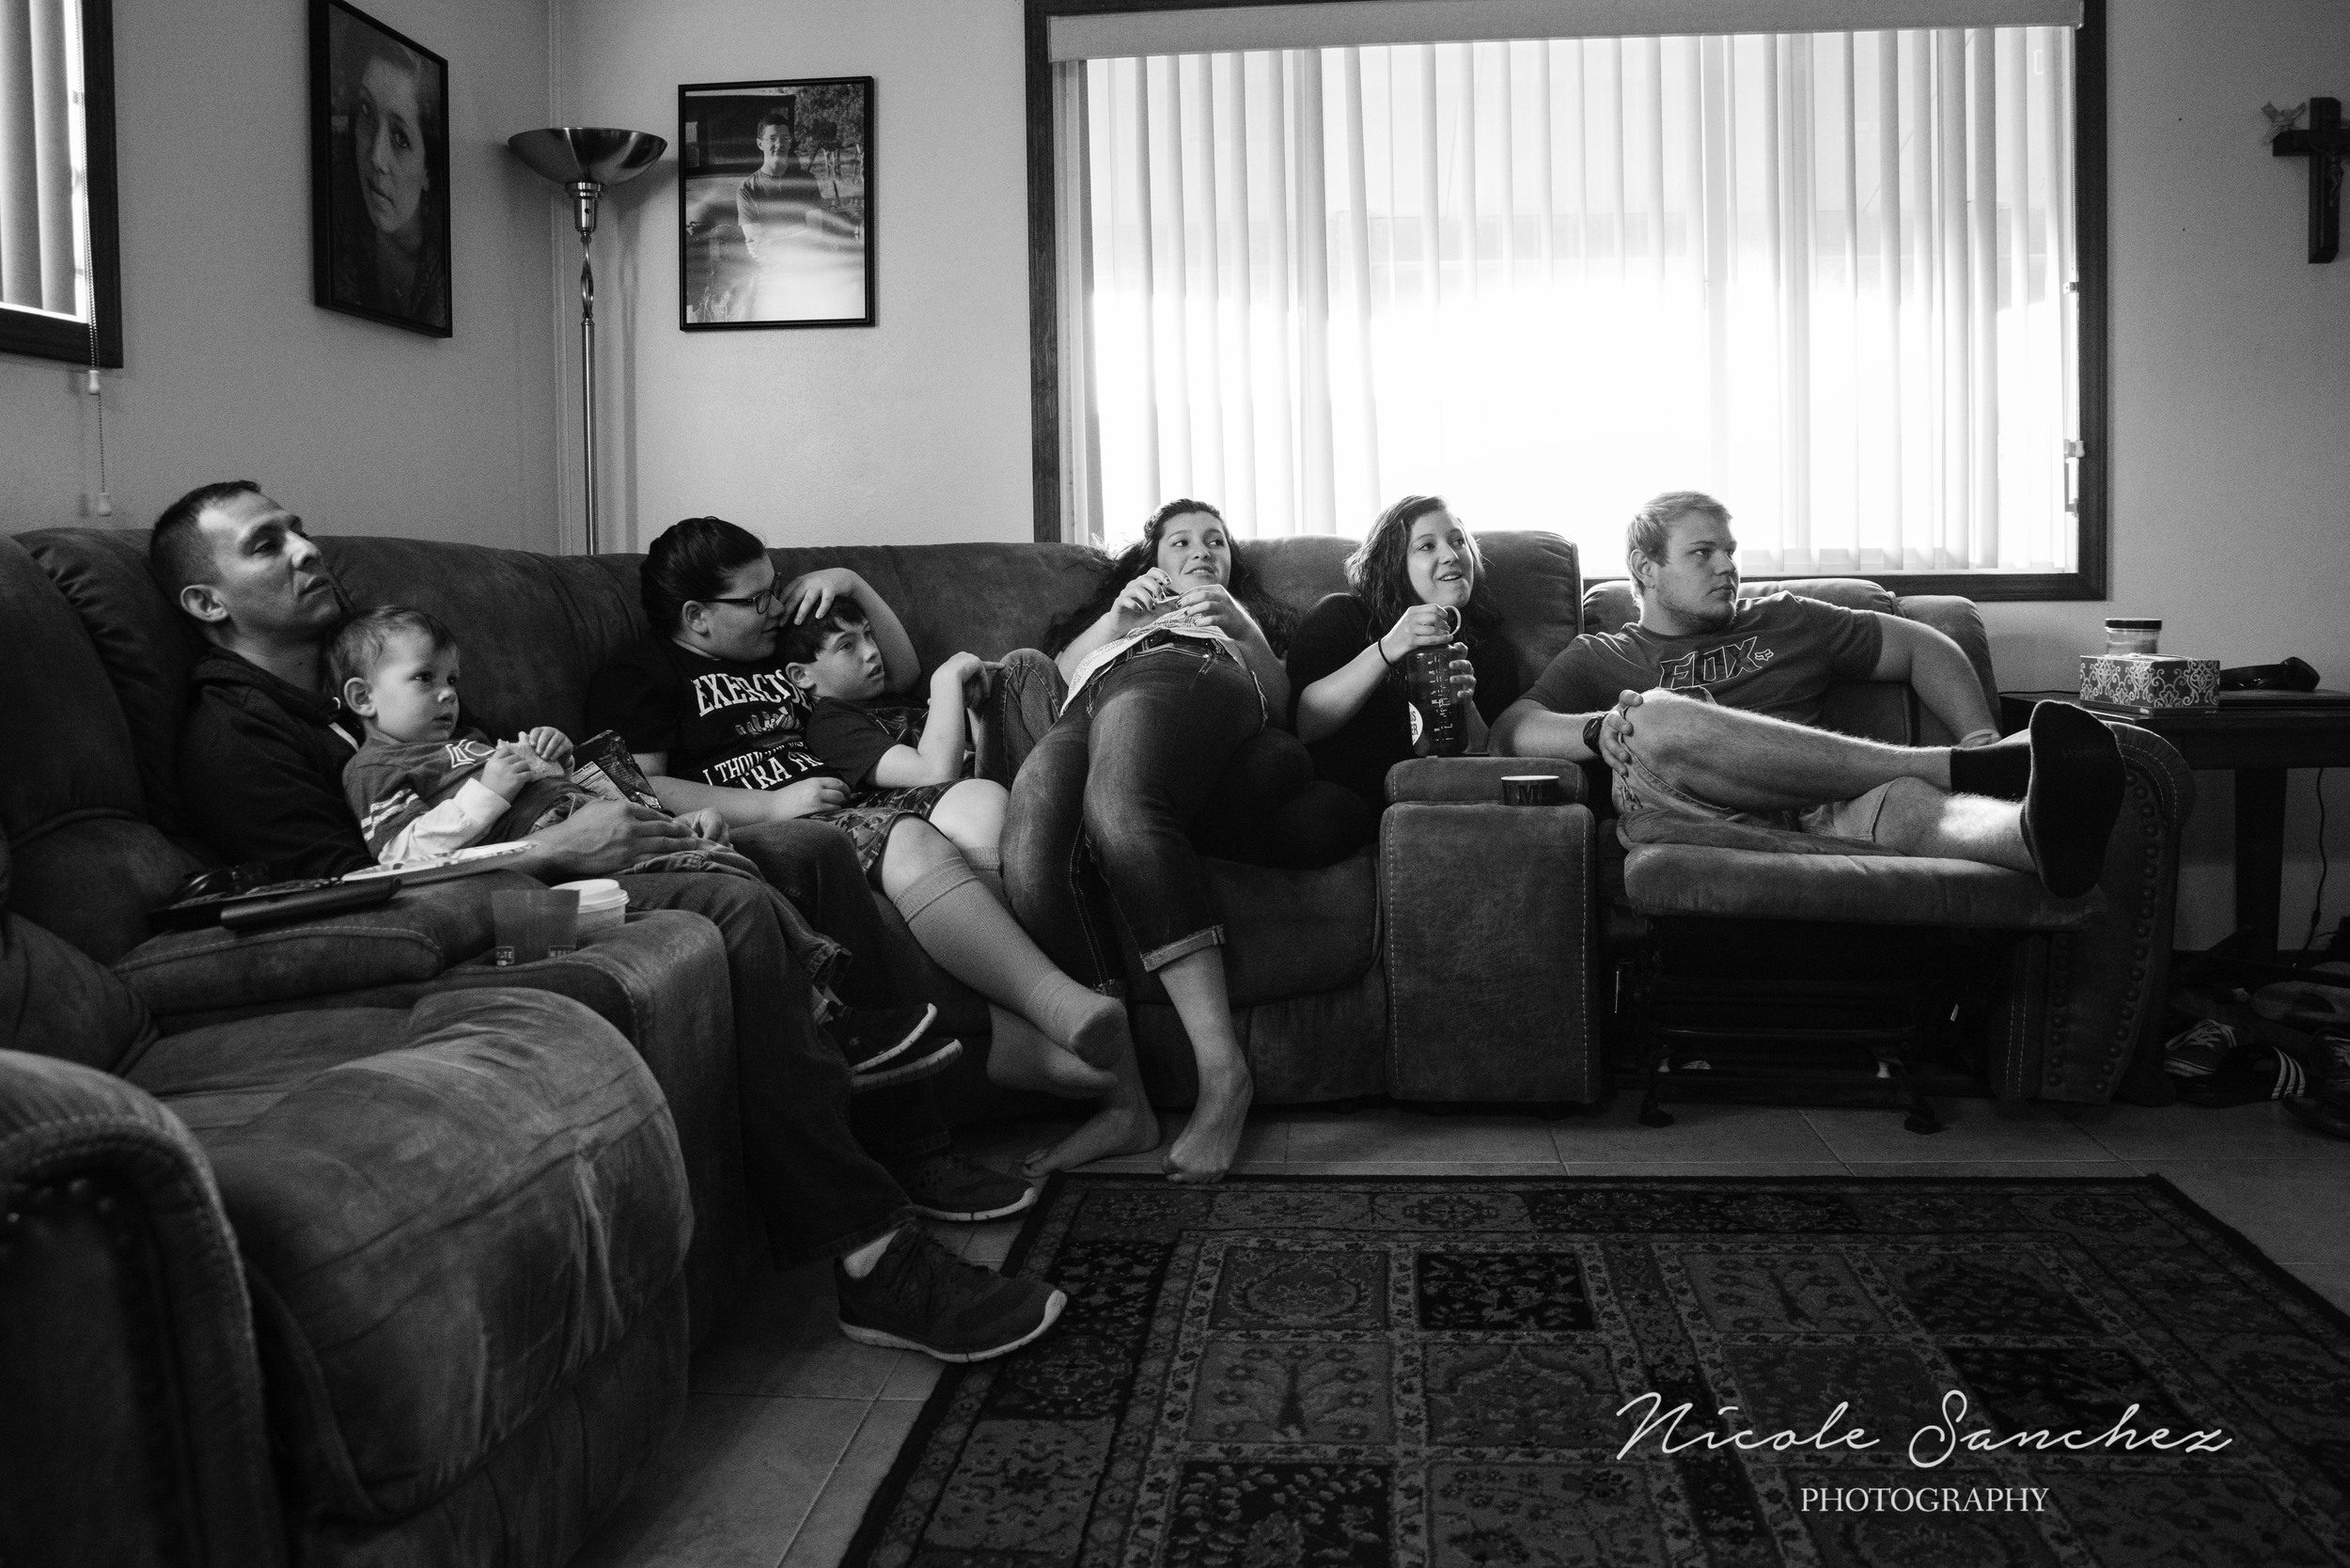
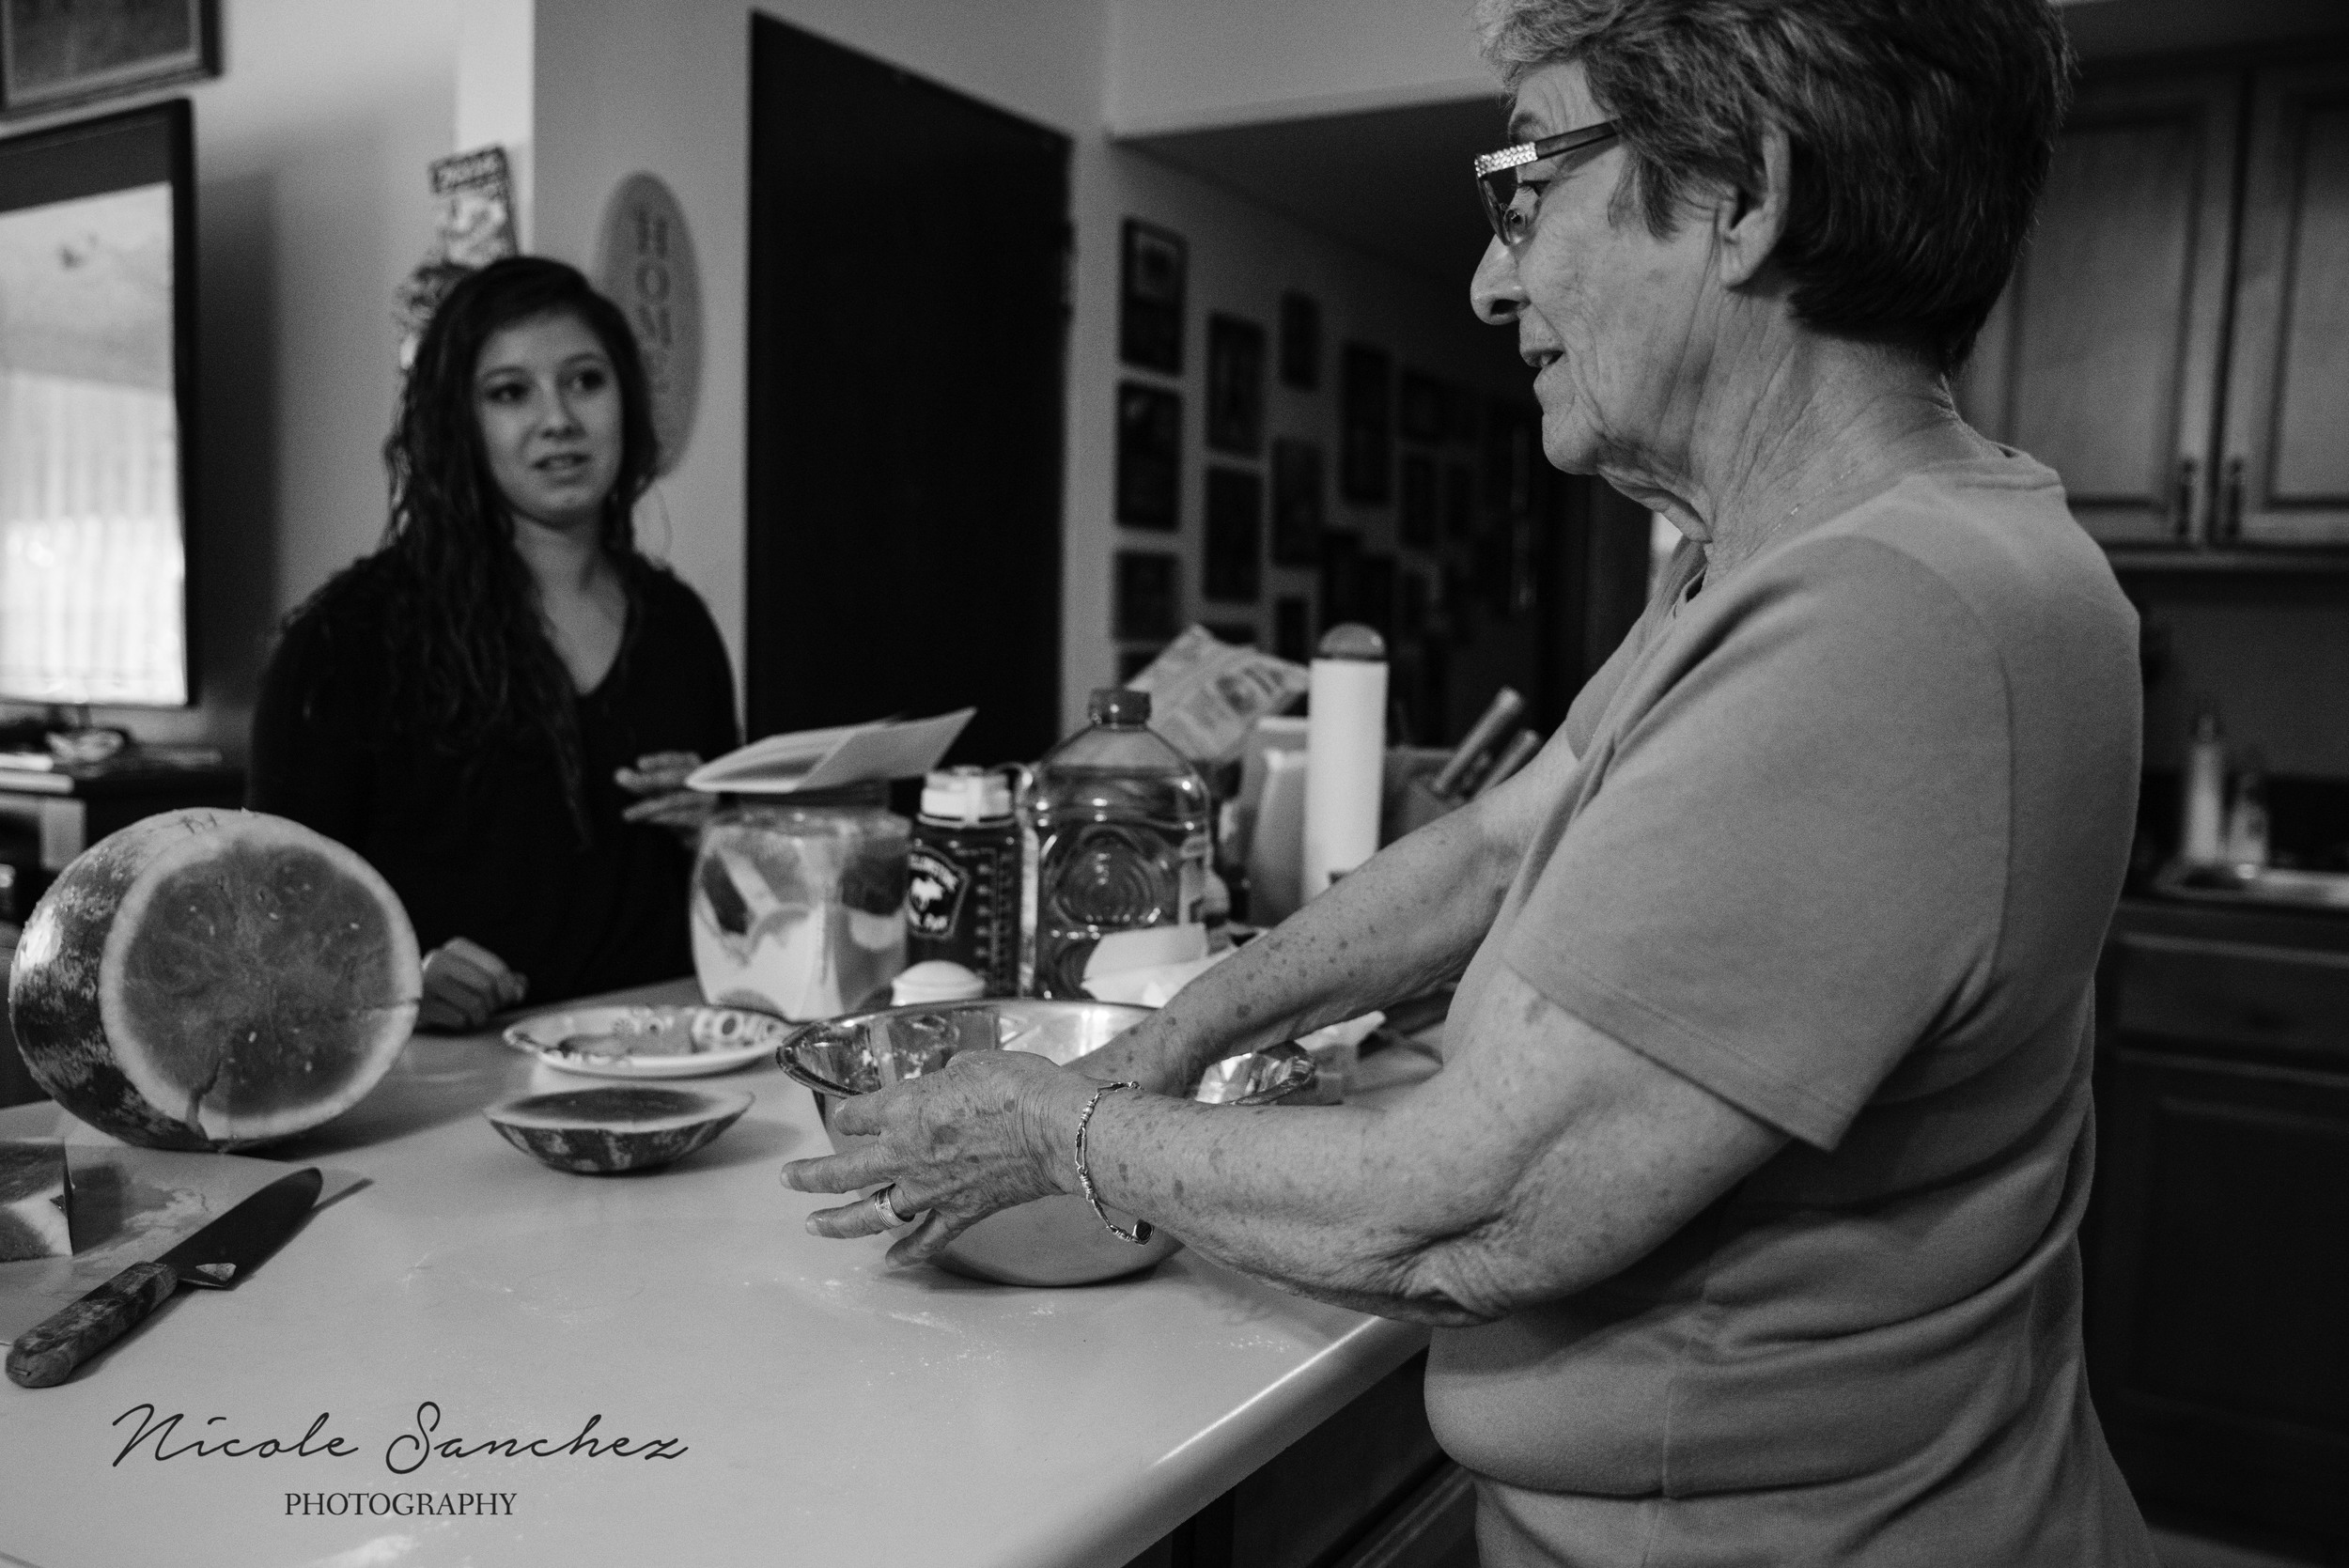
Films capture childhood characteristics, interests, and events in snippets that can be put in the context of the broader story of our family's life. Films provide a resource for our children and a glimpse into their history that would otherwise be lost, or at the very least subject to the subjectiveness of memory only.

Film captures the feeling of a moment.

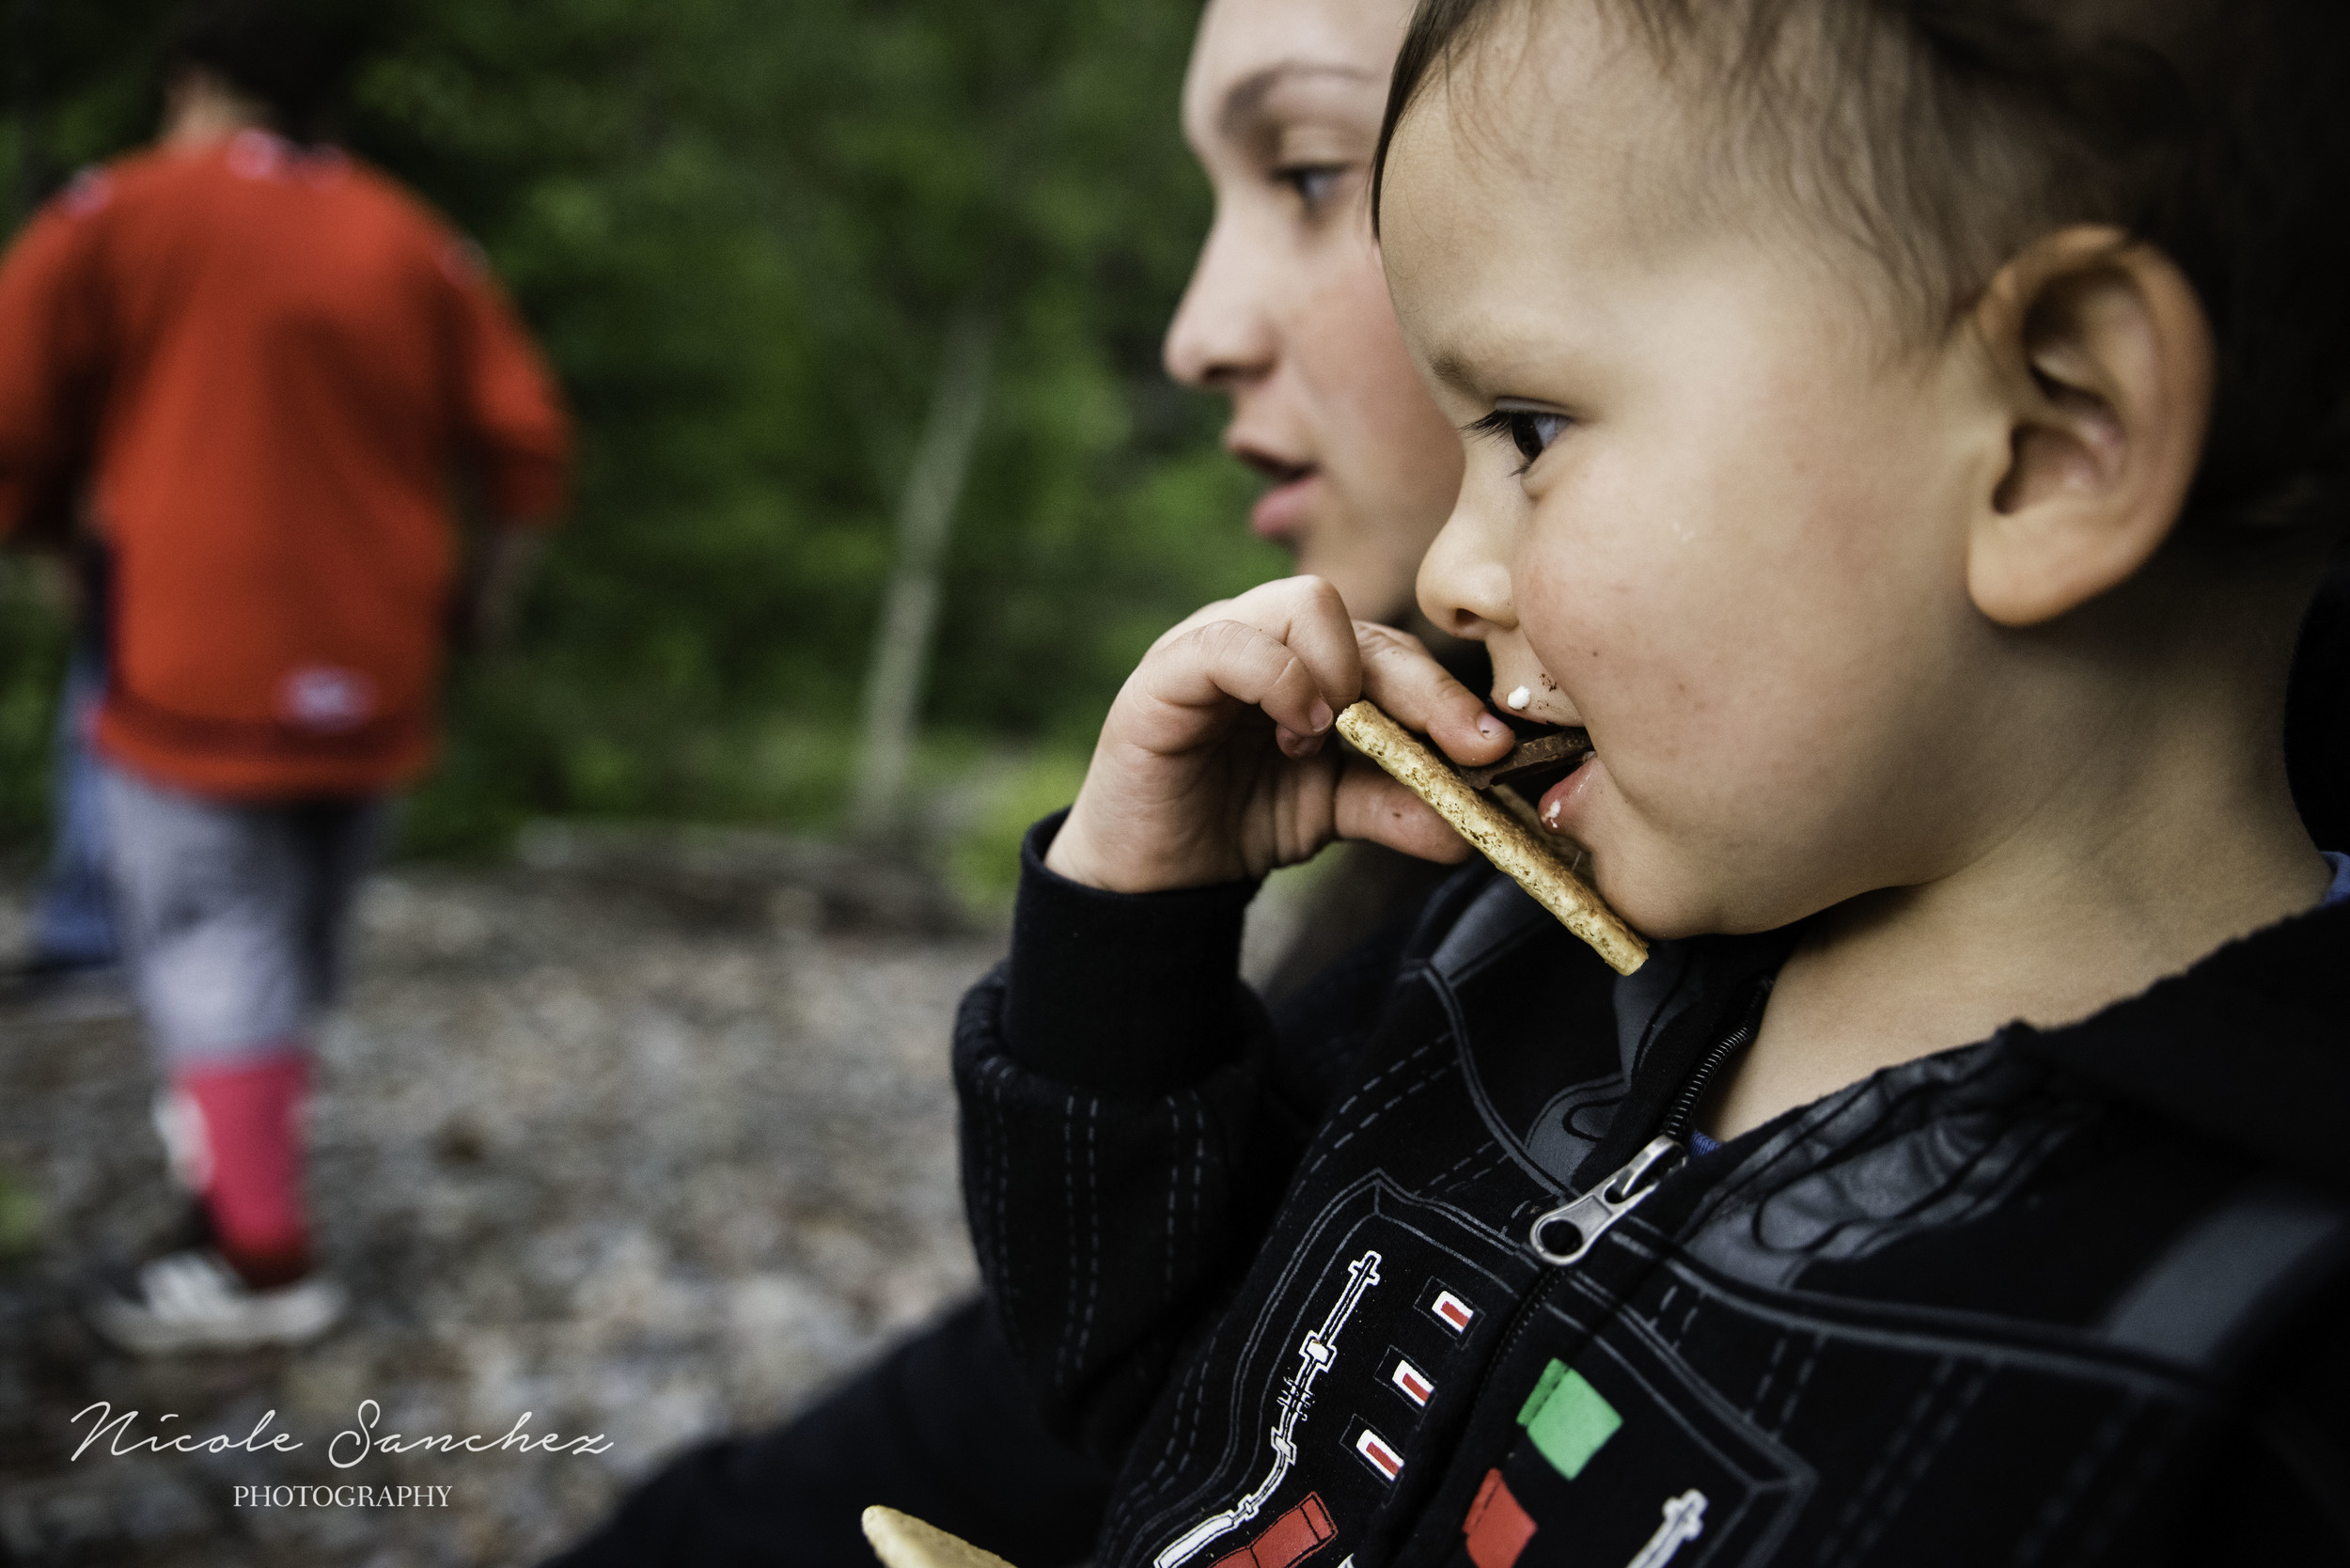
With film, you get the sights and sounds and the feeling of what it was like to be in that moment when you were two or four and experiencing your family's beach vacation. You're dropped into that moment in time in a way that a still photo just can't evoke. I love seeing my kids flip through their photo albums and I will continue to make them (though I may never get caught up!). But seeing their reactions as they watch themselves in clips taken six months or a year ago is just priceless. Even they marvel at how much they’ve changed.

I also experimented with drone footage this summer and can’t wait to share that in a future film.

Nicole Sanchez Photography works with busy parents in Northern Virginia, Washington, DC, and Maryland to create stress-free photo sessions that take all the loving, fun, and chaotic moments of family life to make beautiful photos and films that families will love looking at year after year.  Contact me today to start planning a custom photography experience that's perfect for your family.


Three reasons to book a photography session for your family vacation | Washington, D.C. Documentary Photographer

Today I'm sharing a fun vacation session from this sweet family's visit to Washington, D.C.  The D.C. area is such a popular place to visit.  From spring cherry blossoms and Smithsonian museum visits to the Capitol Building, National Mall and monuments - there's no shortage of fun (and free!) stuff to do.  

Family Vacation Photo in Washington, DC by Nicole Sanchez Photography

I have a soft spot for photographing family vacation sessions. I have fond memories of my own family's vacations to the beach and camping and I love looking back on those pictures with my parents and sister and sharing them now with my own kids.

It can be hard to get the whole family in the frame together though, especially when wrangling little ones. There's only so many times you can ask a stranger to take a picture and, often, one parent becomes the designated photographer and is missing from most photos.  In my family, that would be me (surprise!), so I love hiring a photographer to document part of our trip.  Here are three reasons why:

Vacationing family in front of Capitol Building in Washington, D.C.
Boy taking a break on National Mall by Washington, D.C. Family Photographer Nicole Sanchez

1. No pressure.  Planning a family vacation with children is no joke.  Choosing a kid-friendly location, searching for fun activities, and figuring out logistics is time-consuming and stressful.  And once you arrive at your destination, it's still not time to sit back and put your feet up with a glass of wine (I somehow never realized this until my first vacation as a parent. Go figure. :-) ). Hiring a photographer takes the pressure off of trying to capture all the fun of what your kids are doing and allows you to just enjoy the fun with them with no added pressure.

Family walking in front of National Gallery of Art in Washington, D.C.

A documentary session also means no need to stop what you're doing to take photos (although a quick portrait in front of the Capitol Building is likely a necessity!). You already have enough to worry about (snacks, public transportation, potty breaks, and, and, and...) - fewer photo interruptions makes for more cooperative family members throughout the day.

Boy on family vacation in Washington, D.C. by Nicole Sanchez Photography
Boy holding rock by Washington, D.C. Family Photographer Nicole Sanchez

2. A local expert I've lived in the D.C. area for ten years and have loved taking my time getting to know all the area has to offer.  Hiring a local photographer means you get access to all their knowledge - including the best places to visit and eat (and the best times to go), off-the-beaten-path attractions, kid-friendly recommendations for everything, and, of course, the best photo opps.

Family Vacation at Smithsonian Museum of American History in Washington, D.C.

I loved planning this D.C. vacation session and getting to know this family a bit before meeting them.  From their love for trains and dinosaurs and a need for time and lots of space for running about with two energetic boys - we were able to make the most of their limited time in the city, while also keeping things flexible, low-key, and stress-free.

Kids playing in museum in Washington, D.C. by Family Photographer Nicole Sanchez

3. You were there too.  (Or your spouse.) The point is, it's a family vacation.  And the whole family should be present.  When looking back on these vacation photo years from now, the pictures your kids will appreciate the most will be the ones of you together.  When going through my family photos, my eyes always linger most on the pictures of me with my parents. Some things change and some stay the same and these moments frozen in time are glimpses into our stories.  Who would we be without our family?  These photos help us remember the stops along the way.

Mom holding son on vacation in Washington, D.C. by Nicole Sanchez Photography

How to Make an Awesome Vacation Photo Display | Northern Virginia Family Photographer

I came across Melissa Stottman's vacation photo display tutorial while I was on vacation last summer and knew it would be the perfect way to showcase a little piece of our family reunion in Montana. I also knew the displays would make perfect Christmas gifts for our family and couldn't wait to make them. Except that I did wait...until almost the last minute.  After a bit of trial and error (I've never stained wood before) and a few extra trips to Lowe's and Michael's, I happily finished then this week and love the way they turned out. Now I just have to remember to ship them in time for Christmas! Here's everything you need to know to make an awesome vacation photo display.

Awesome Vacation Photo Display | Northern Virginia Lifesyle Photographer

Materials Needed:

  • wood plaques (these were $1.29 at Michael's) large enough to fit your print and any mementos you want to include
  • vacation memento. I used rocks to remember how much fun my son had throwing them in the lake. You could also use a vial of sand like Melissa shows in her tutorial. Or something else entirely!
  • photo of your choice
  • printout with location and date info, if desired
  • wood conditioner
  • wood stain in your color of choice
  • paint brushes
  • rubber gloves
  • old rags/cloths
  • sand paper
  • mod podge (I used satin finish)
  • hot glue gun
  • saw tooth picture hangers
  • mineral spirits (or paint thinner for cleanup)

After testing a couple of colors, I went with Minwax Ebony. I also learned after testing that unfinished wood can be soft and porous which can lead to blotchy staining, so pretreating with a wood conditioner is a good idea. 

1. First sand any rough edges of the wood and wipe away any dust. Put on your rubber gloves to protect your hands and make sure you're in a well-ventilated area or outside (I wouldn't do the staining process inside because of the fumes.)

Unfinished wood plaque with can of stain and paintbrush | Alexandria VA family photographer

Use a paint brush to apply wood conditioner to the plaque. Allow to rest for 5-10 minutes, then wipe off any excess with a clean, dry cloth. 

2. Next, the staining. But first a note: It's useful to do a bit of testing on an extra piece of wood to determine how long to leave the stain on and how many coats you need to apply to get your desired color.  It lengthens the process, especially if you wait for the test piece to dry, but it's worth it to ensure your end result had the color you want. 

Within 5-10 minutes of applying wood conditioner, apply a coat of stain with paint brush. I used one coat of Minwax Ebony and let rest for about 10 minutes.  Wipe away excess with cloth and let dry. (I let rest until the next day.)  Use the mineral spirits to clean your brush.

4. Once dry, you're ready to assemble everything else.  It's helpful to arrange everything on the plaque before you start gluing to make sure everything fits.  When you're ready, apply a thin layer of mod podge to the photo and place on plaque. Allow to dry.

materials in place for making photo display | Northern Virginia documentary family photographer

If you want to include a bit of info about your vacation, add that next. I printed the location and date of our trip, cut to size, and secured with a very thin layer of mod podge mod podge to prevent bubbling. I printed mine on regular letter paper (I tested three font sizes and 14 worked best for me), but you might try something thicker if you have it to prevent it from bubbling up when you glue it.

acation info disply | Alexandria Virginia family photographer

5. Before starting this next step, it can be helpful to ensure you have a clean workspace, free from any dust or pet hair (ahem, cat-who- insisted-on-assisting-me).  Once you start applying the mod podge, it's difficult to remove any dirt or stray hairs without smudges.

Apply thin layer of mod podge over entire plaque, including print. Be careful to go very thinly over printer paper. Mod podge dries very quickly, so when going over the photo, I found it helpful to be pretty liberal with the application and move quickly. If you start with the photo you can push any excess to the edges and use on the rest of the plaque. It will look cloudy at first, but will turn clear as it dries, which takes less than half an hour. 

od podge drying on wood photo  display | northern virginia family photographer

6. Next, use a hot glue gun to secure your memento(s).

7. Finally, secure a saw tooth hanger to the back of the plaque and hang proudly! 

ttaching sawtooth picture hanger | northern va lifestyle family photographer
inished vacation photo display hanging on wall | alexandria virginia lifesyle family photographer

inished vacation photo display hanging on wall | alexandria virginia lifesyle family photographer

Aside from the staining process which took a bit longer due to testing (and that I've never stained wood before) this was a really quick process and super easy.  Check out Melissa's tutorial to learn how to make a display using paint and a sand vial. And please come back to share if you make one yourself.

Sign up below for my email list to receive more ideas for how to display your photos and tips for documenting your family.
 

Photographing Your Vacation | How to Take Pictures that Tell a Story

Earlier this summer, we had an epic vacation - two weeks traveling from our home in Northern Virginia to Texas, New Mexico, and Montana to celebrate two beautiful nieces' high school graduations and spend time with grandparents and extended family. It was wonderful and I have a ton of photos to prove it.

Now that I'm home, I'm working to put the images together into a photobook that we can share with family.  While I likely won't get around to actually making the book until it's time to order for Christmas gifts (!), I have been thinking about how best to put the images together.  And that thinking actually started while I was shooting the images on vacation.

At it's heart, documentary photography strives to tell a story and a family vacation is a wonderful story to tell. Moments with loved ones, details of fun activities, and scene-setting panoramas all make up the story of time spent outside our daily lives.  

Here are some of my recent vacation favorites and a few tips for capturing your next adventure - whether it's a multi-state road trip or a quick day trip to a state park.

1. Capture the journey.  Every good story has a beginning, middle, and end.  Think about those elements of your story when you pick up your camera.  I usually try to capture travel details, especially plane rides, but you might also feature details like packing your kids' clothes and activities or the 4am alarm call for your early flight.

2. Don't forget the details.  Not every picture needs to feature a family member to be part of the story.  While on our vacation, I couldn't help but notice the beautiful flowers each place we visited, so I decided to incorporate them as a bit of a theme to provide context to our story. Now seeing them will always remind me of the time of year that we visited these places - how we went from almost summer weather in Texas / New Mexico, back to early spring weather in Montana.

And, of course, get in close for the little things like dirty hands and messy faces. 

3. Set the scene.  Provide some context to the activities you're capturing, whether indoor or out.  Close ups and details are great, but these wider images capture the broader environment and help set the scene for the whole story.

4. Don't discount the in-between.  These pictures (and the couch image above) were taken on a restful afternoon between activities.  Nothing much was happening, but I kept my camera out anyway.  And I'm so glad I was able to document my mother-in-law making tortillas - a delicious family tradition.

5. Have fun (and maybe let the rules slide a bit)!  Vacation is the perfect time to let loose, try new things, and let rules slide a bit.  Jumping on the hotel bed?  Sure, get that energy out! Sitting in the dirt to get a fun angle?  Why not? Staying up way past bedtime to keep the fun going (and take advantage of that beautiful golden light)?  We can just sleep in tomorrow!

6.  Finally, as always, get in the frame!  Because you were part of your vacation too!  Happy summer!