January 365 Project Faves | Northern Virginia Family Photographer

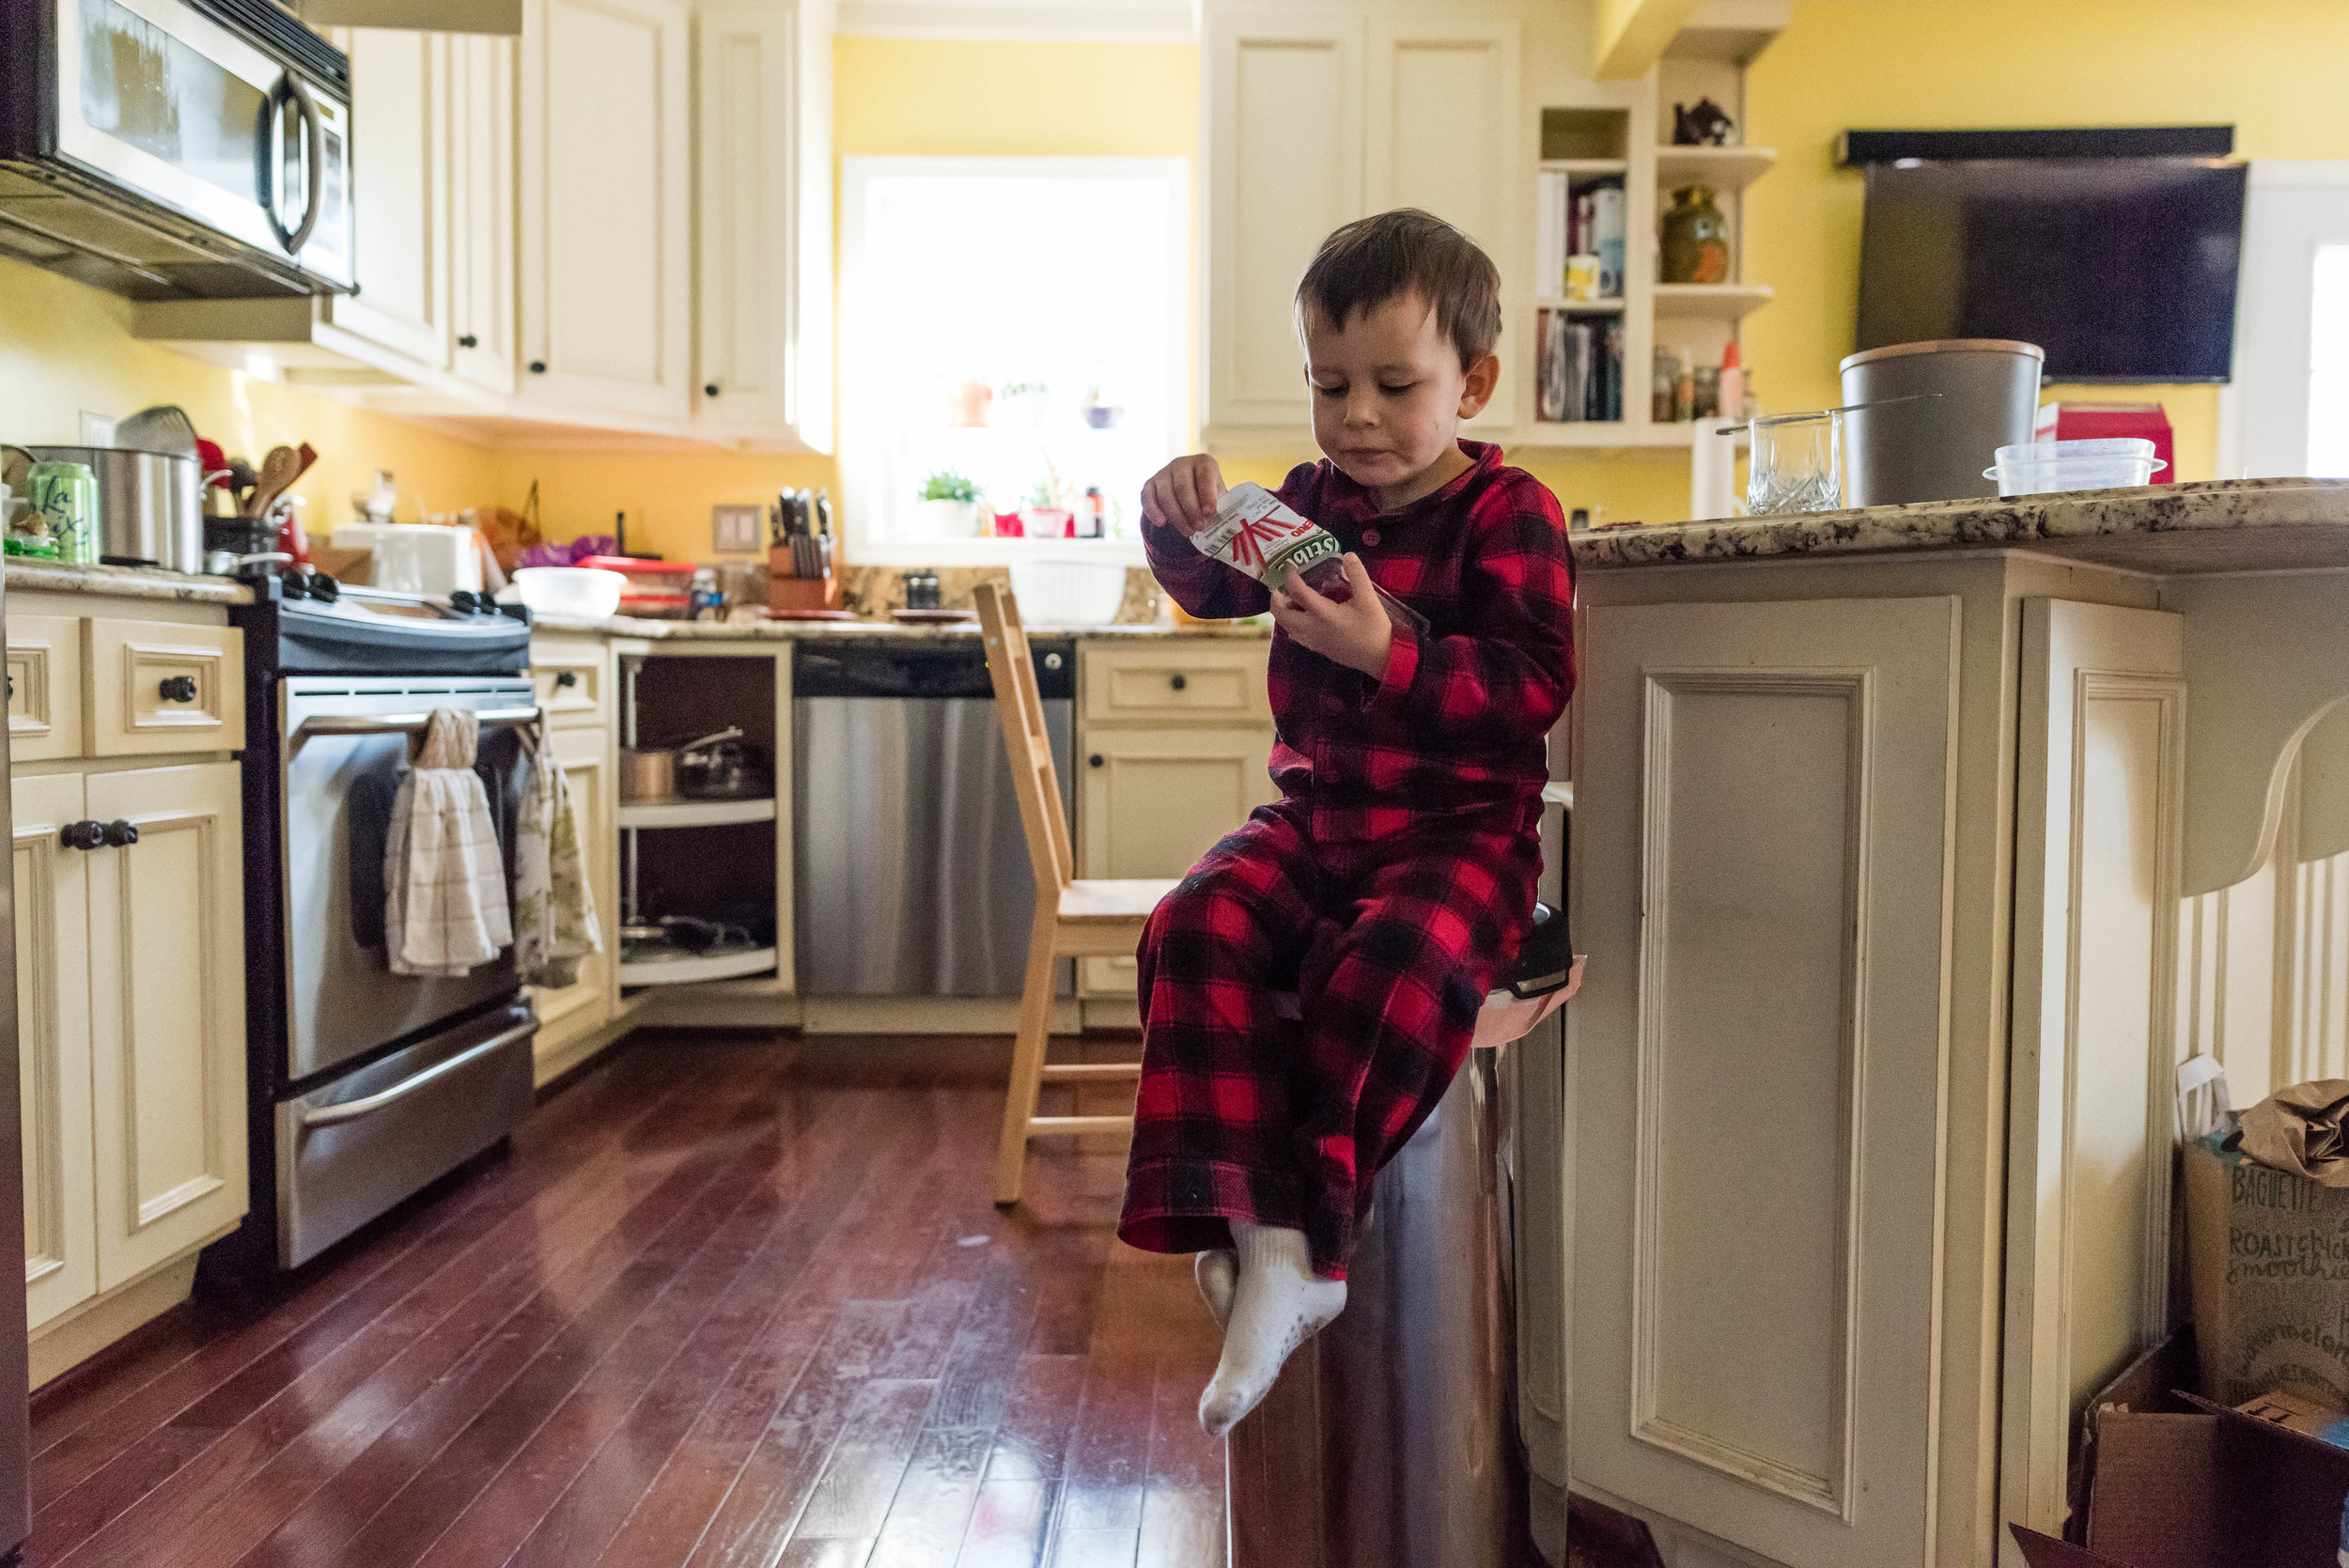
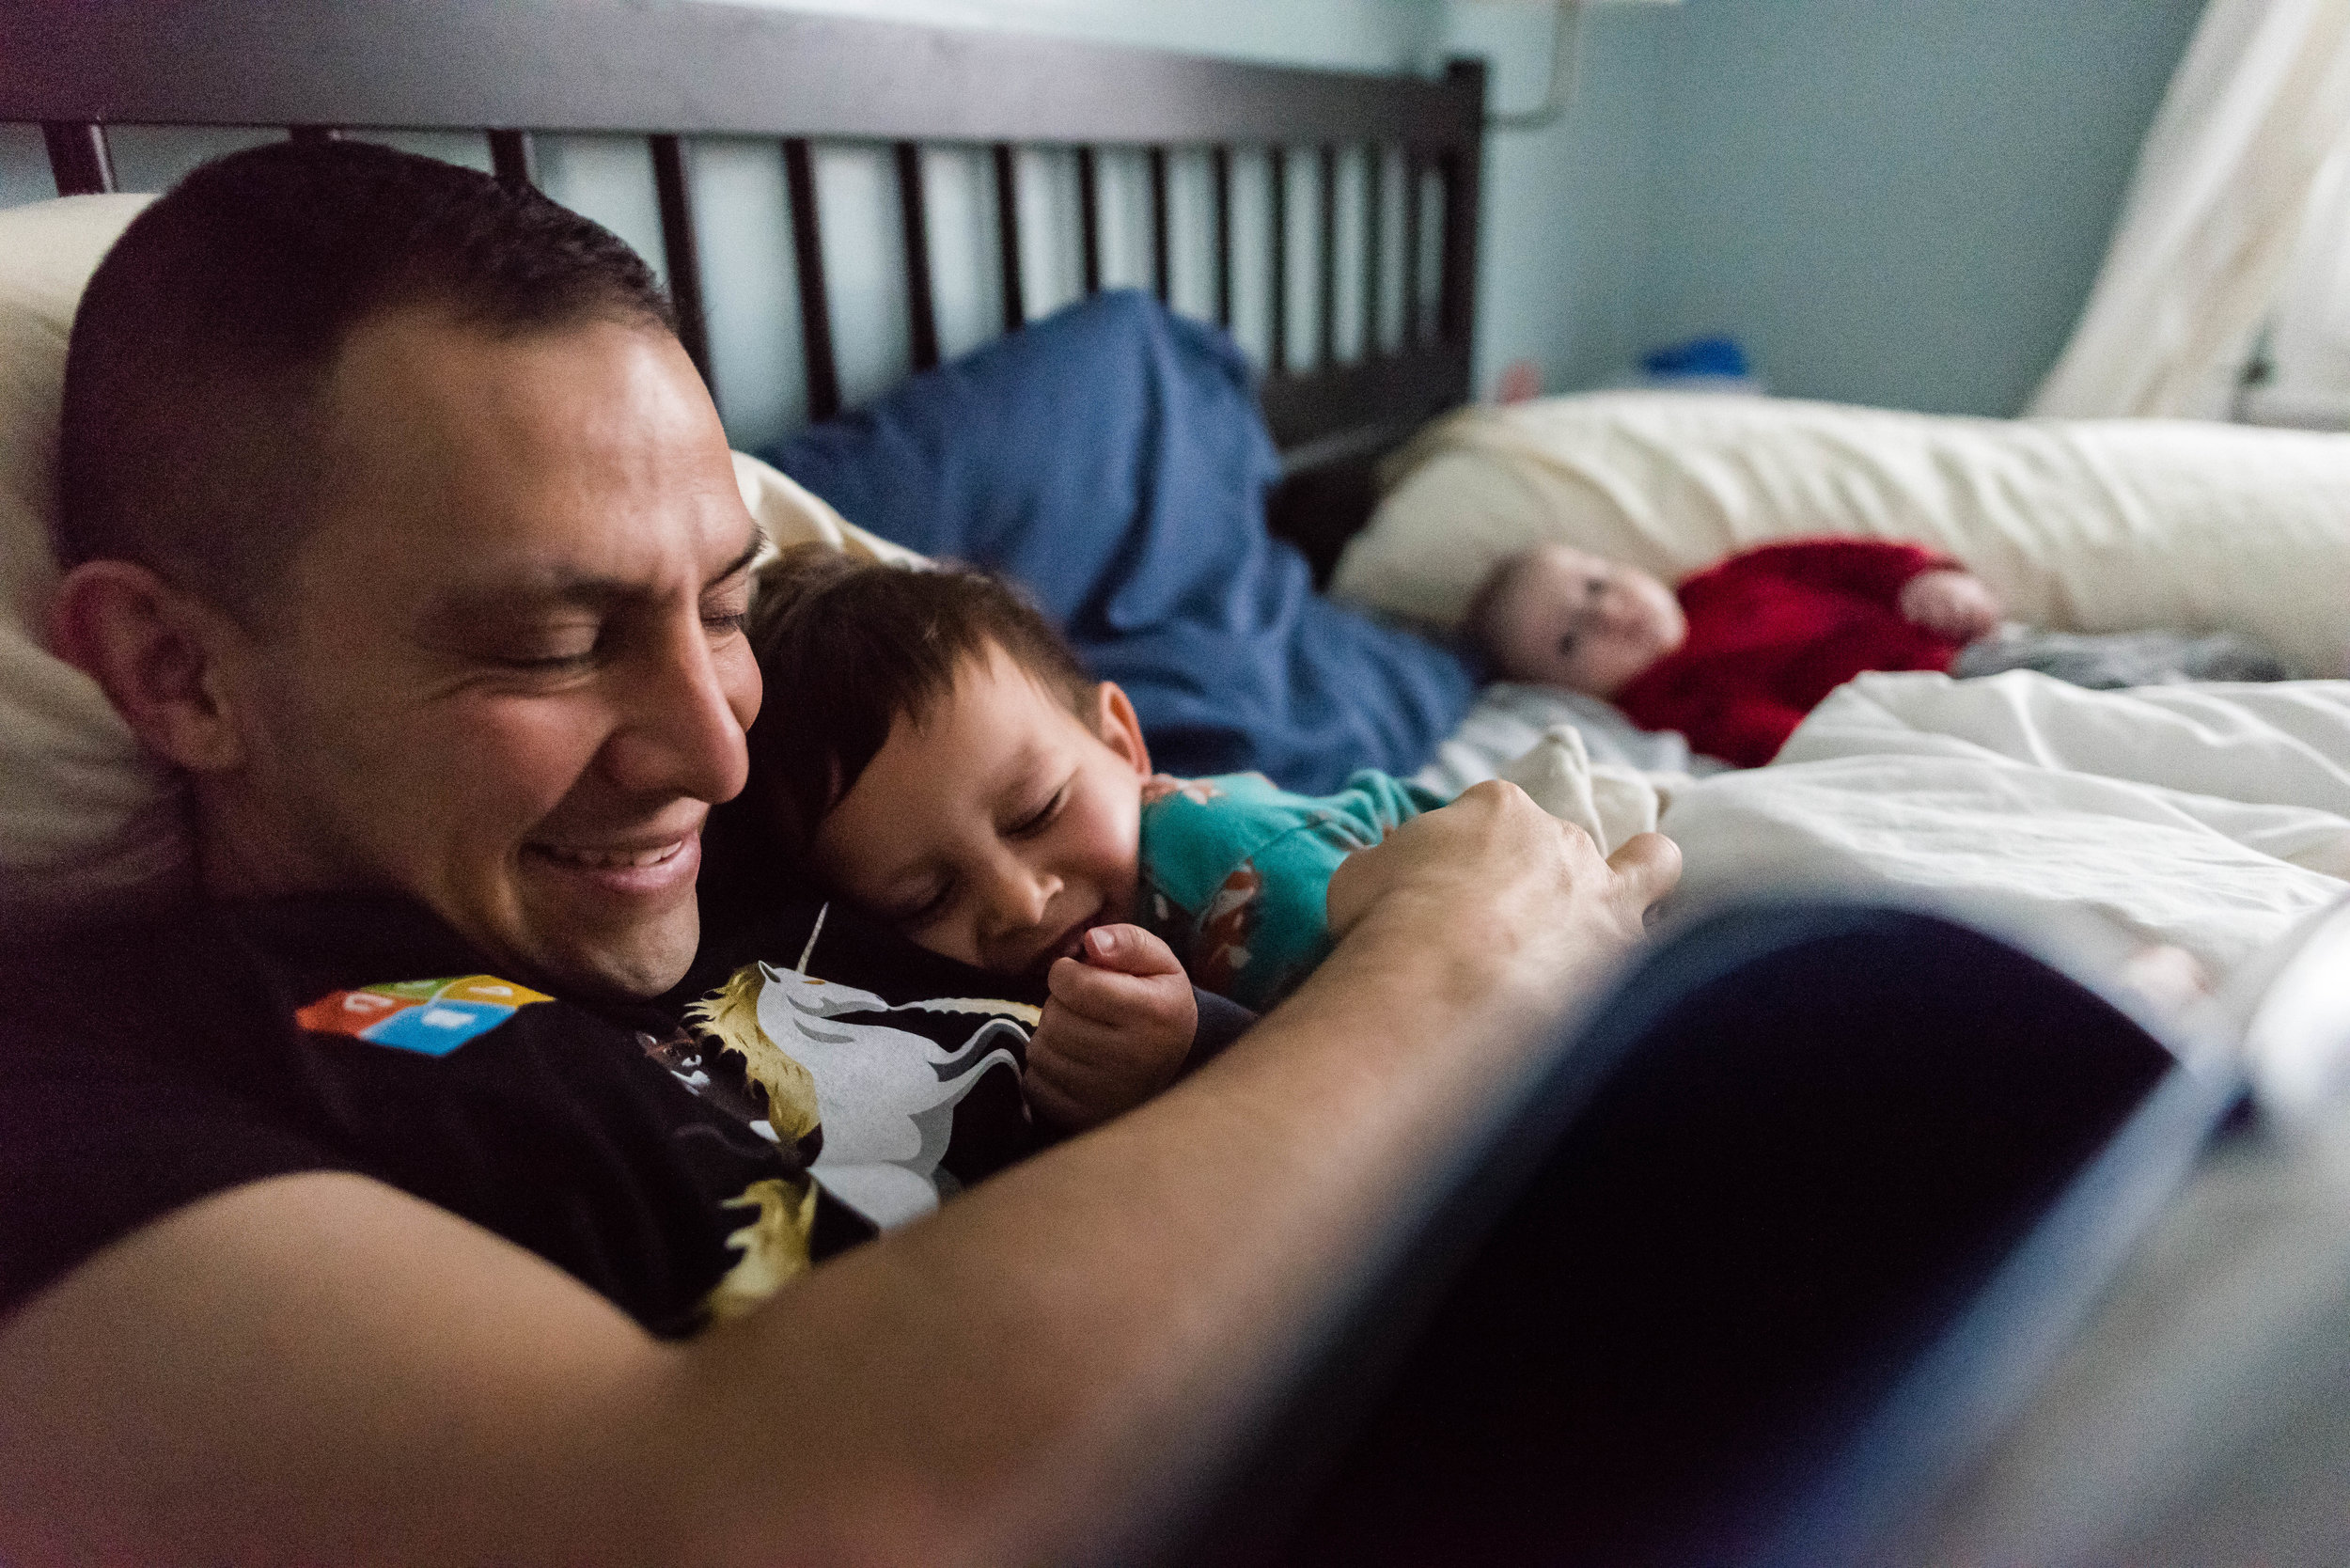
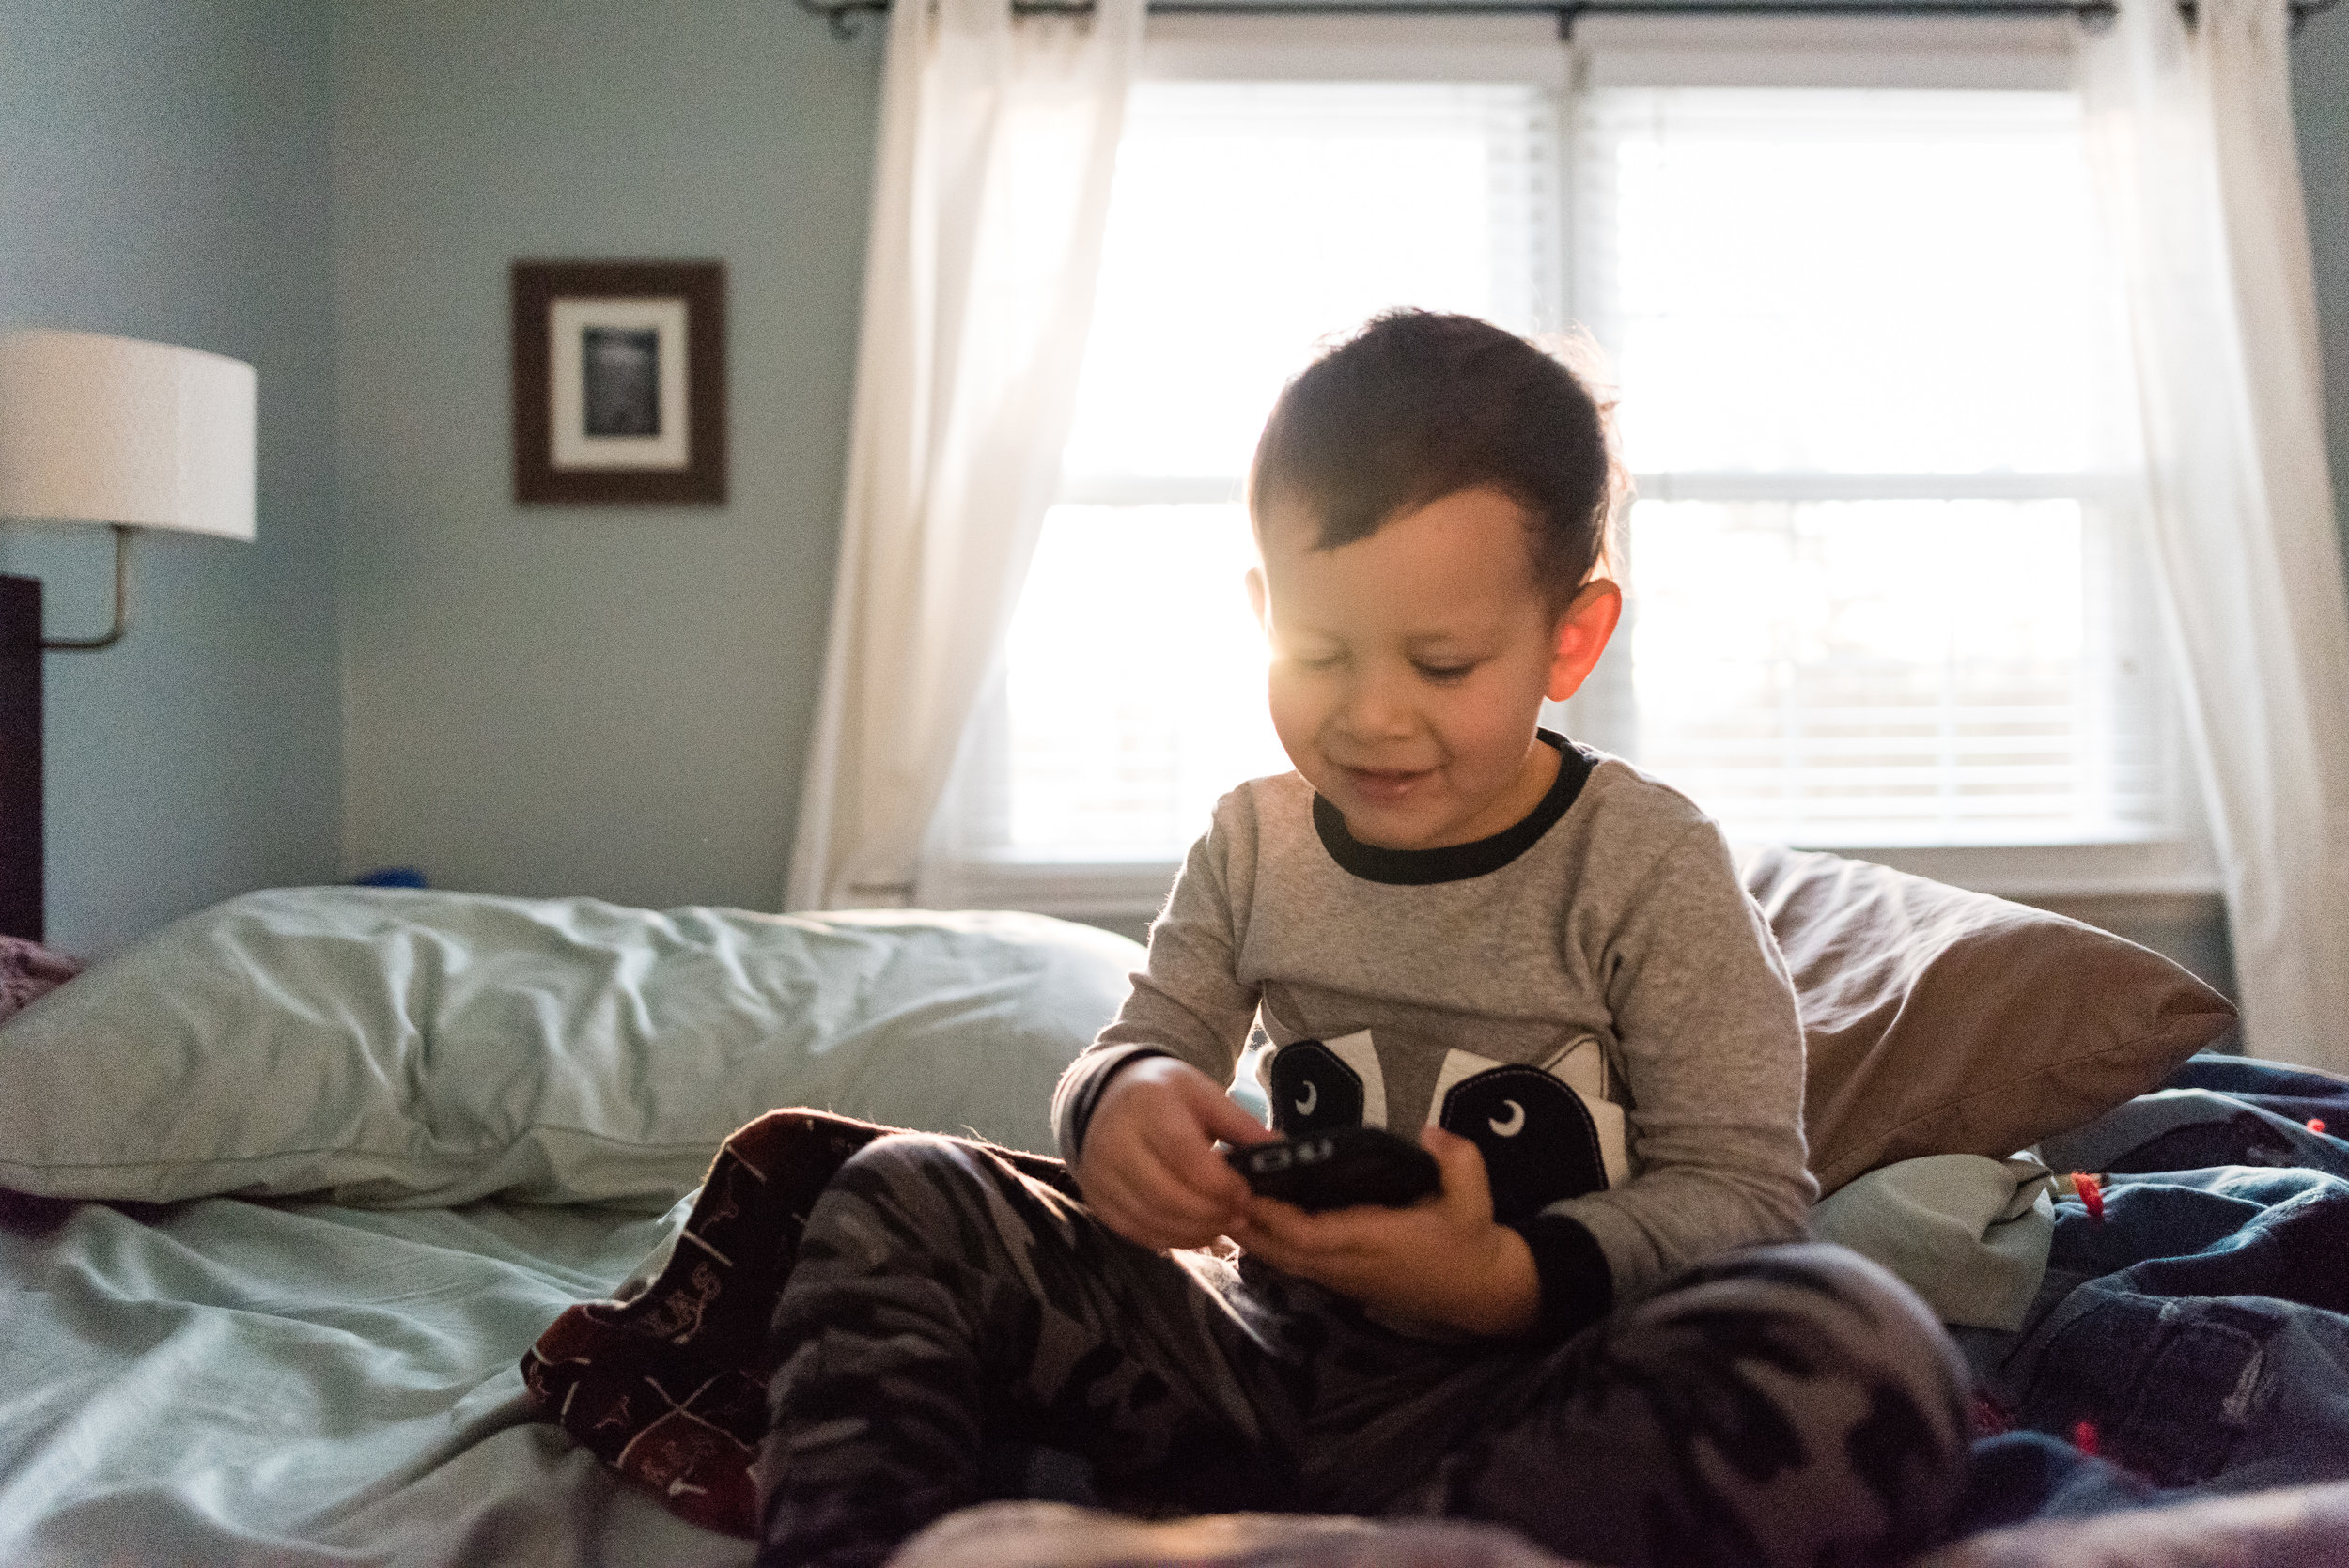
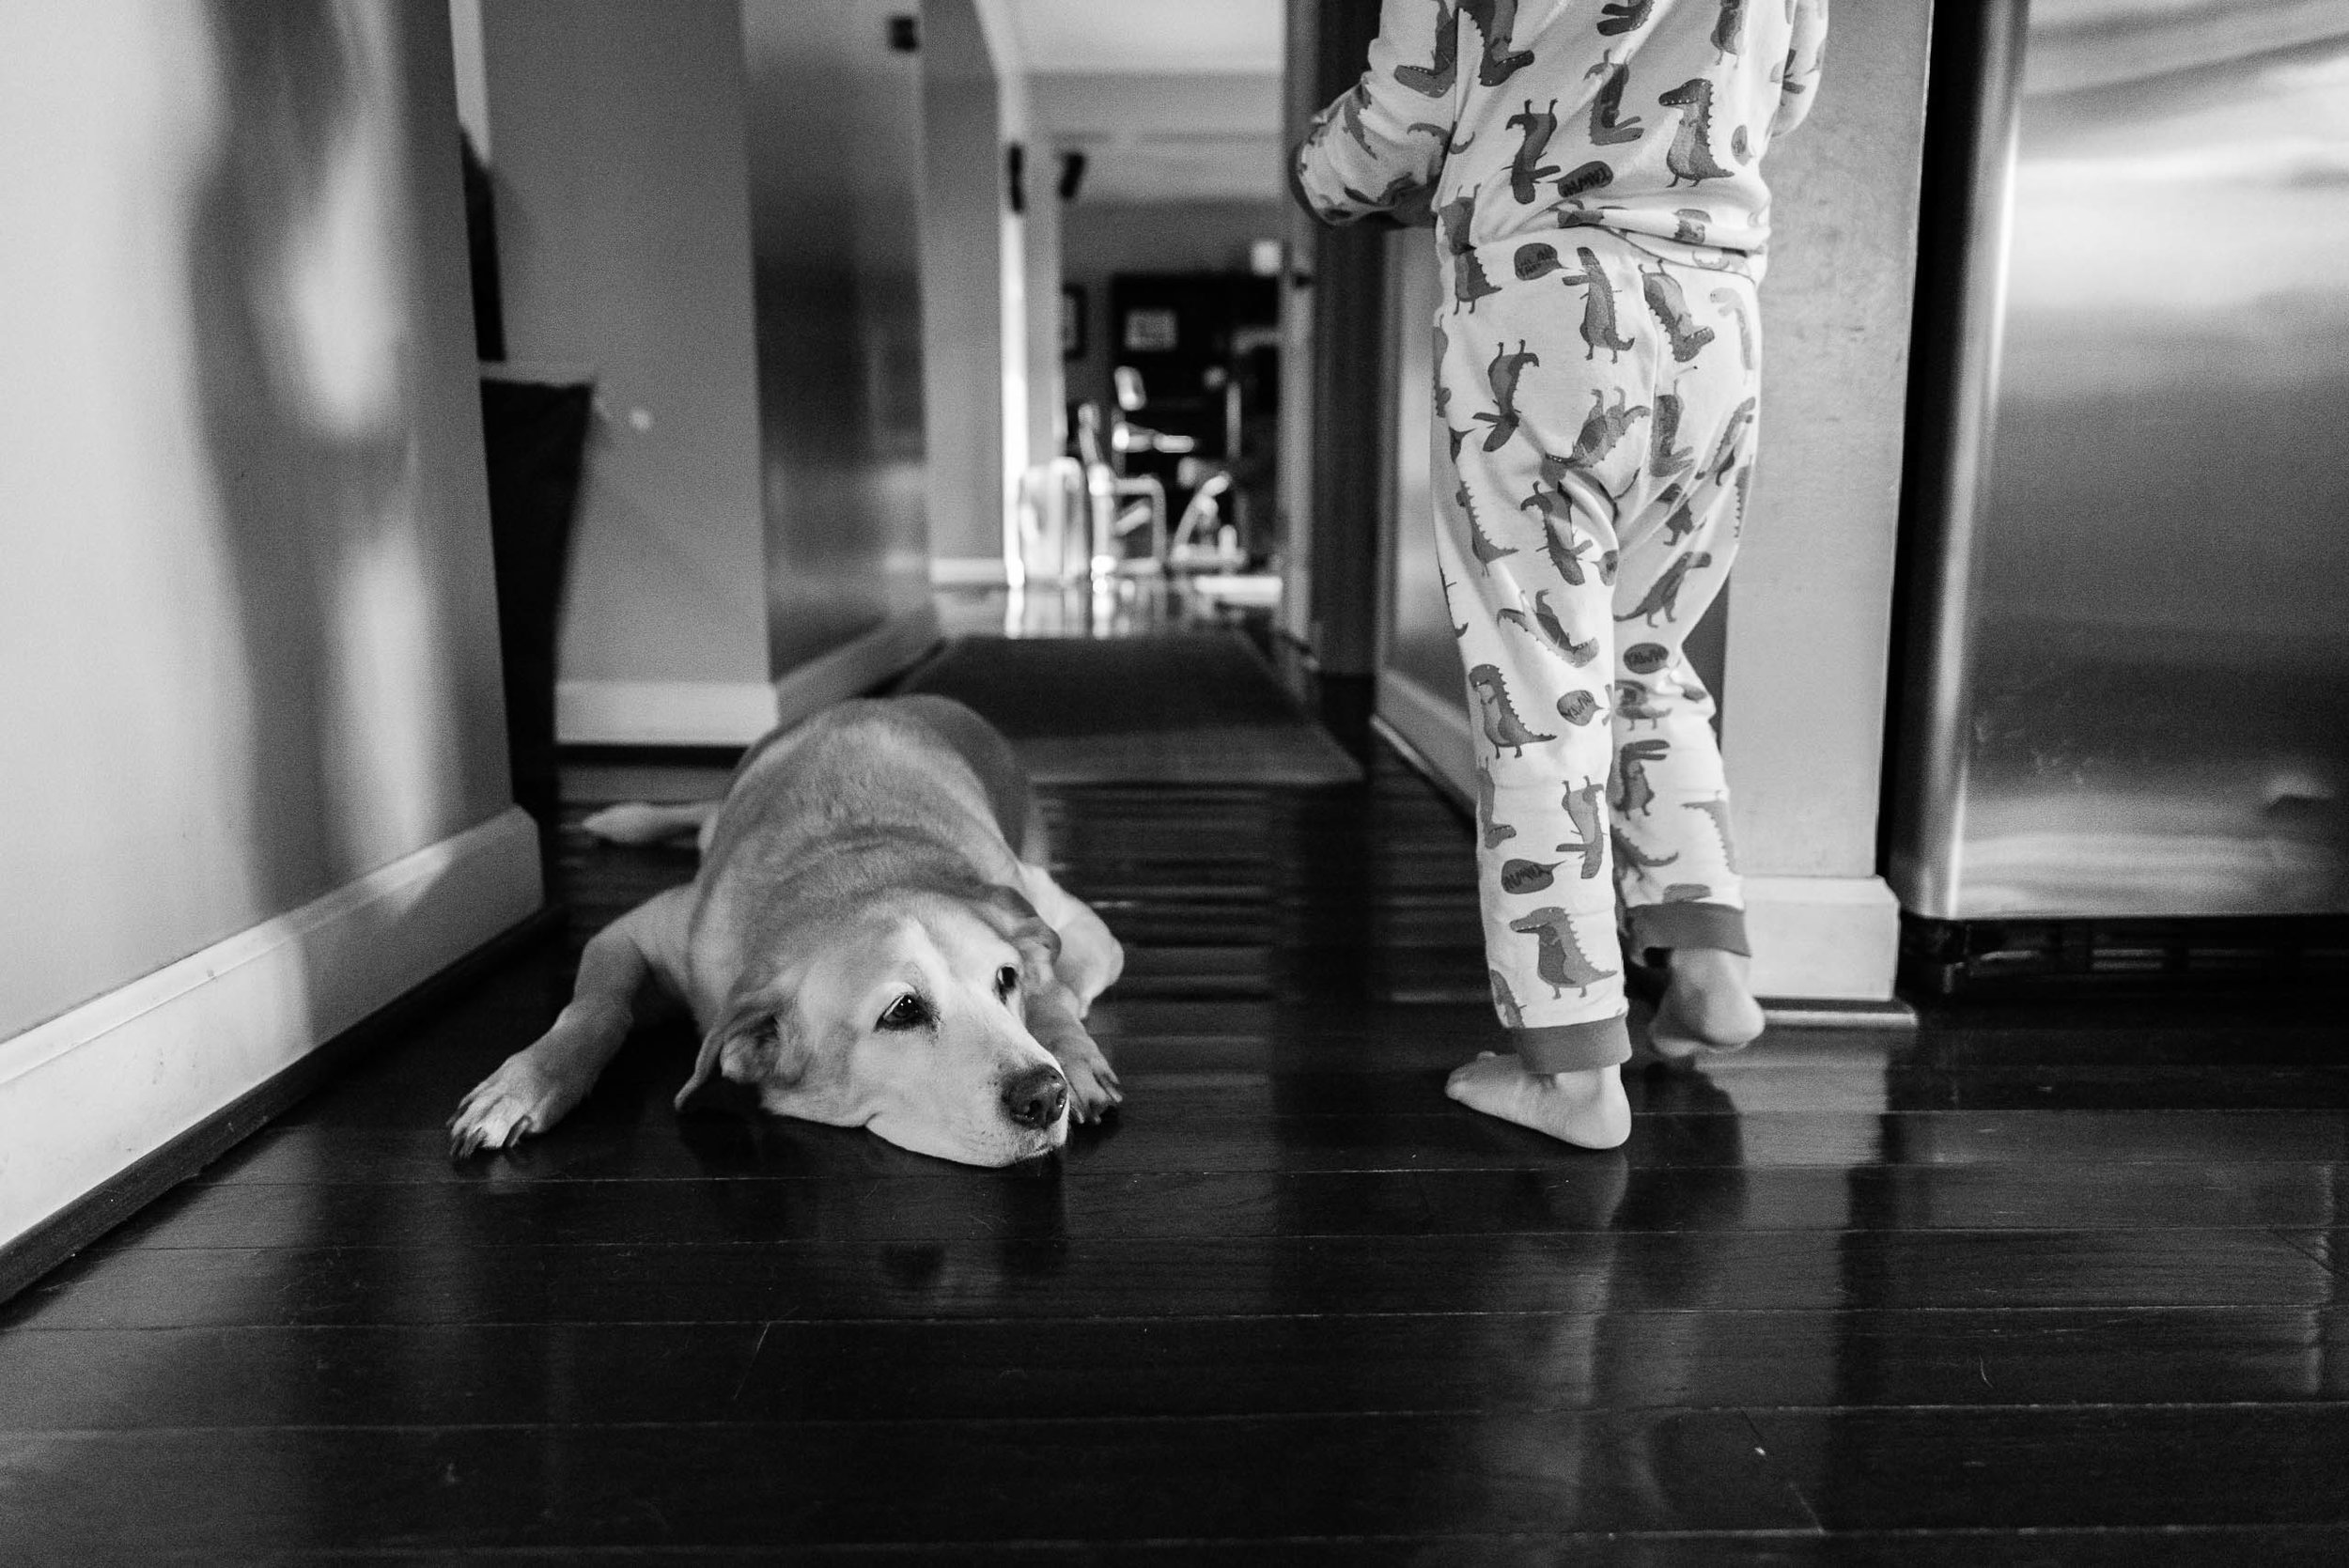
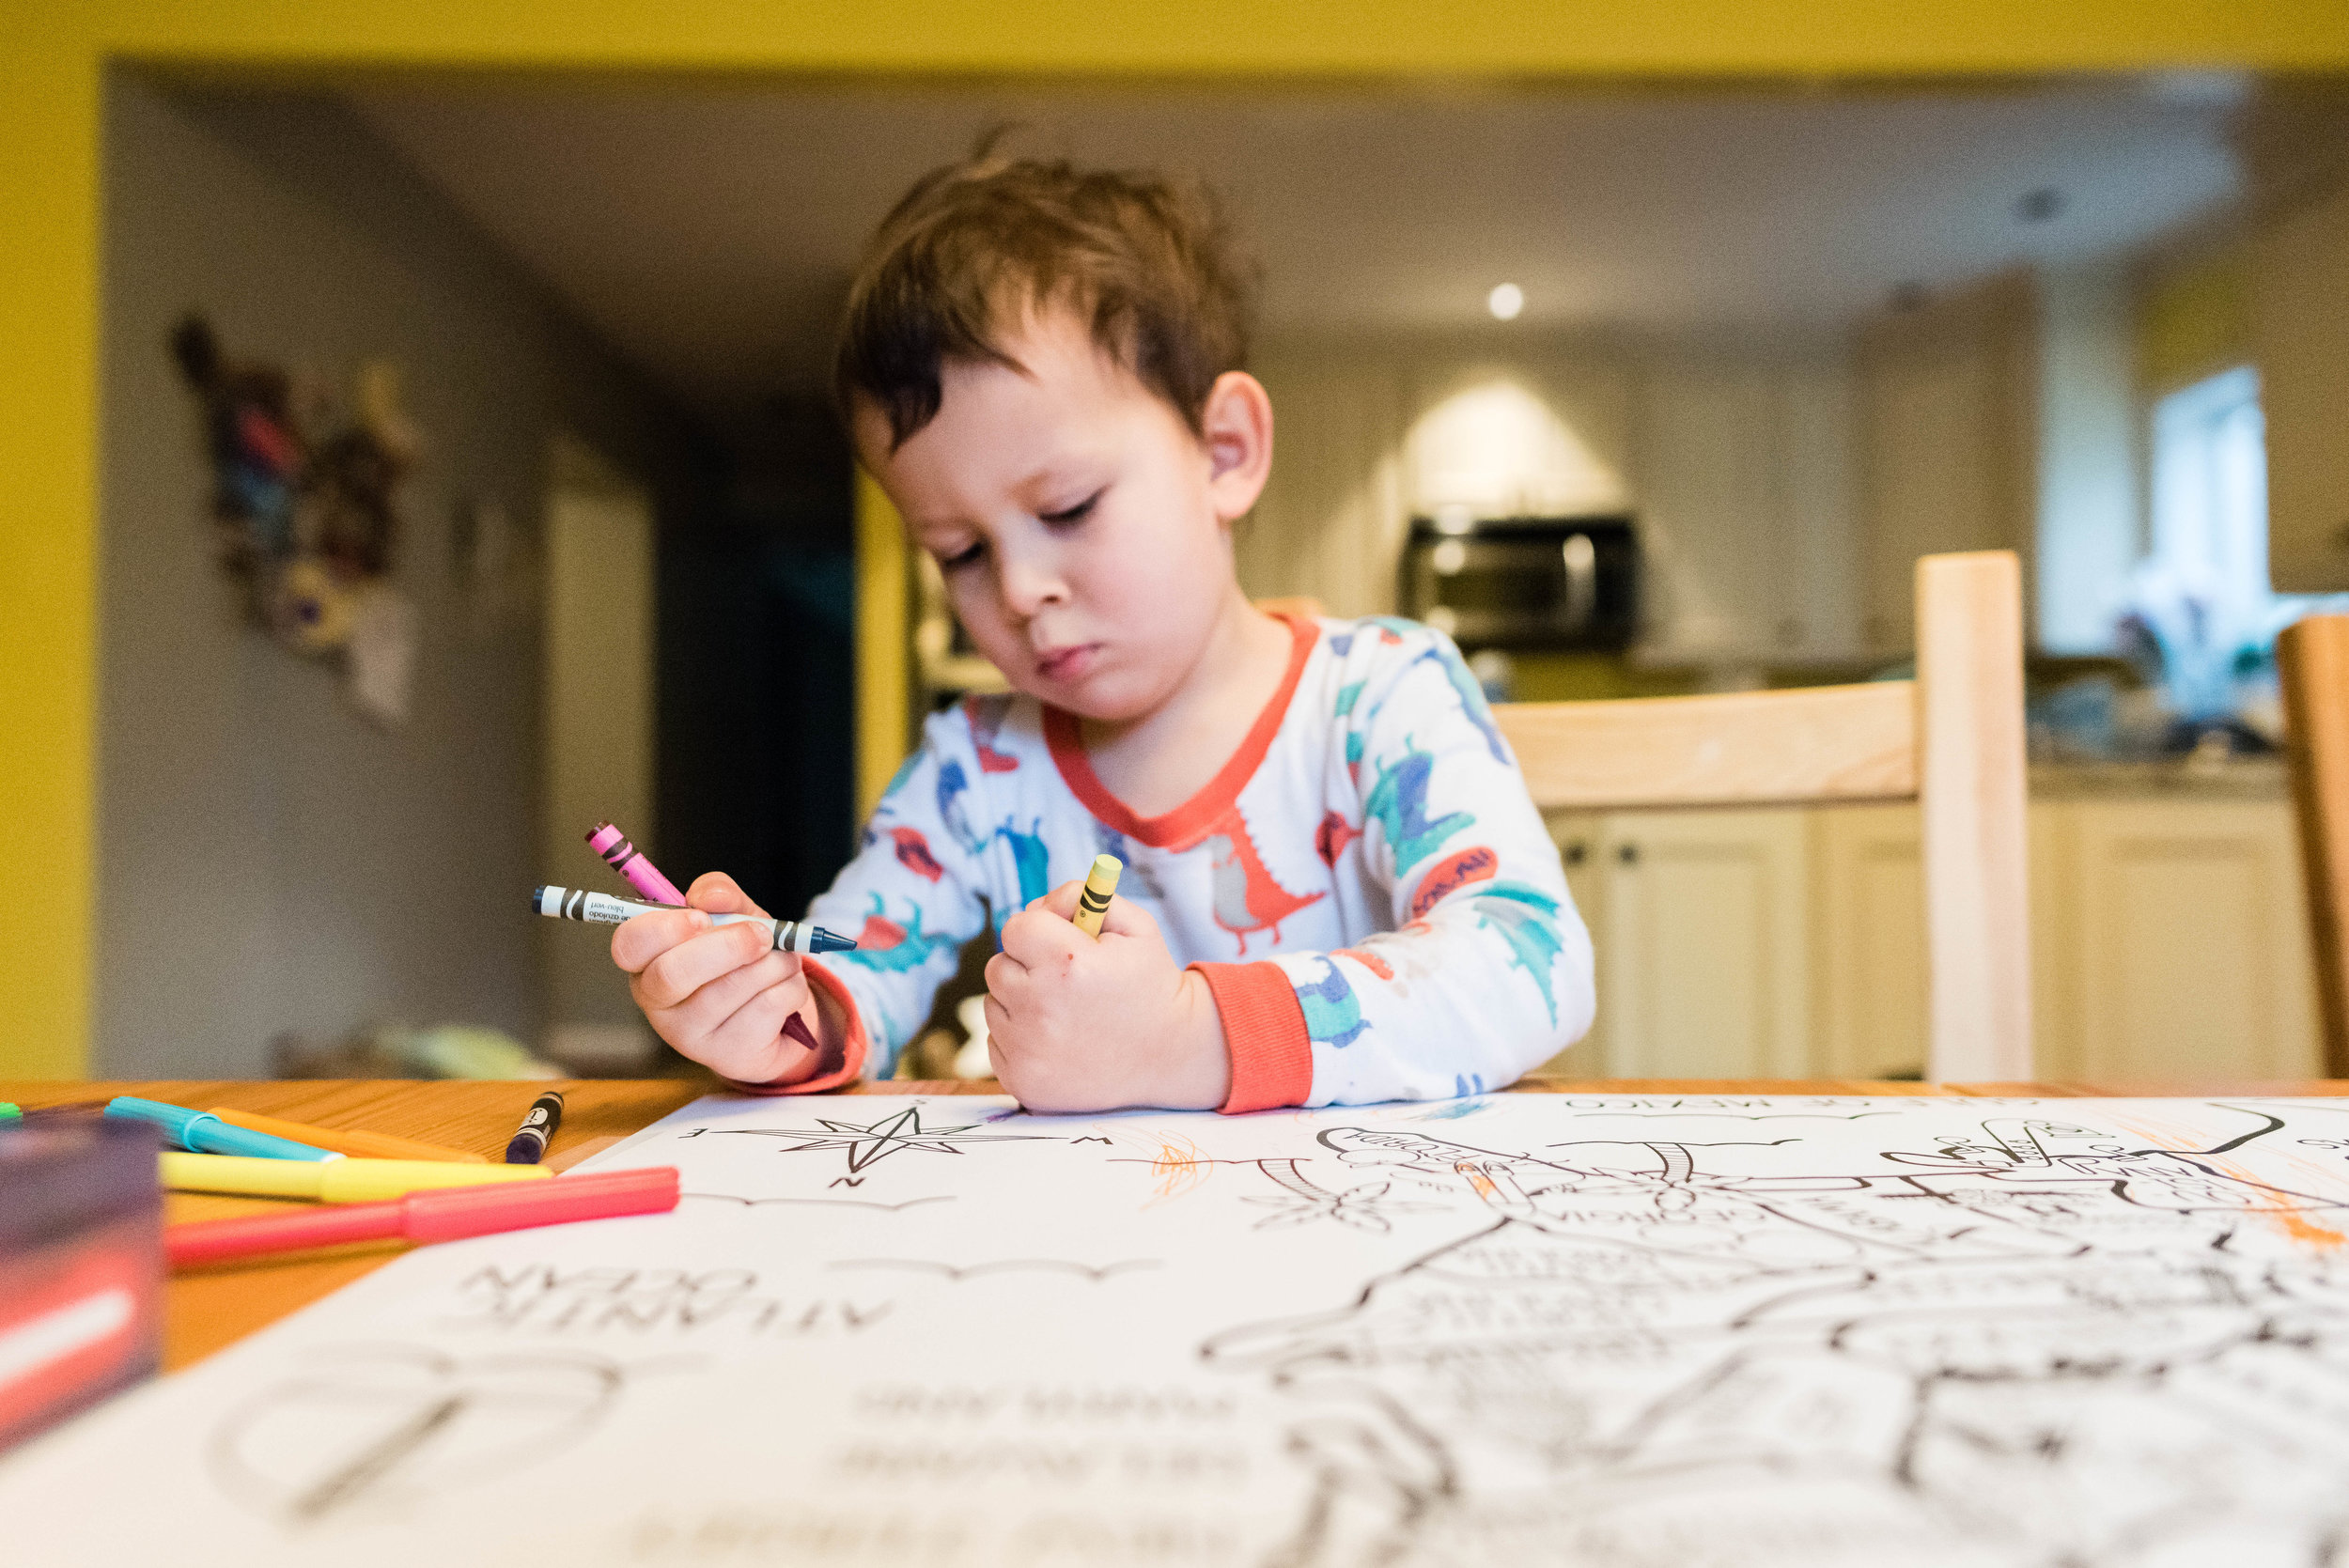
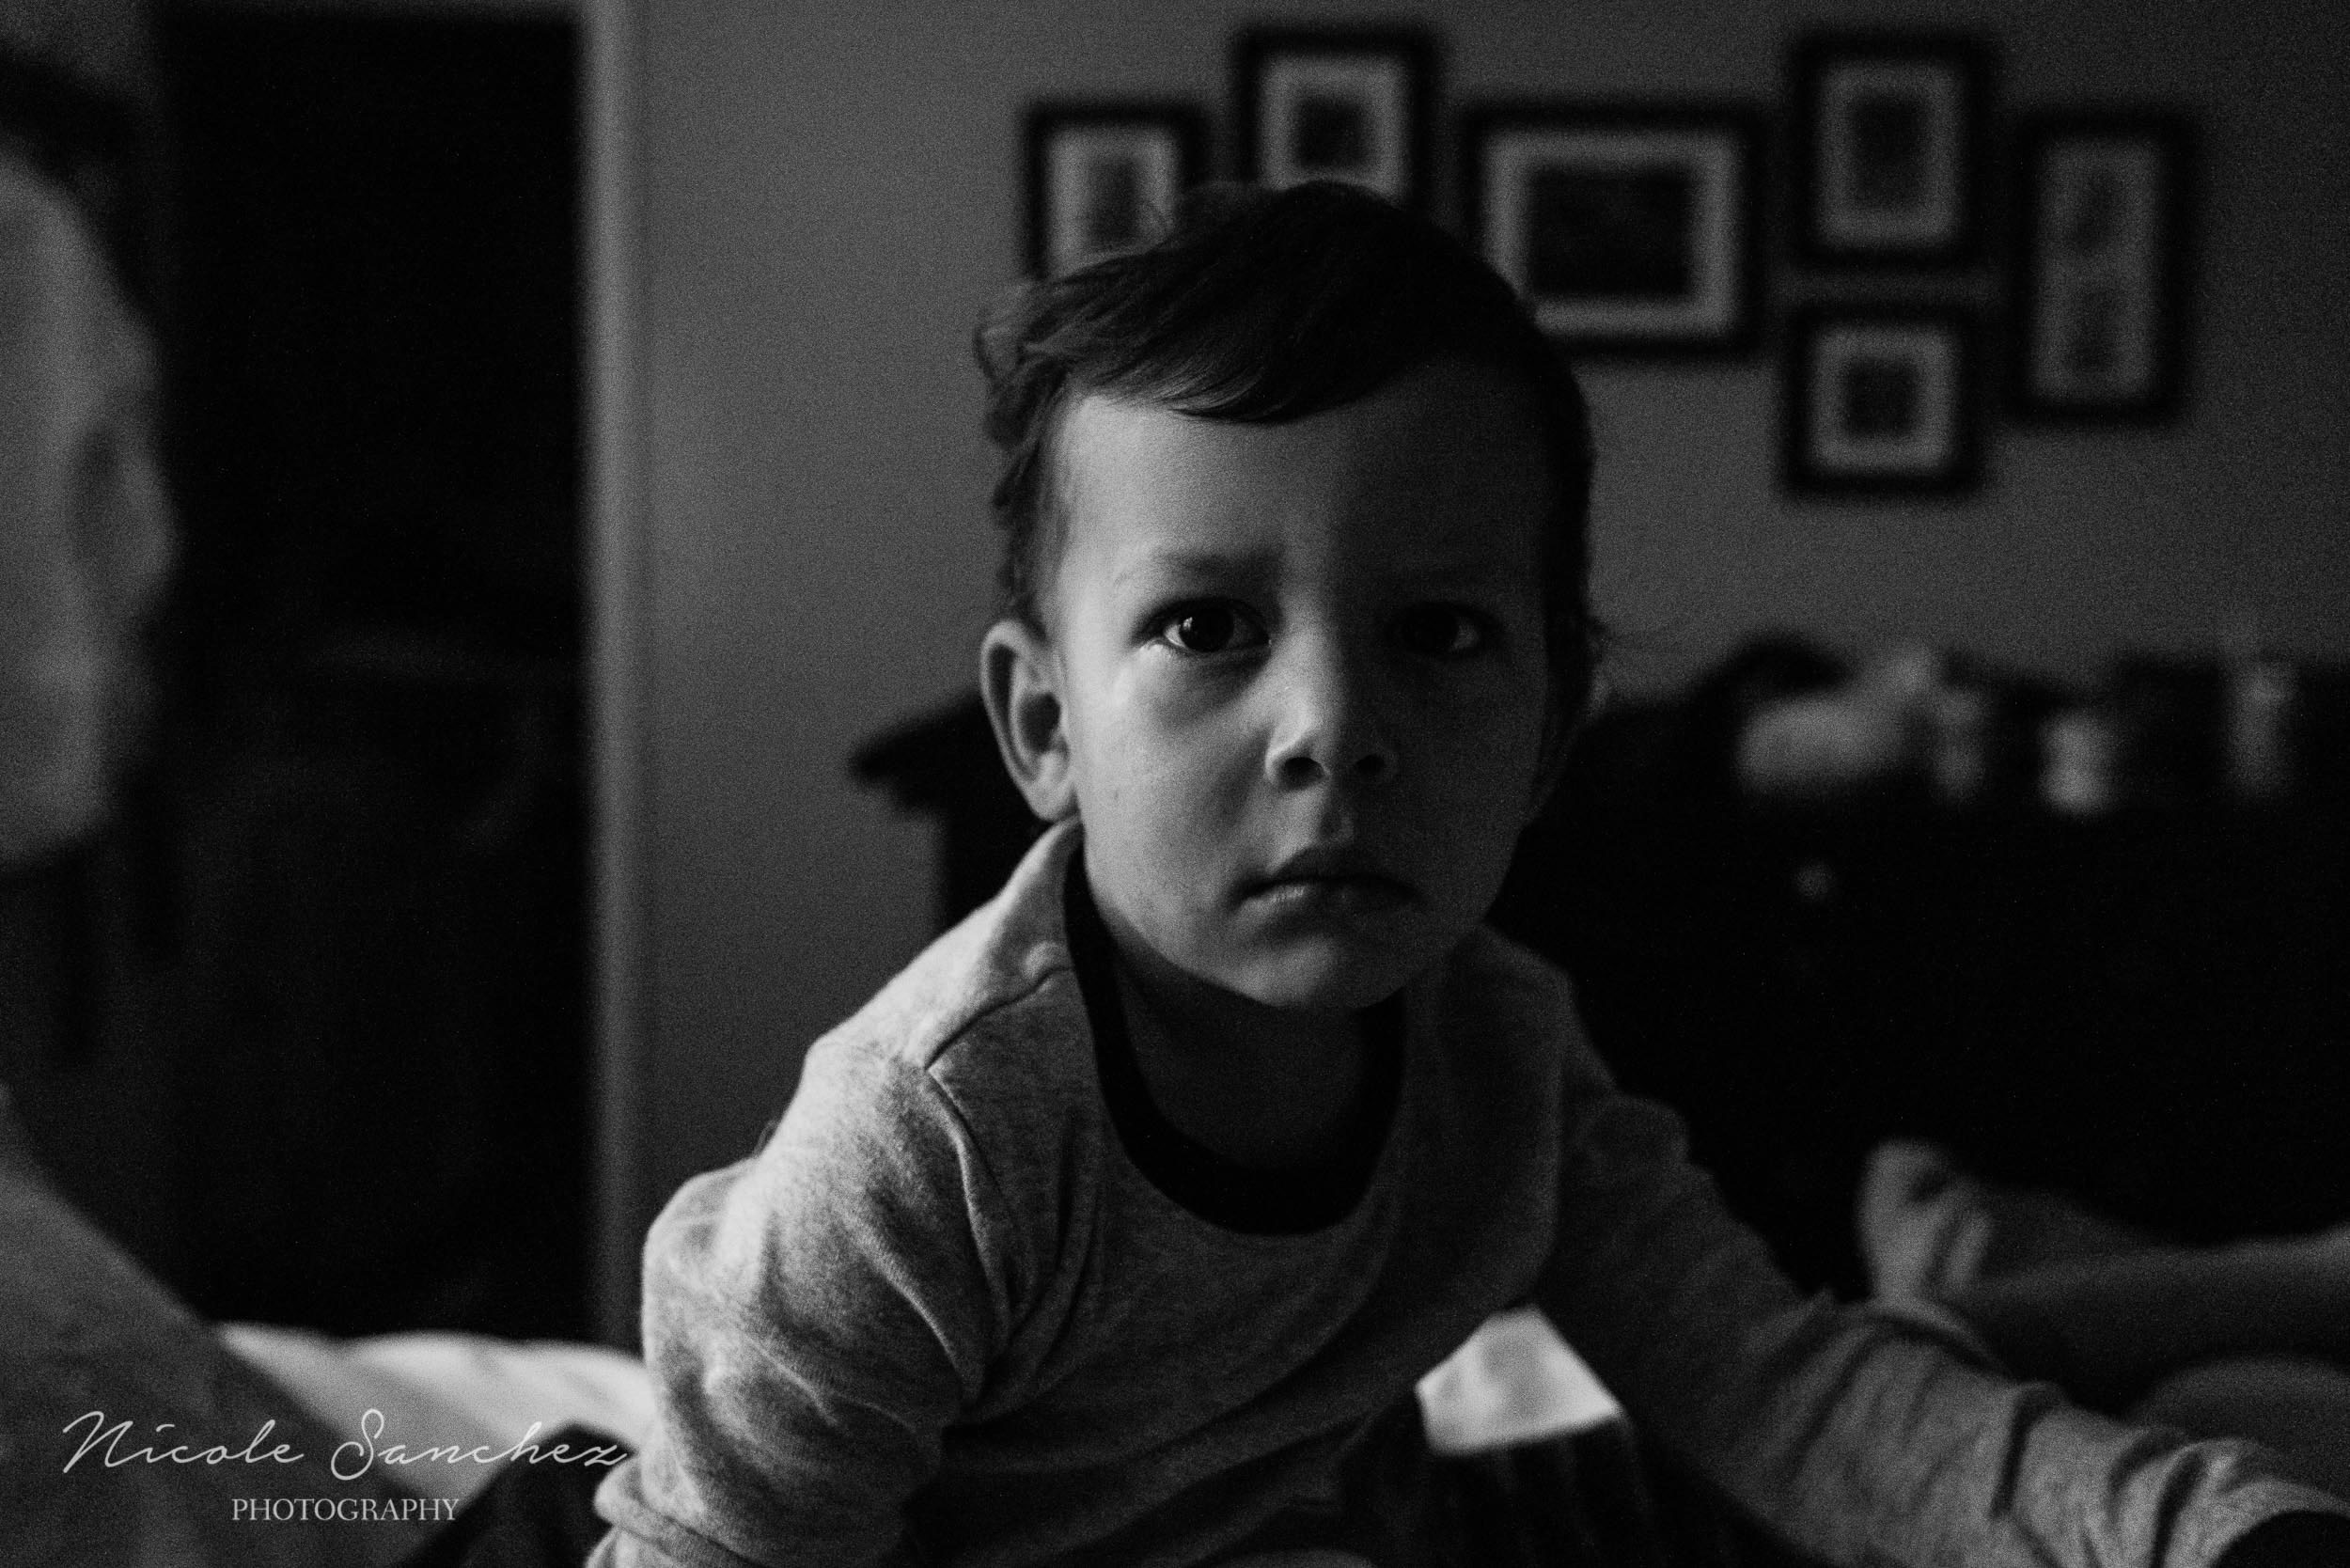
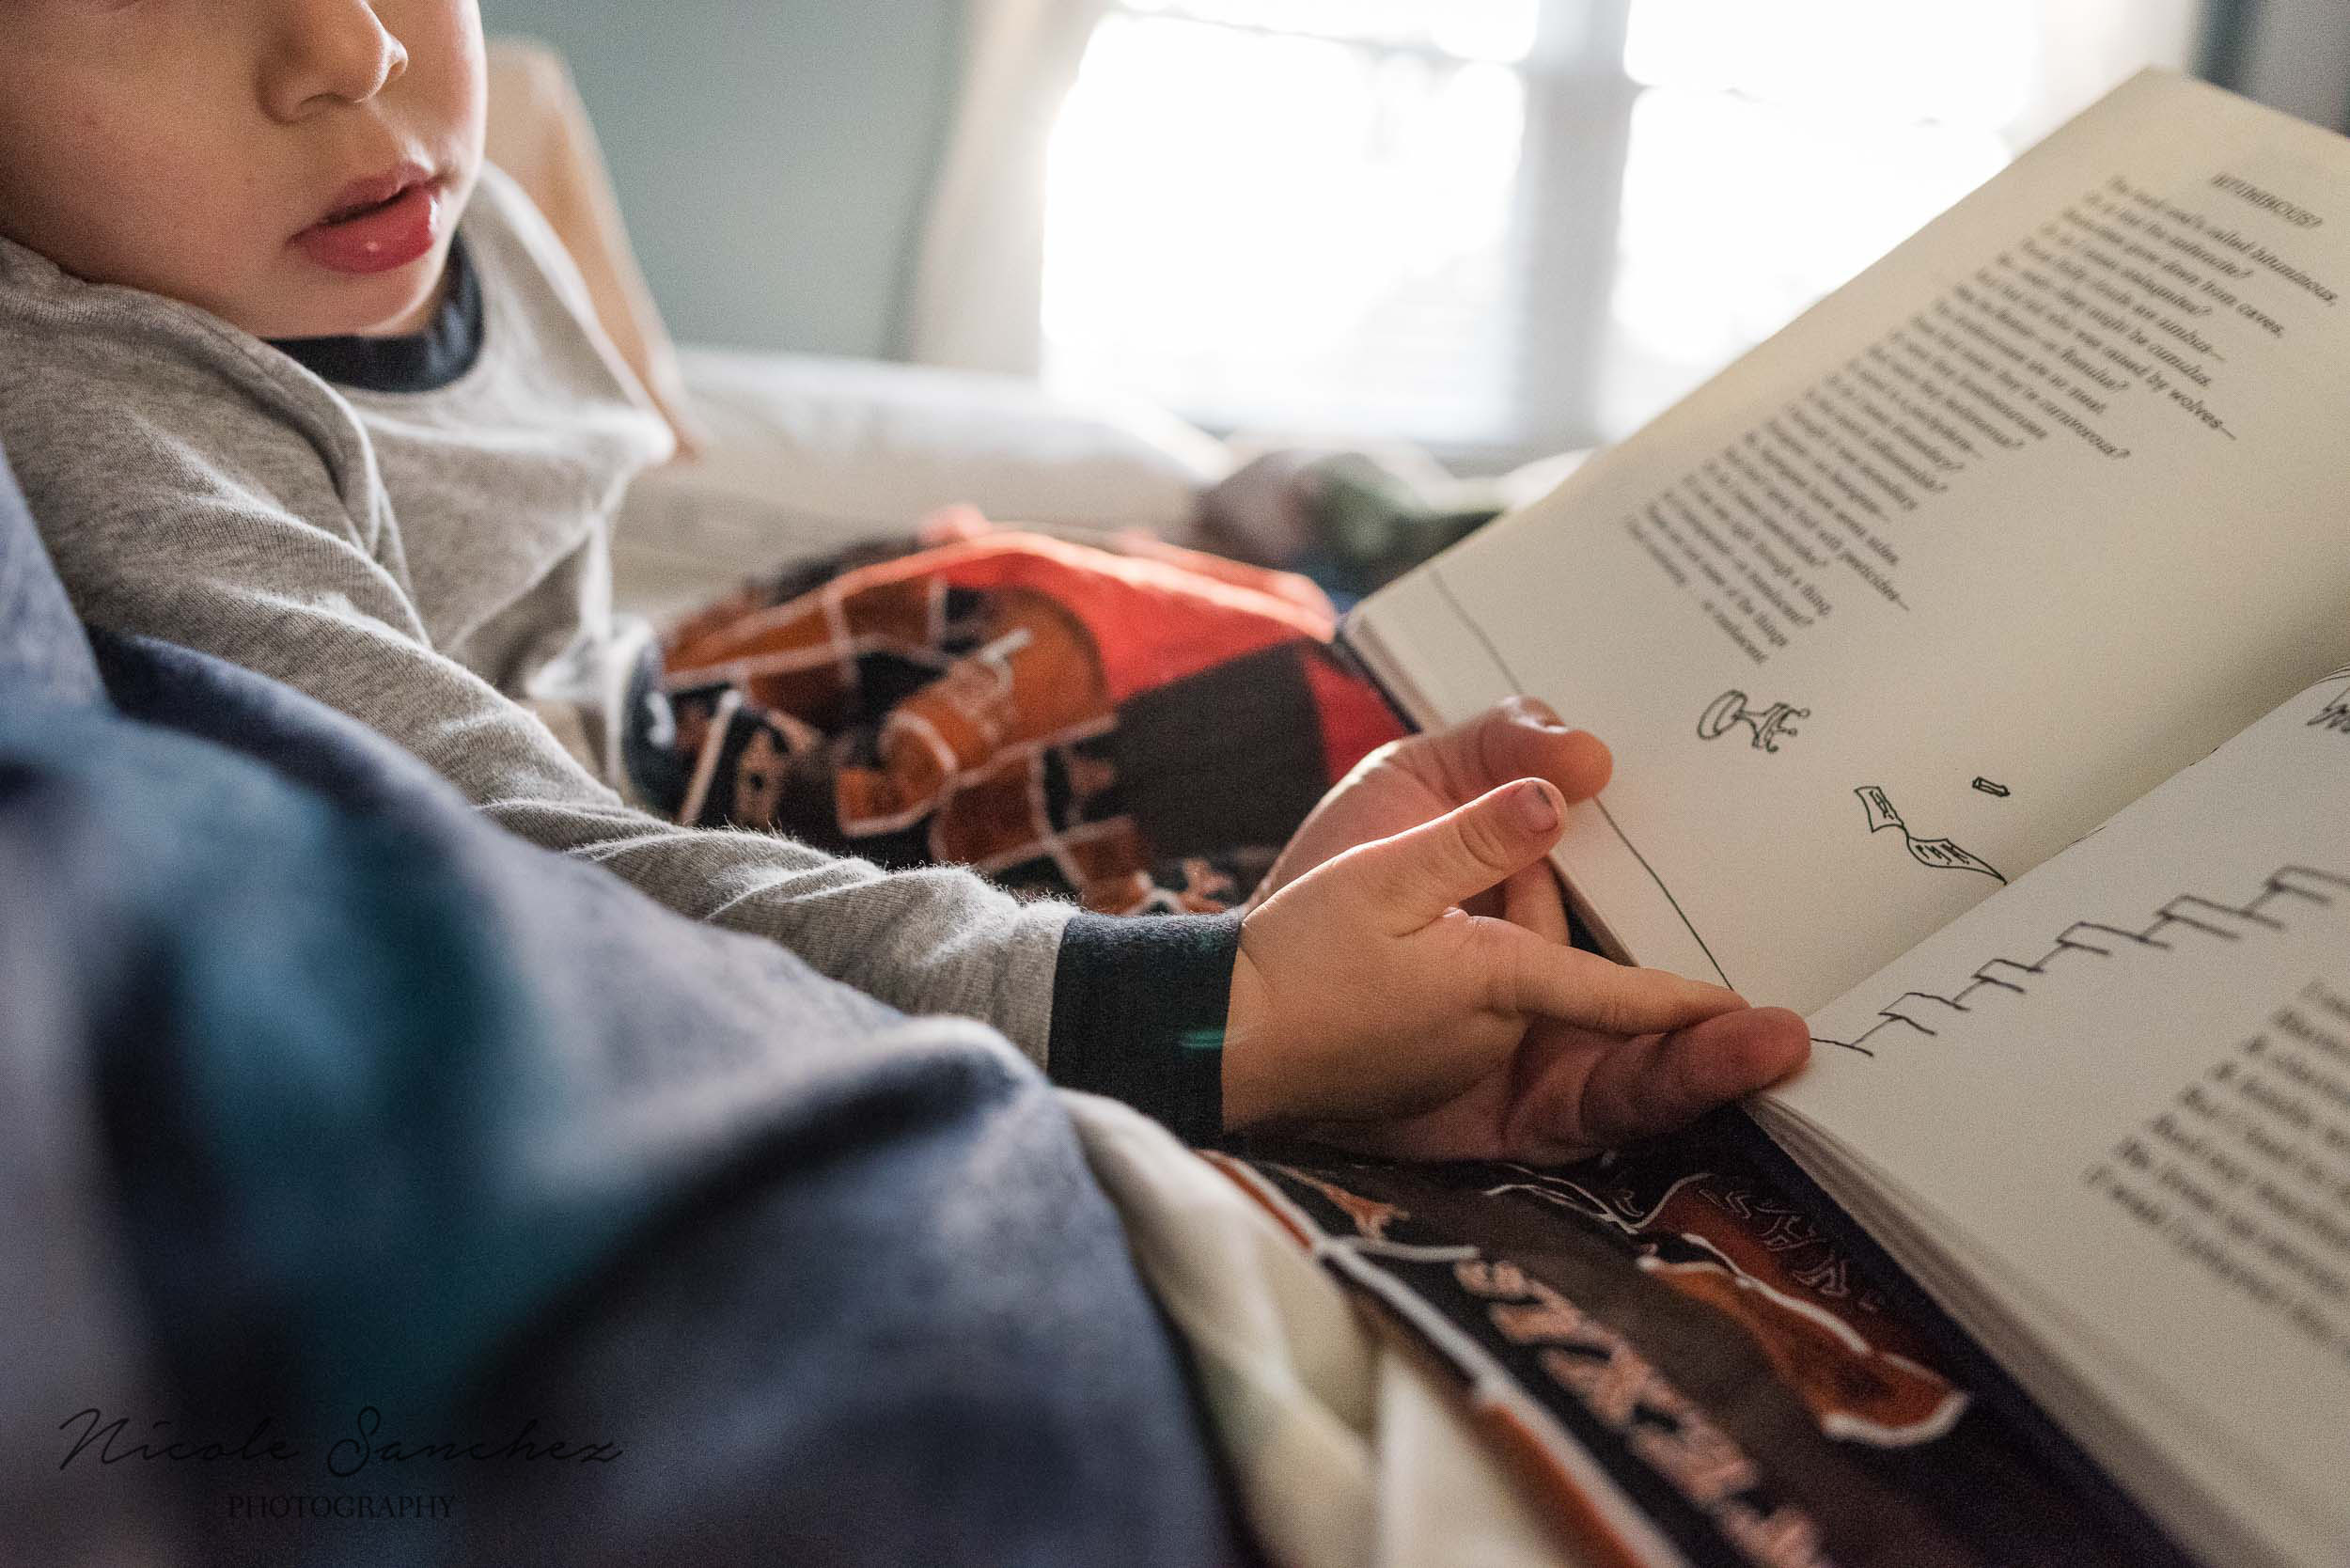
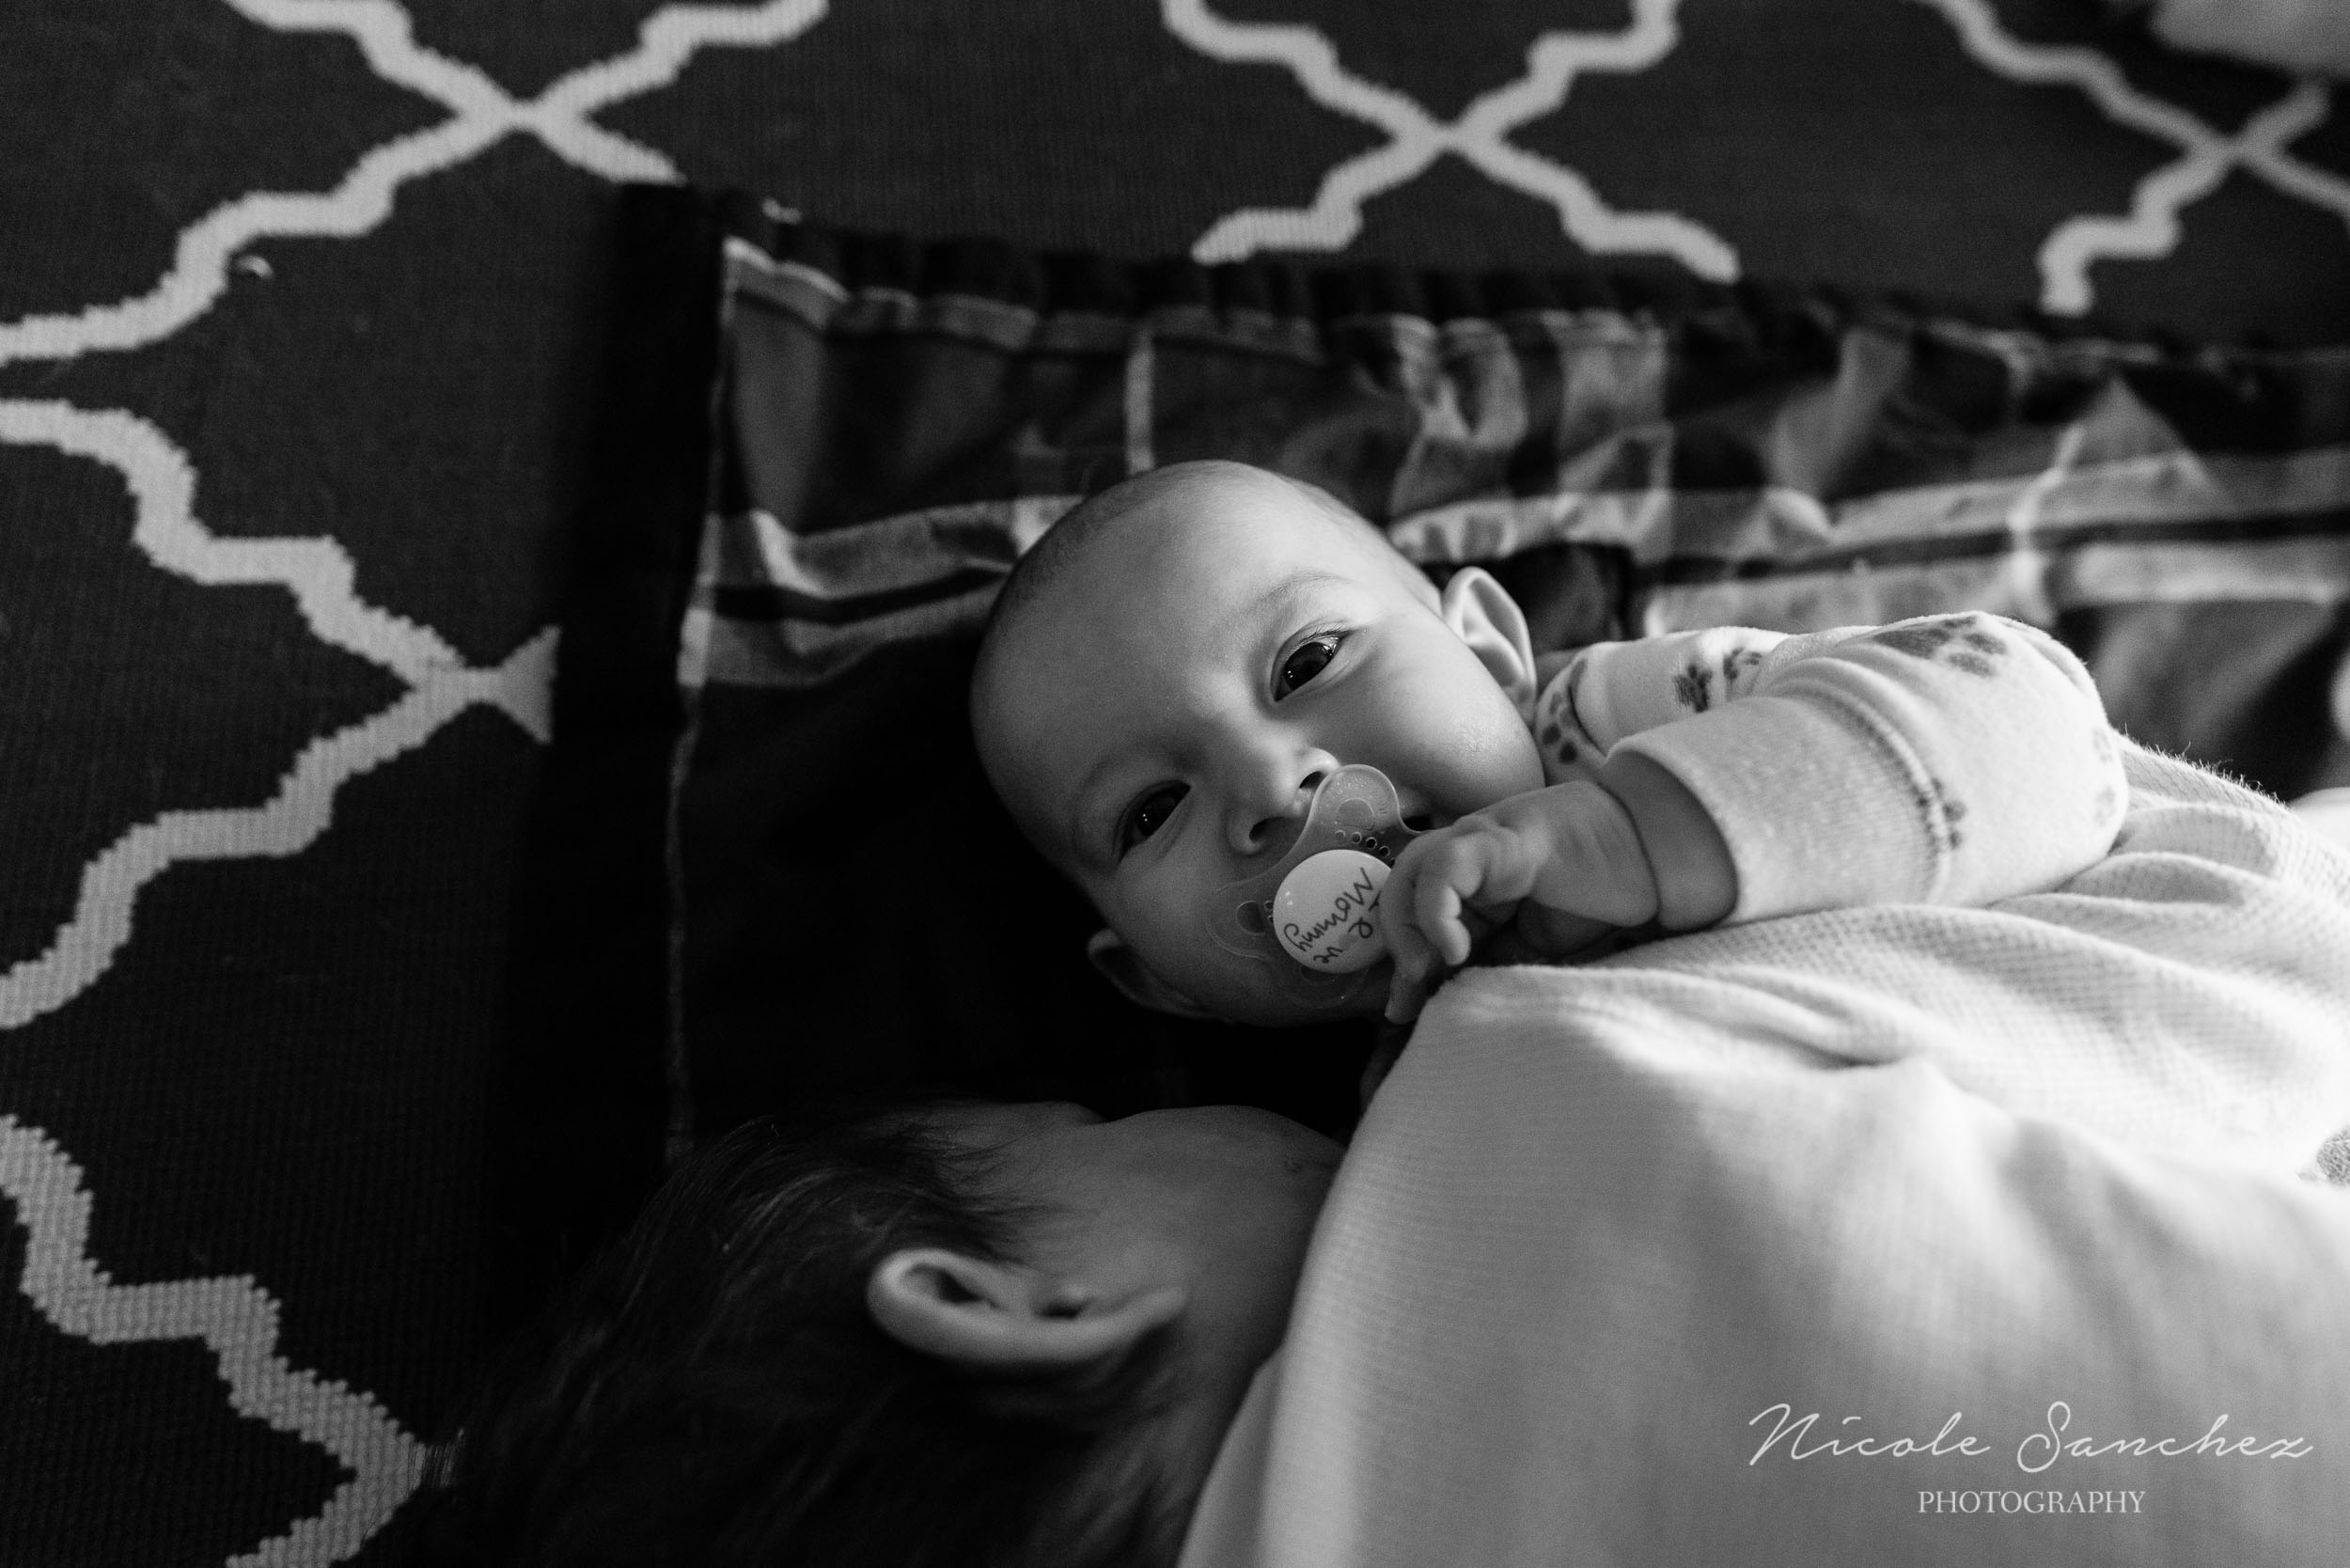
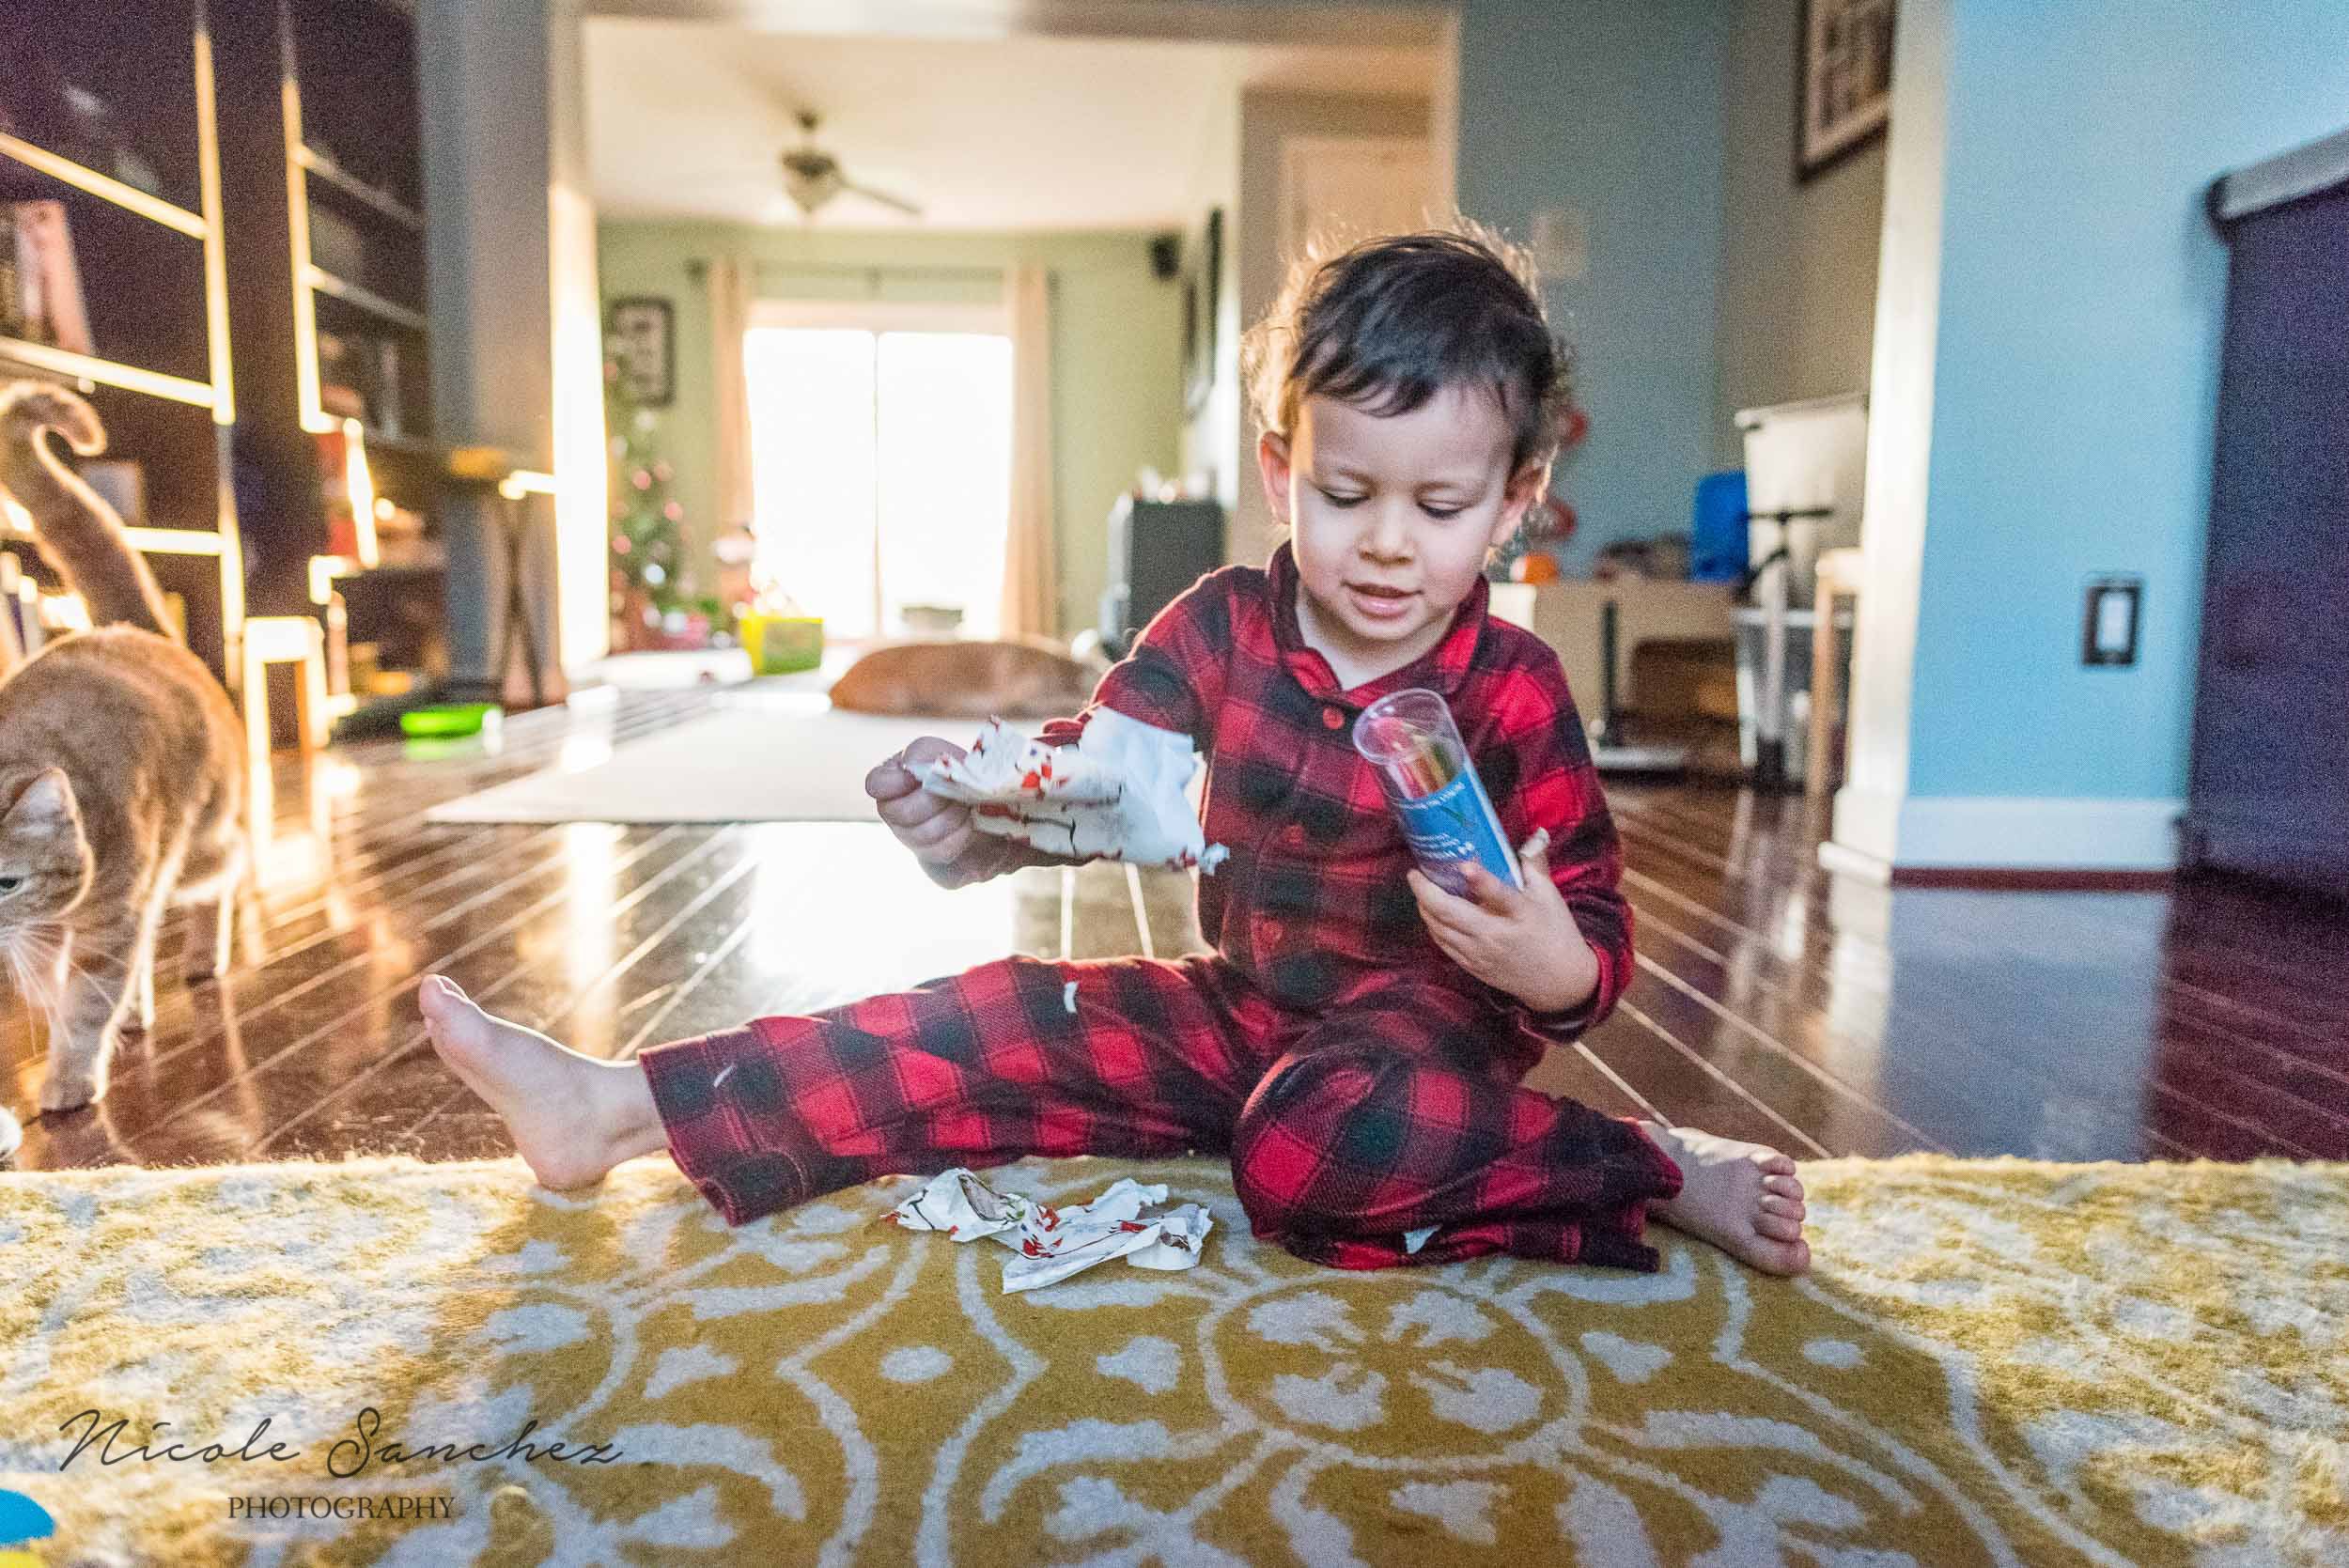
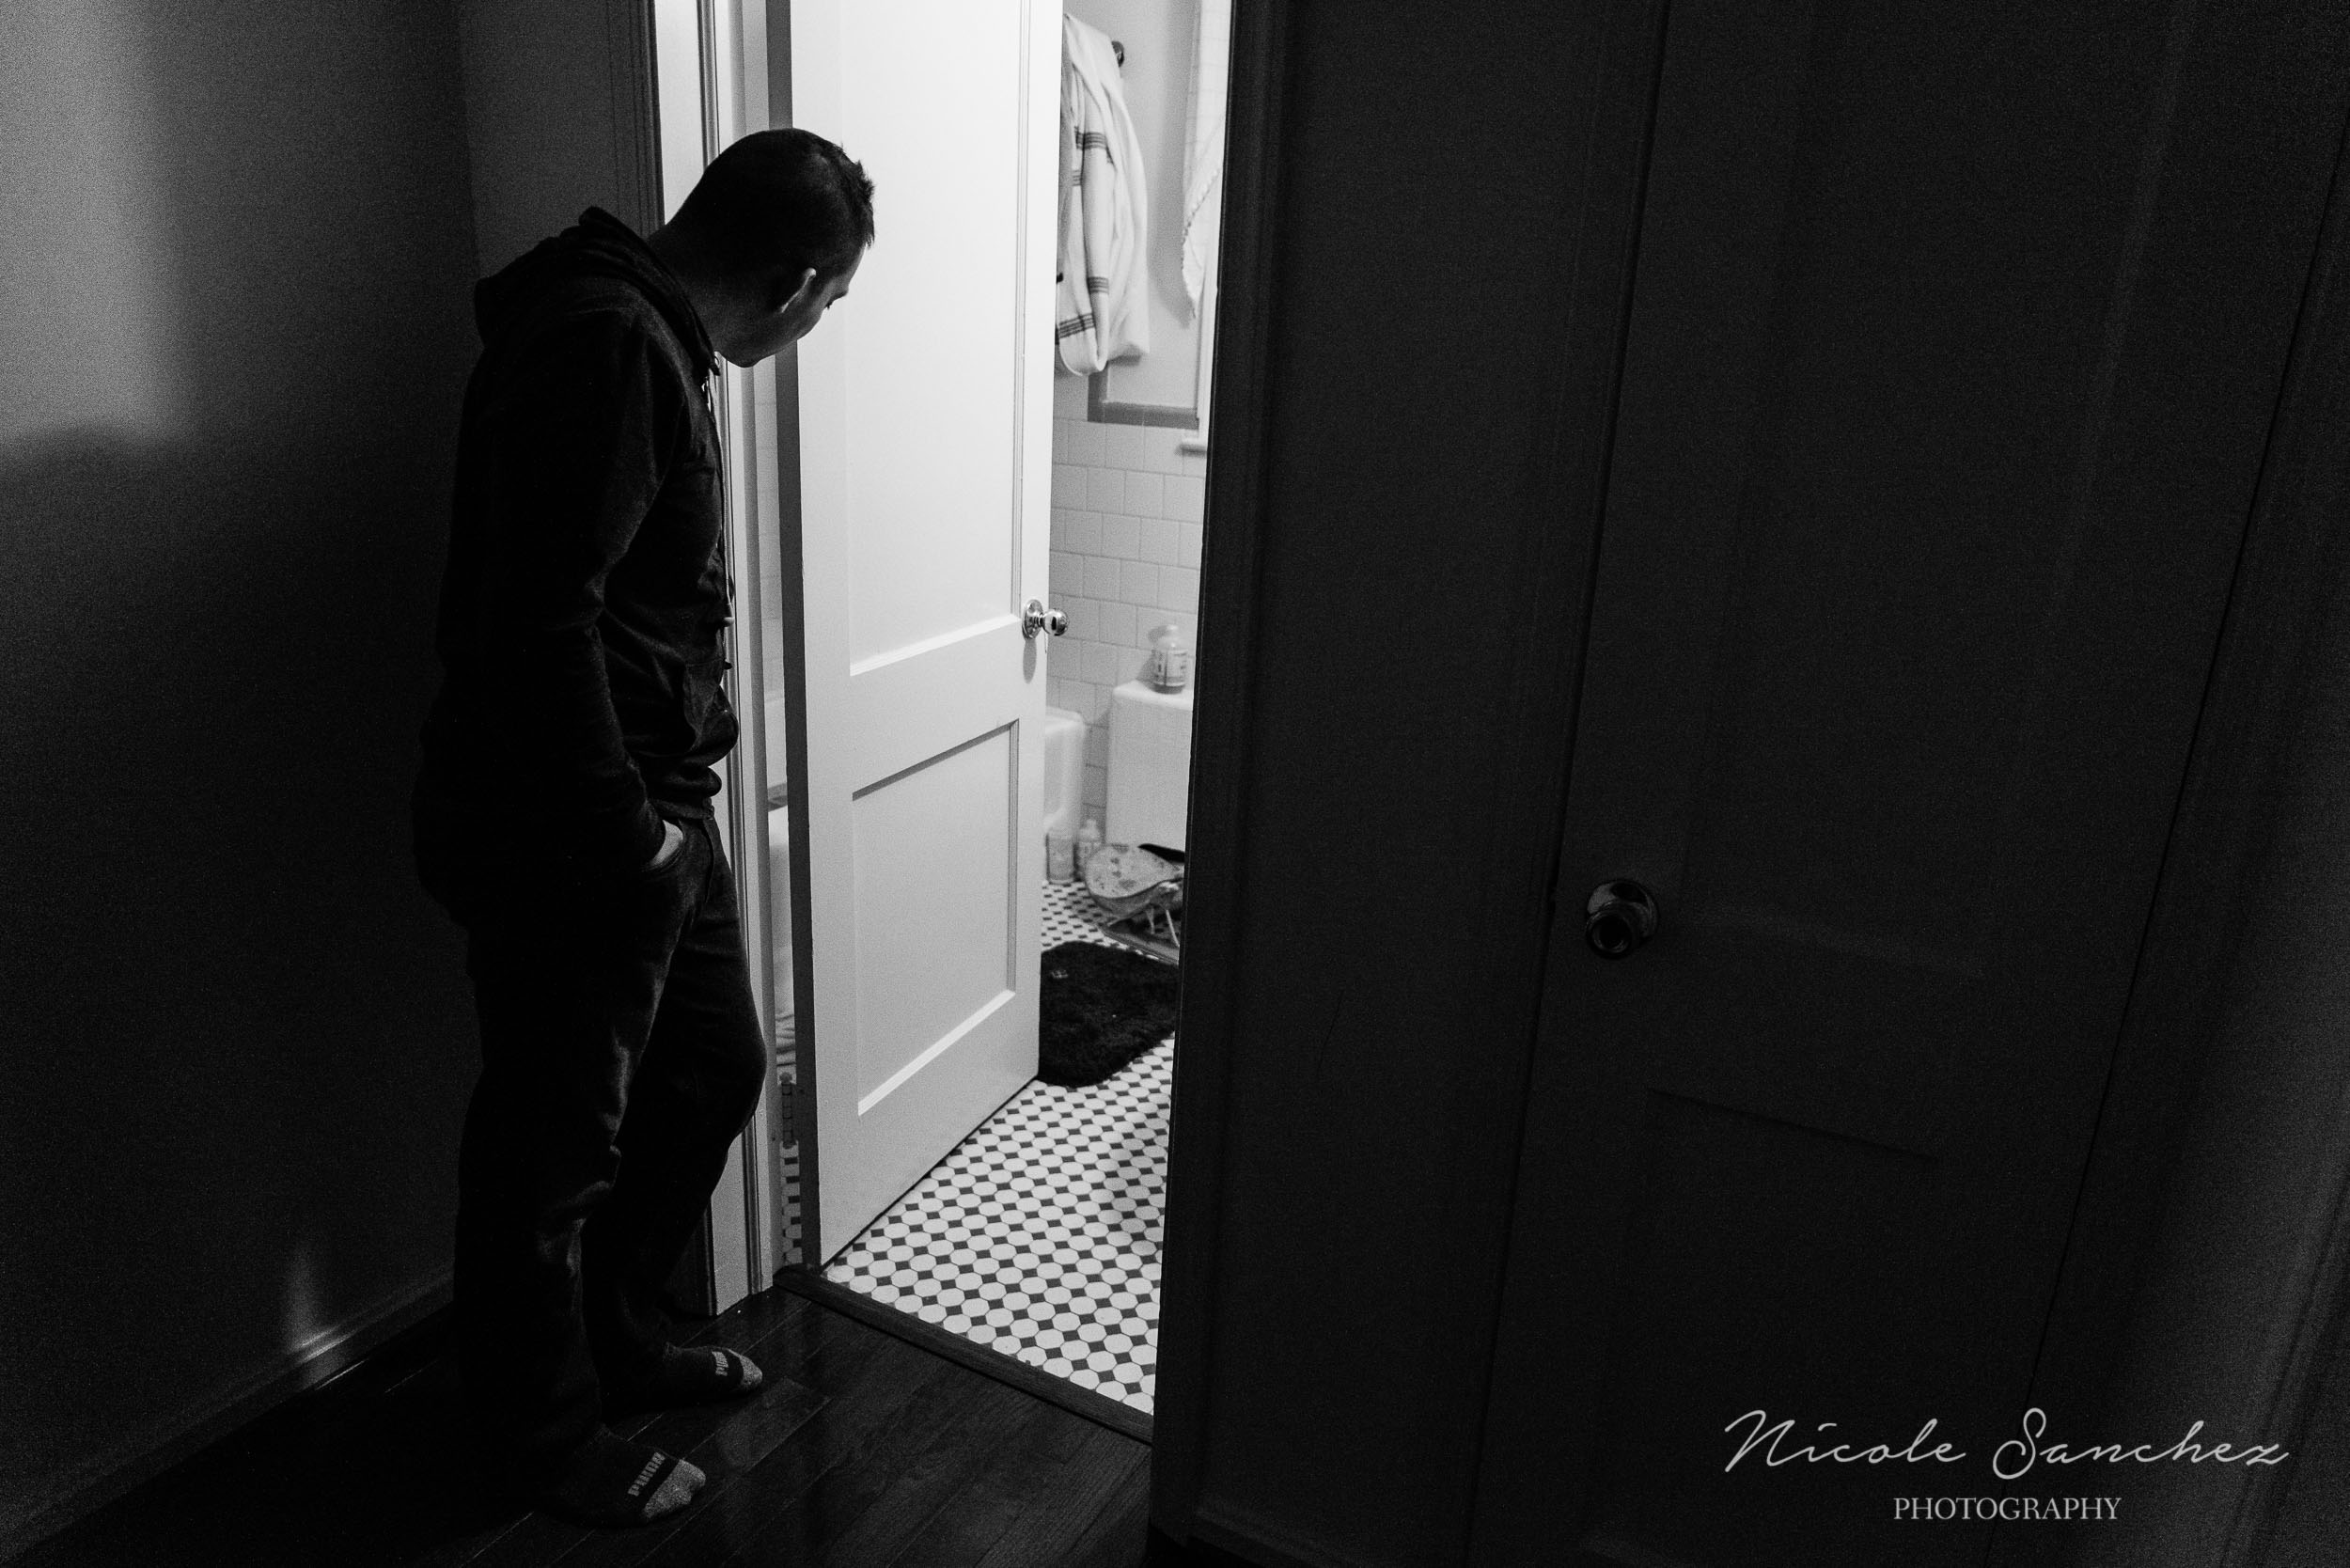
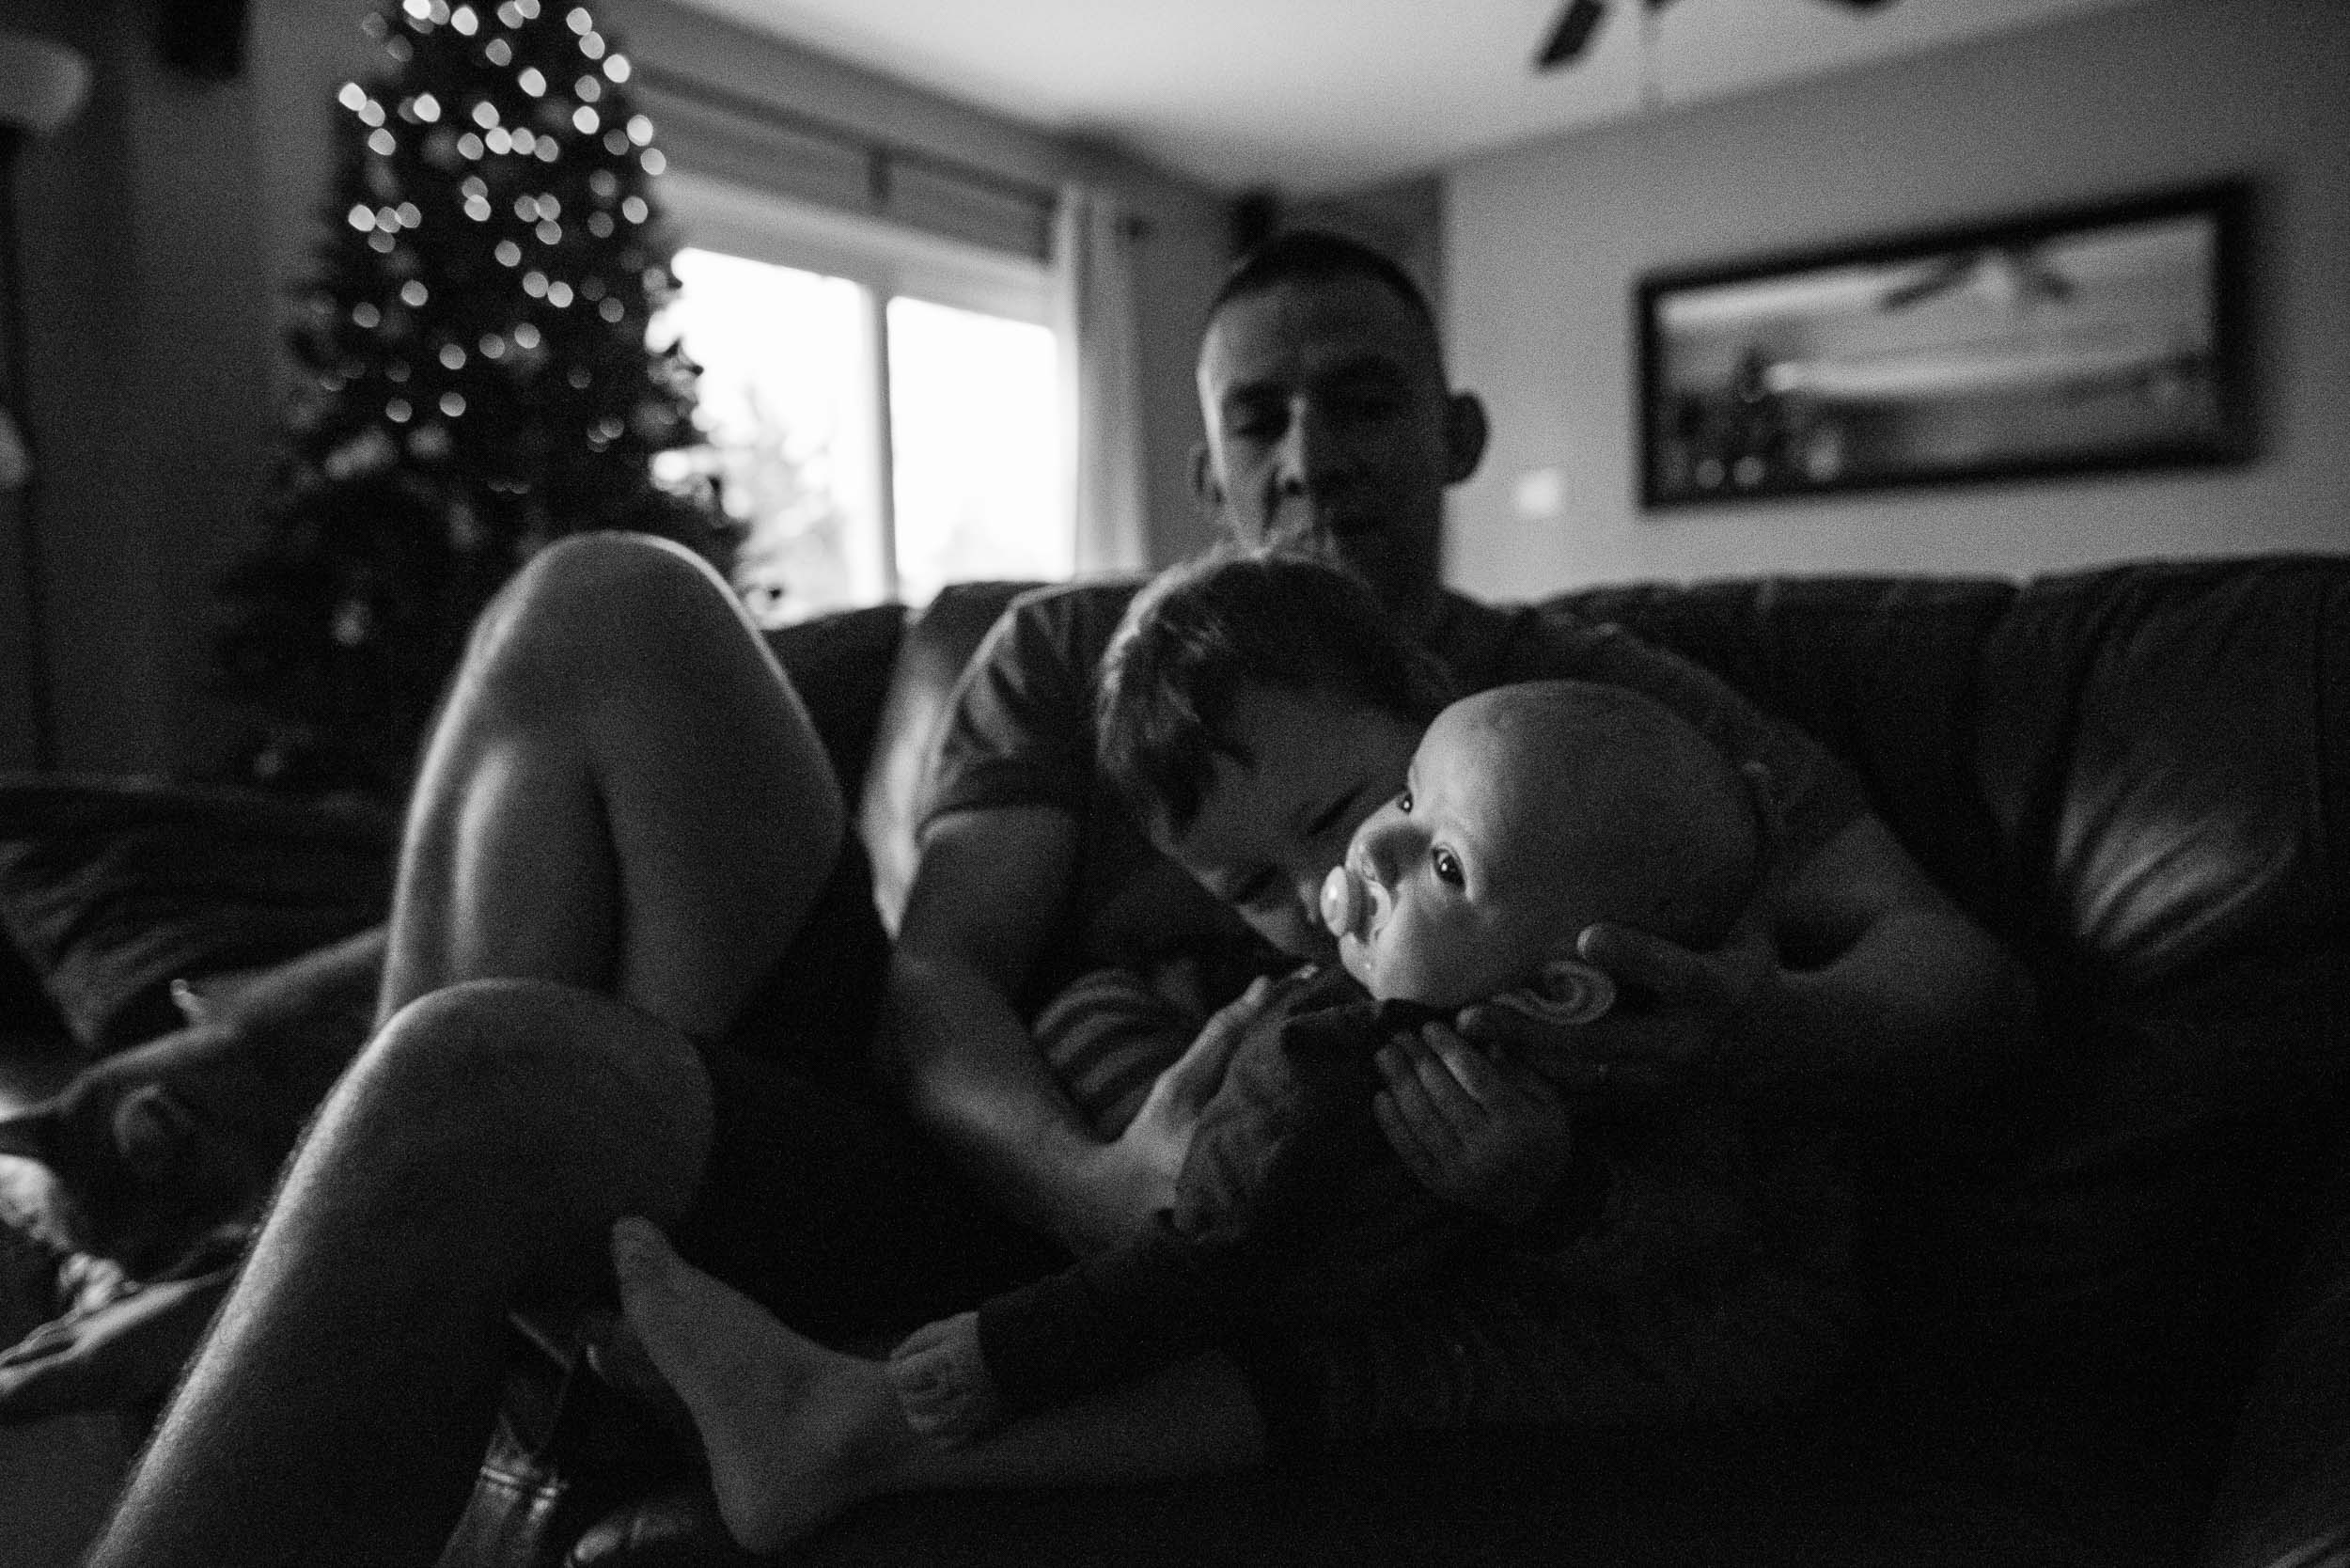
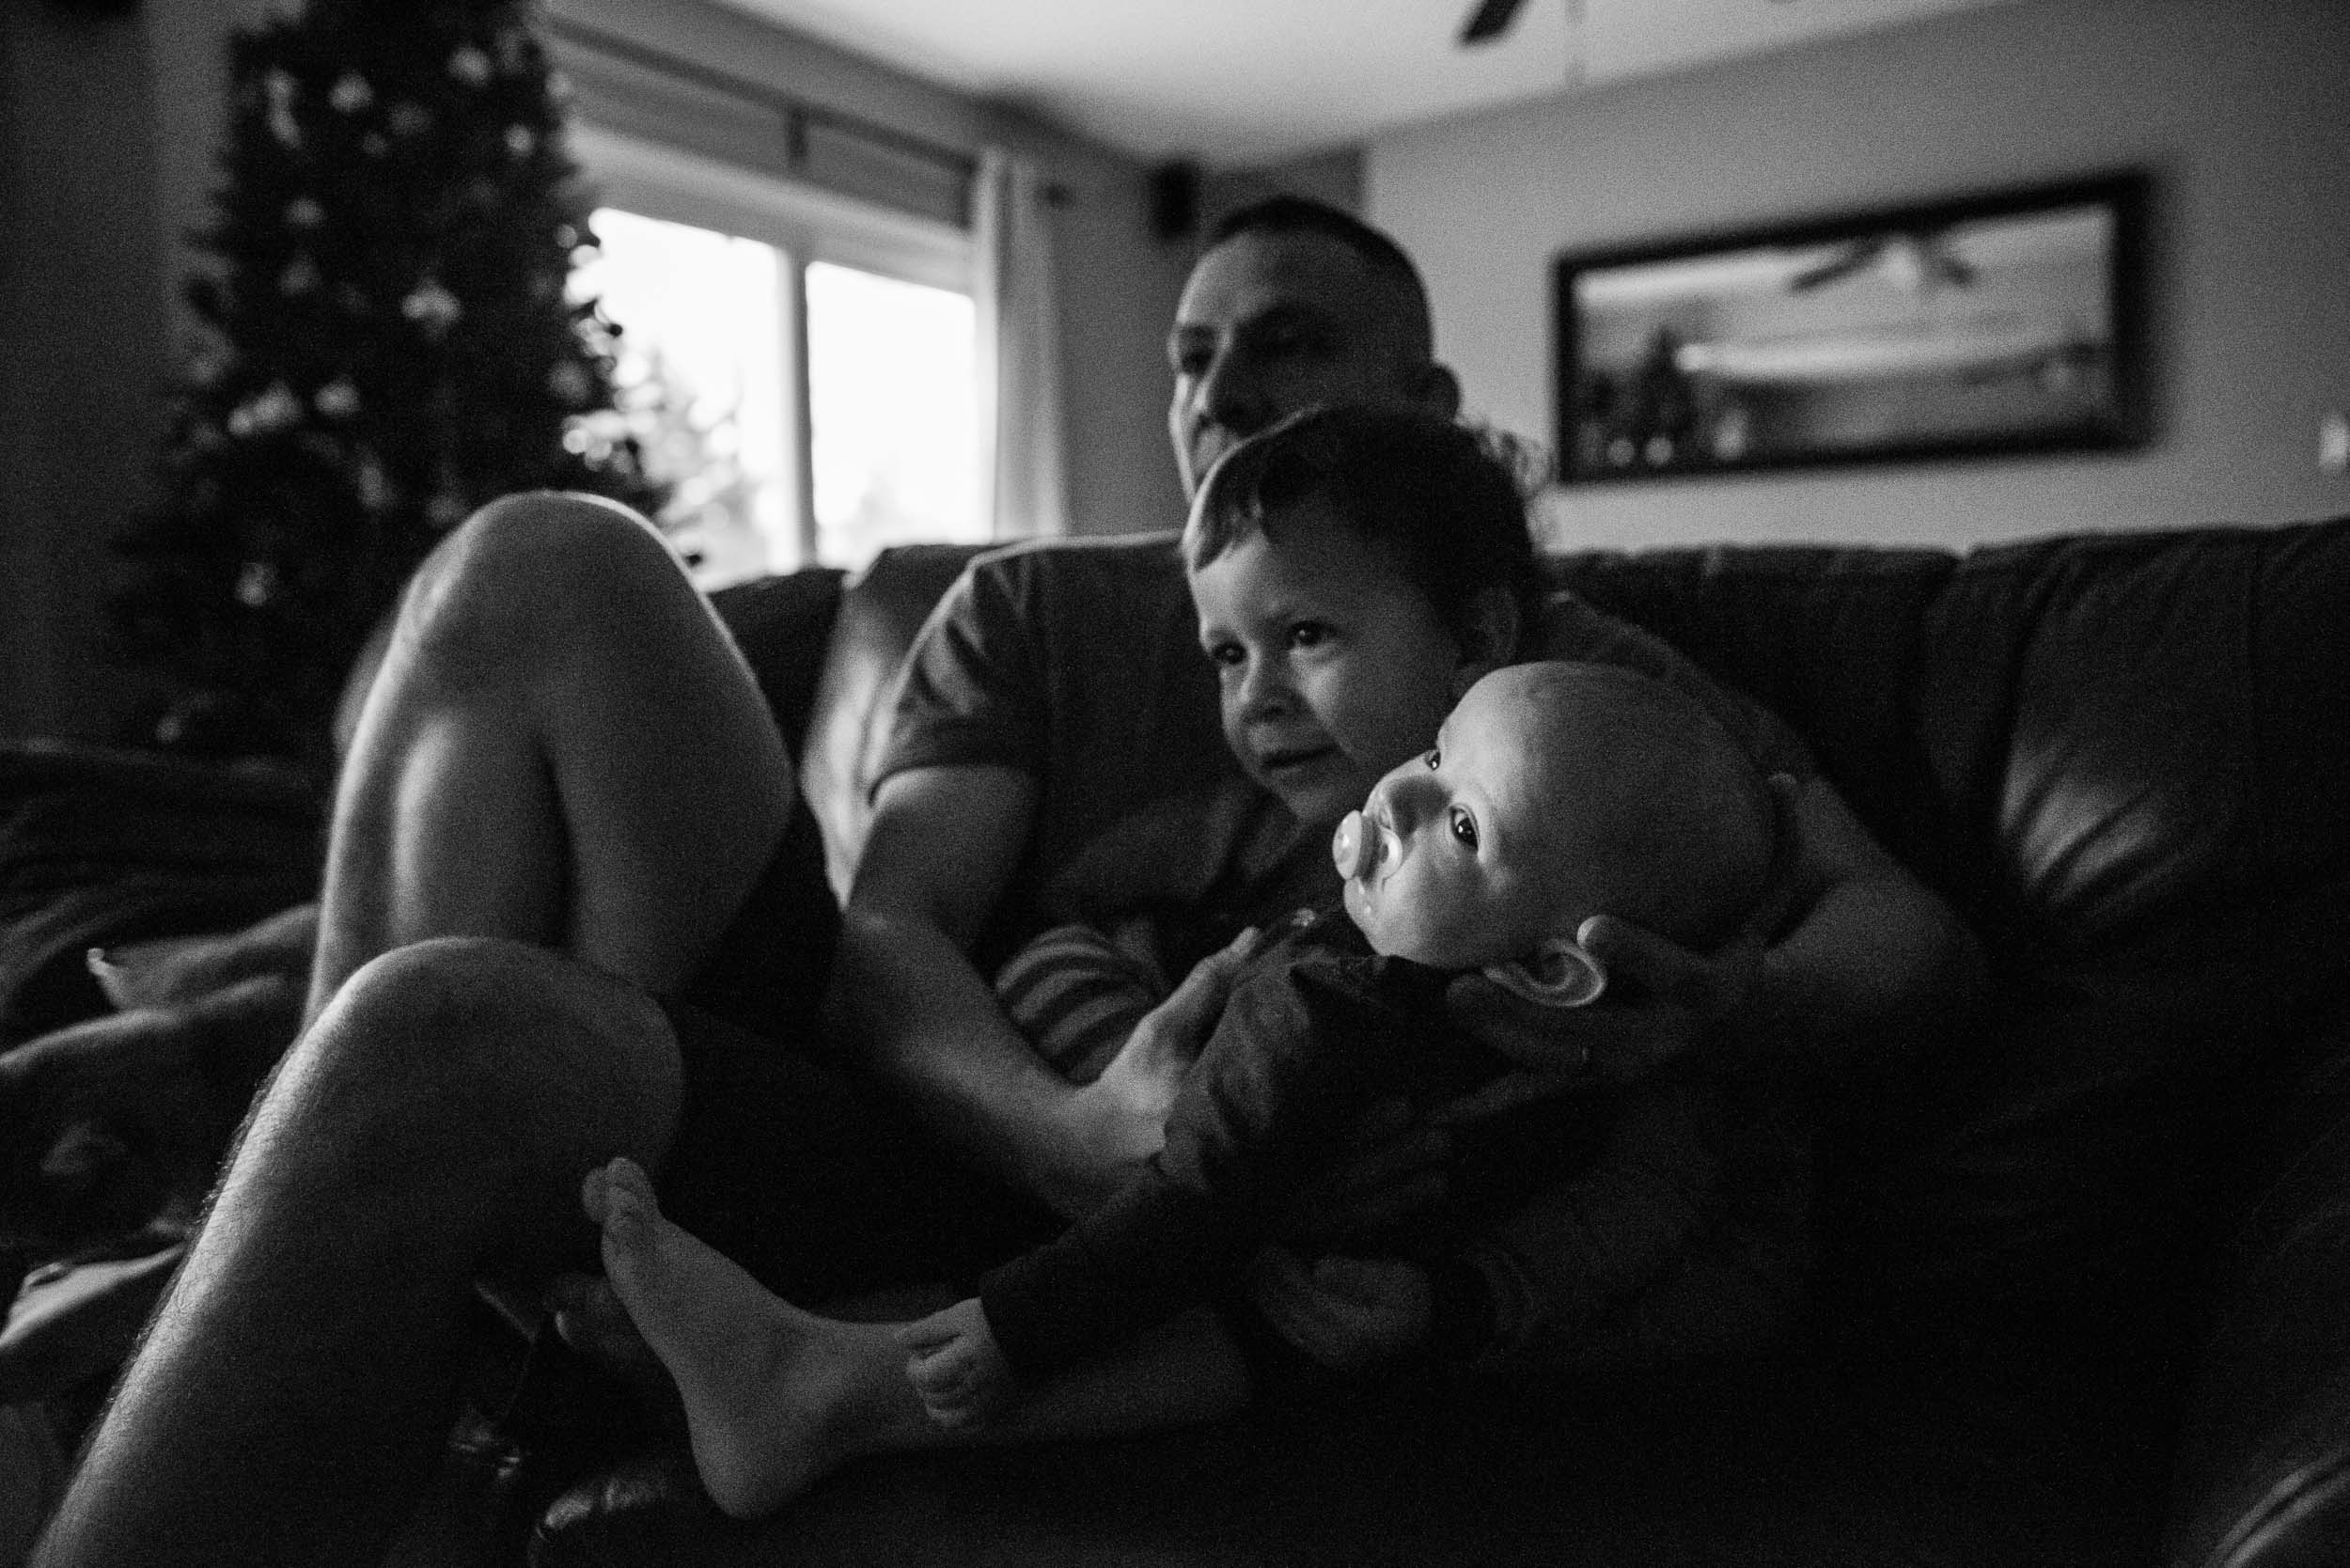
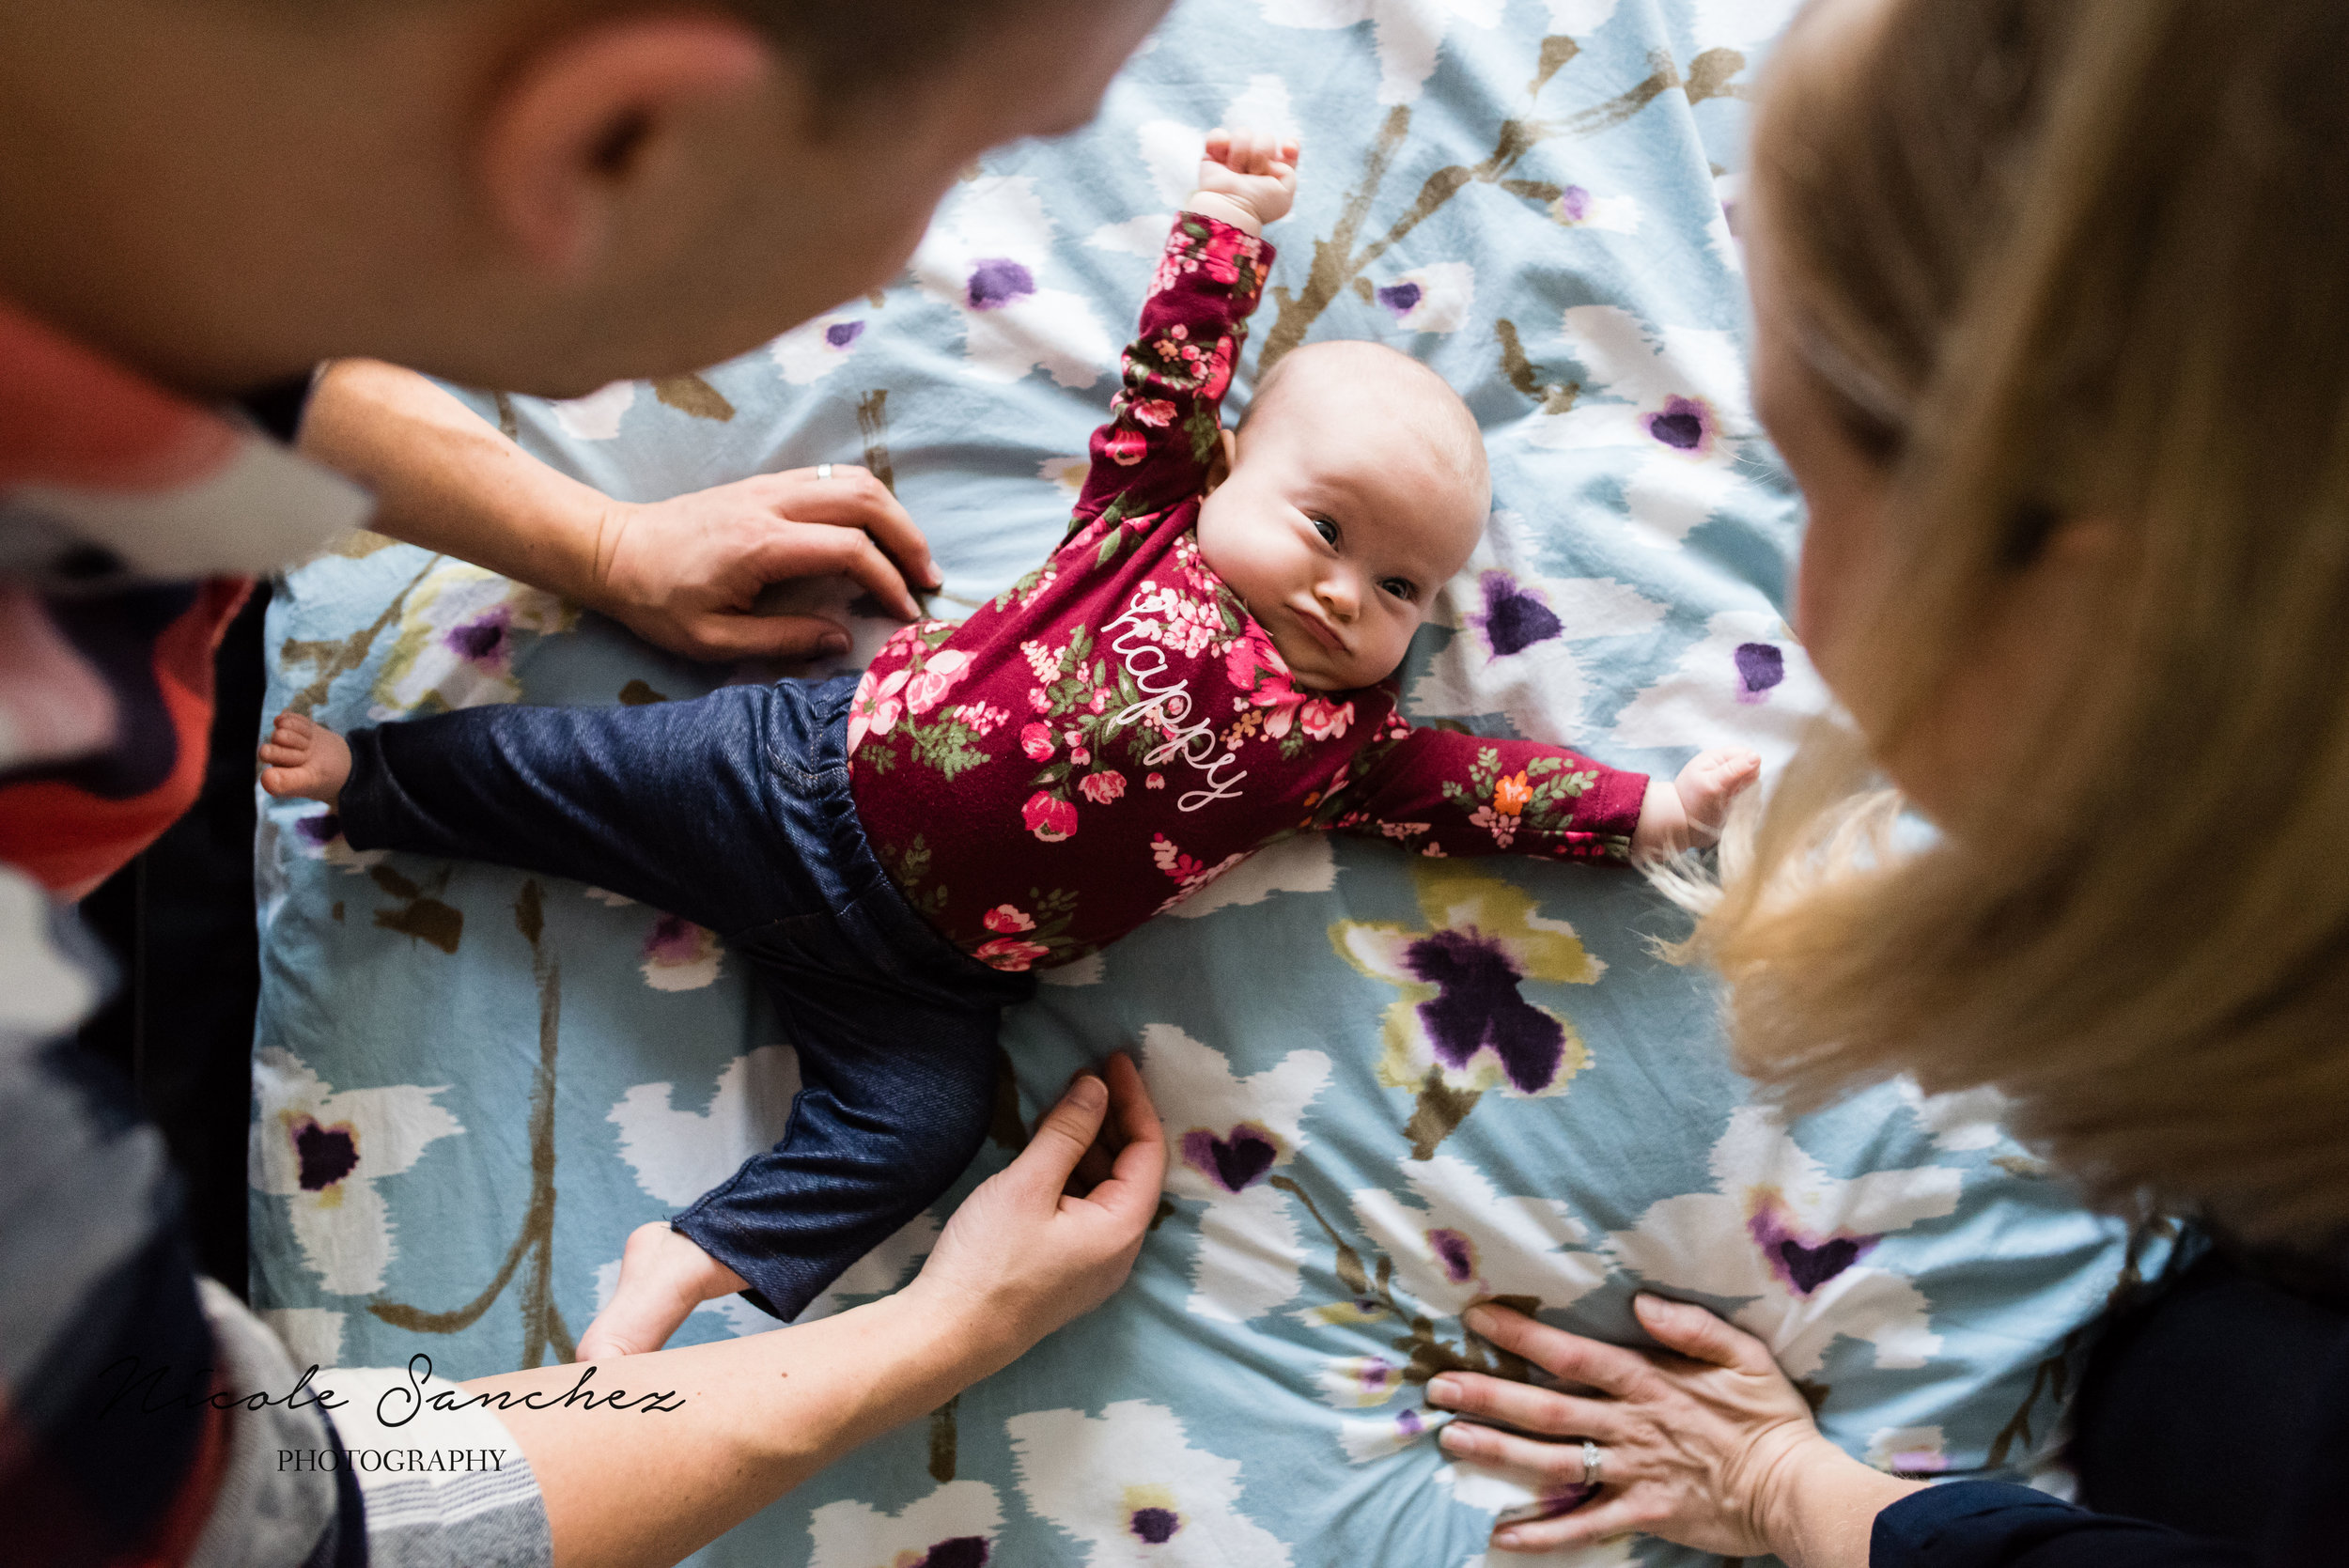
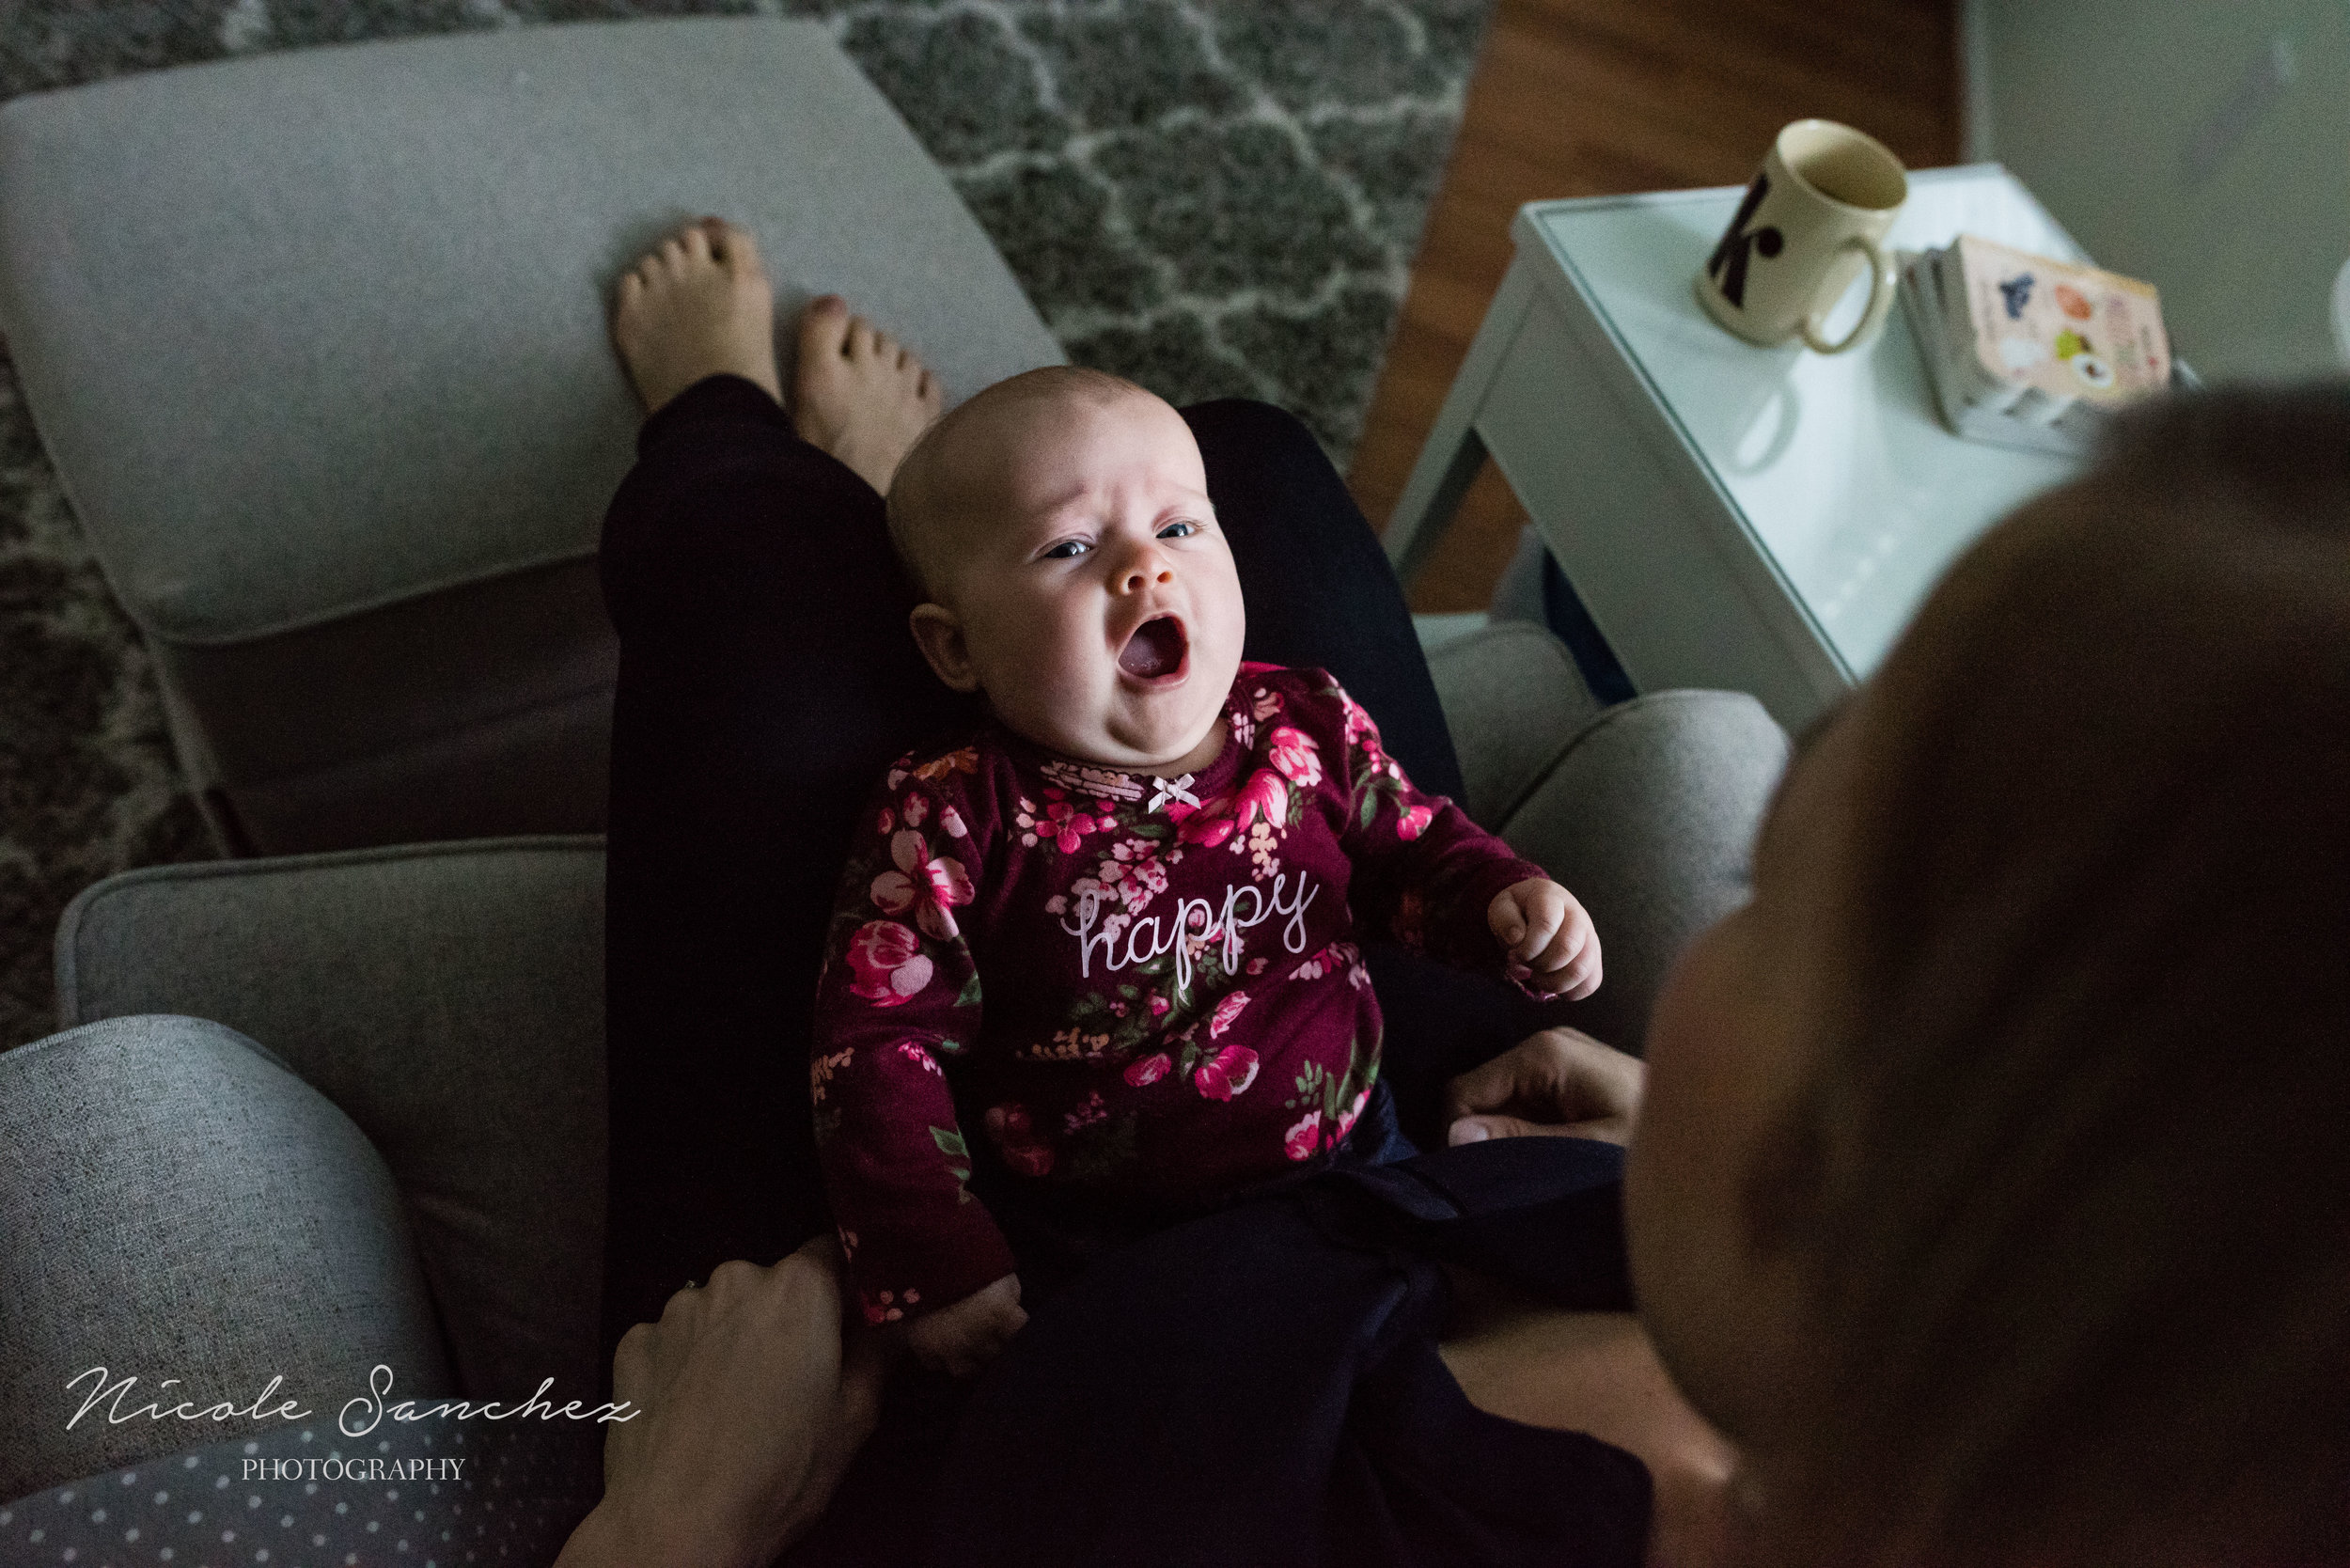
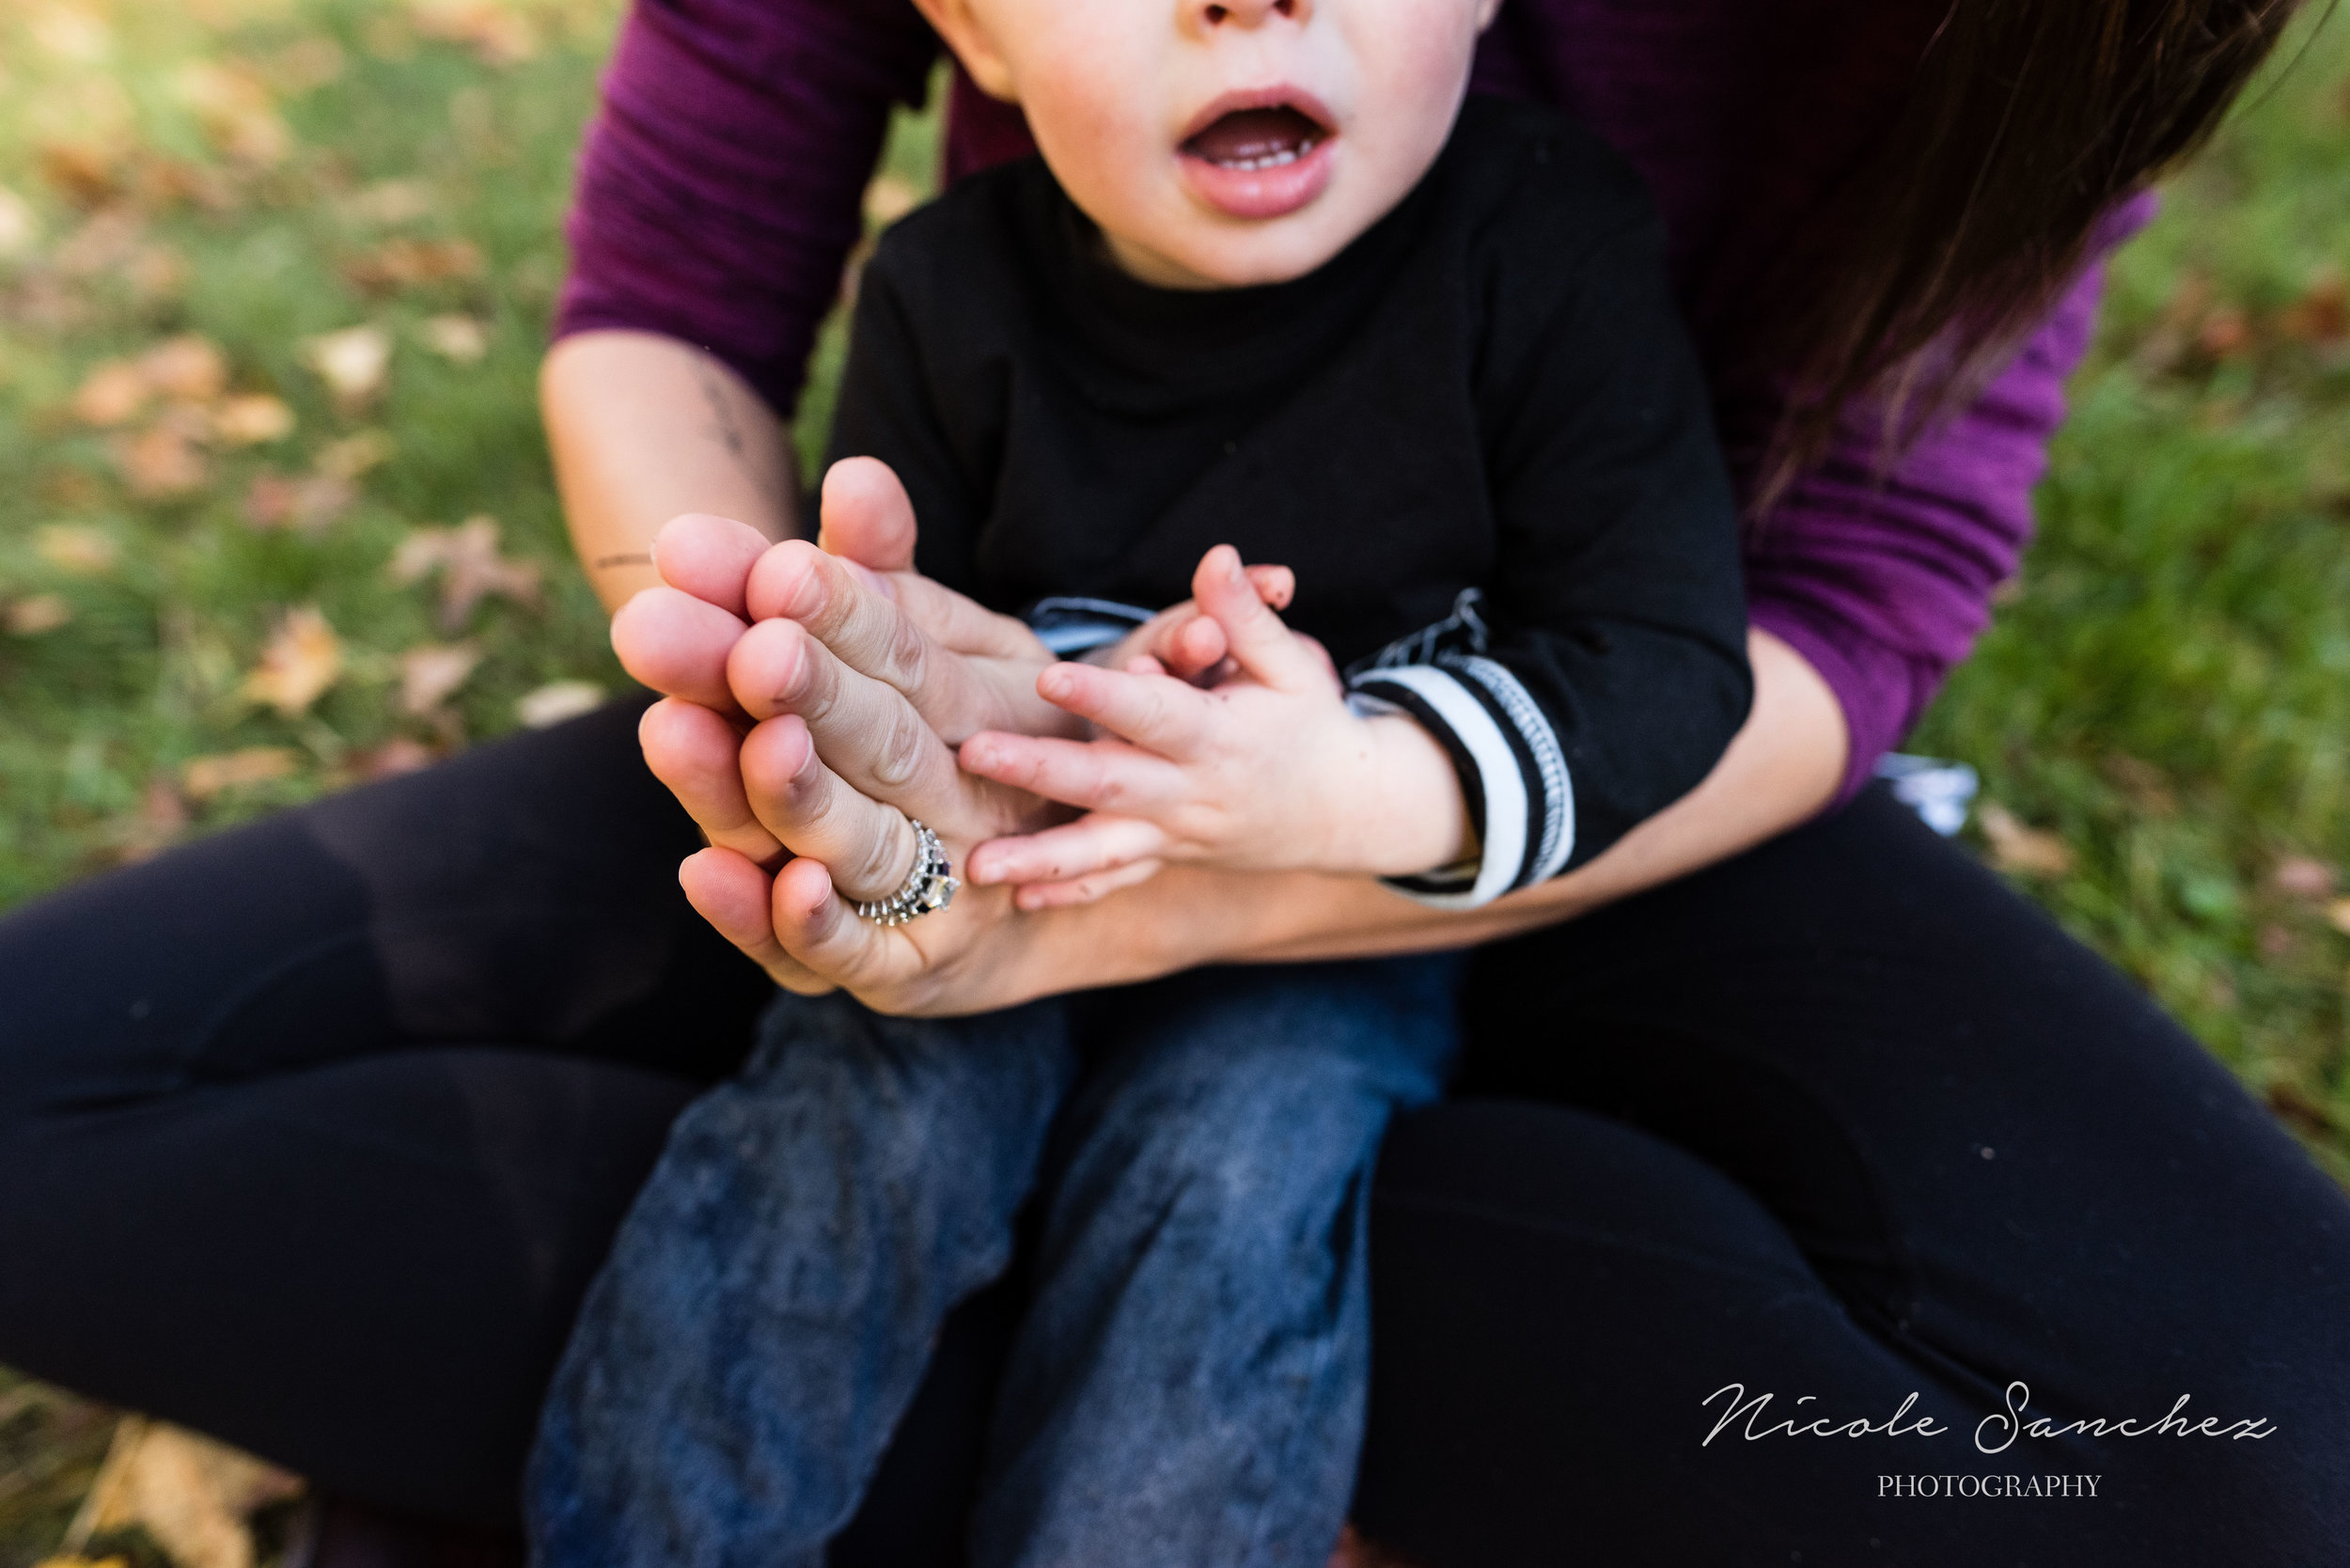
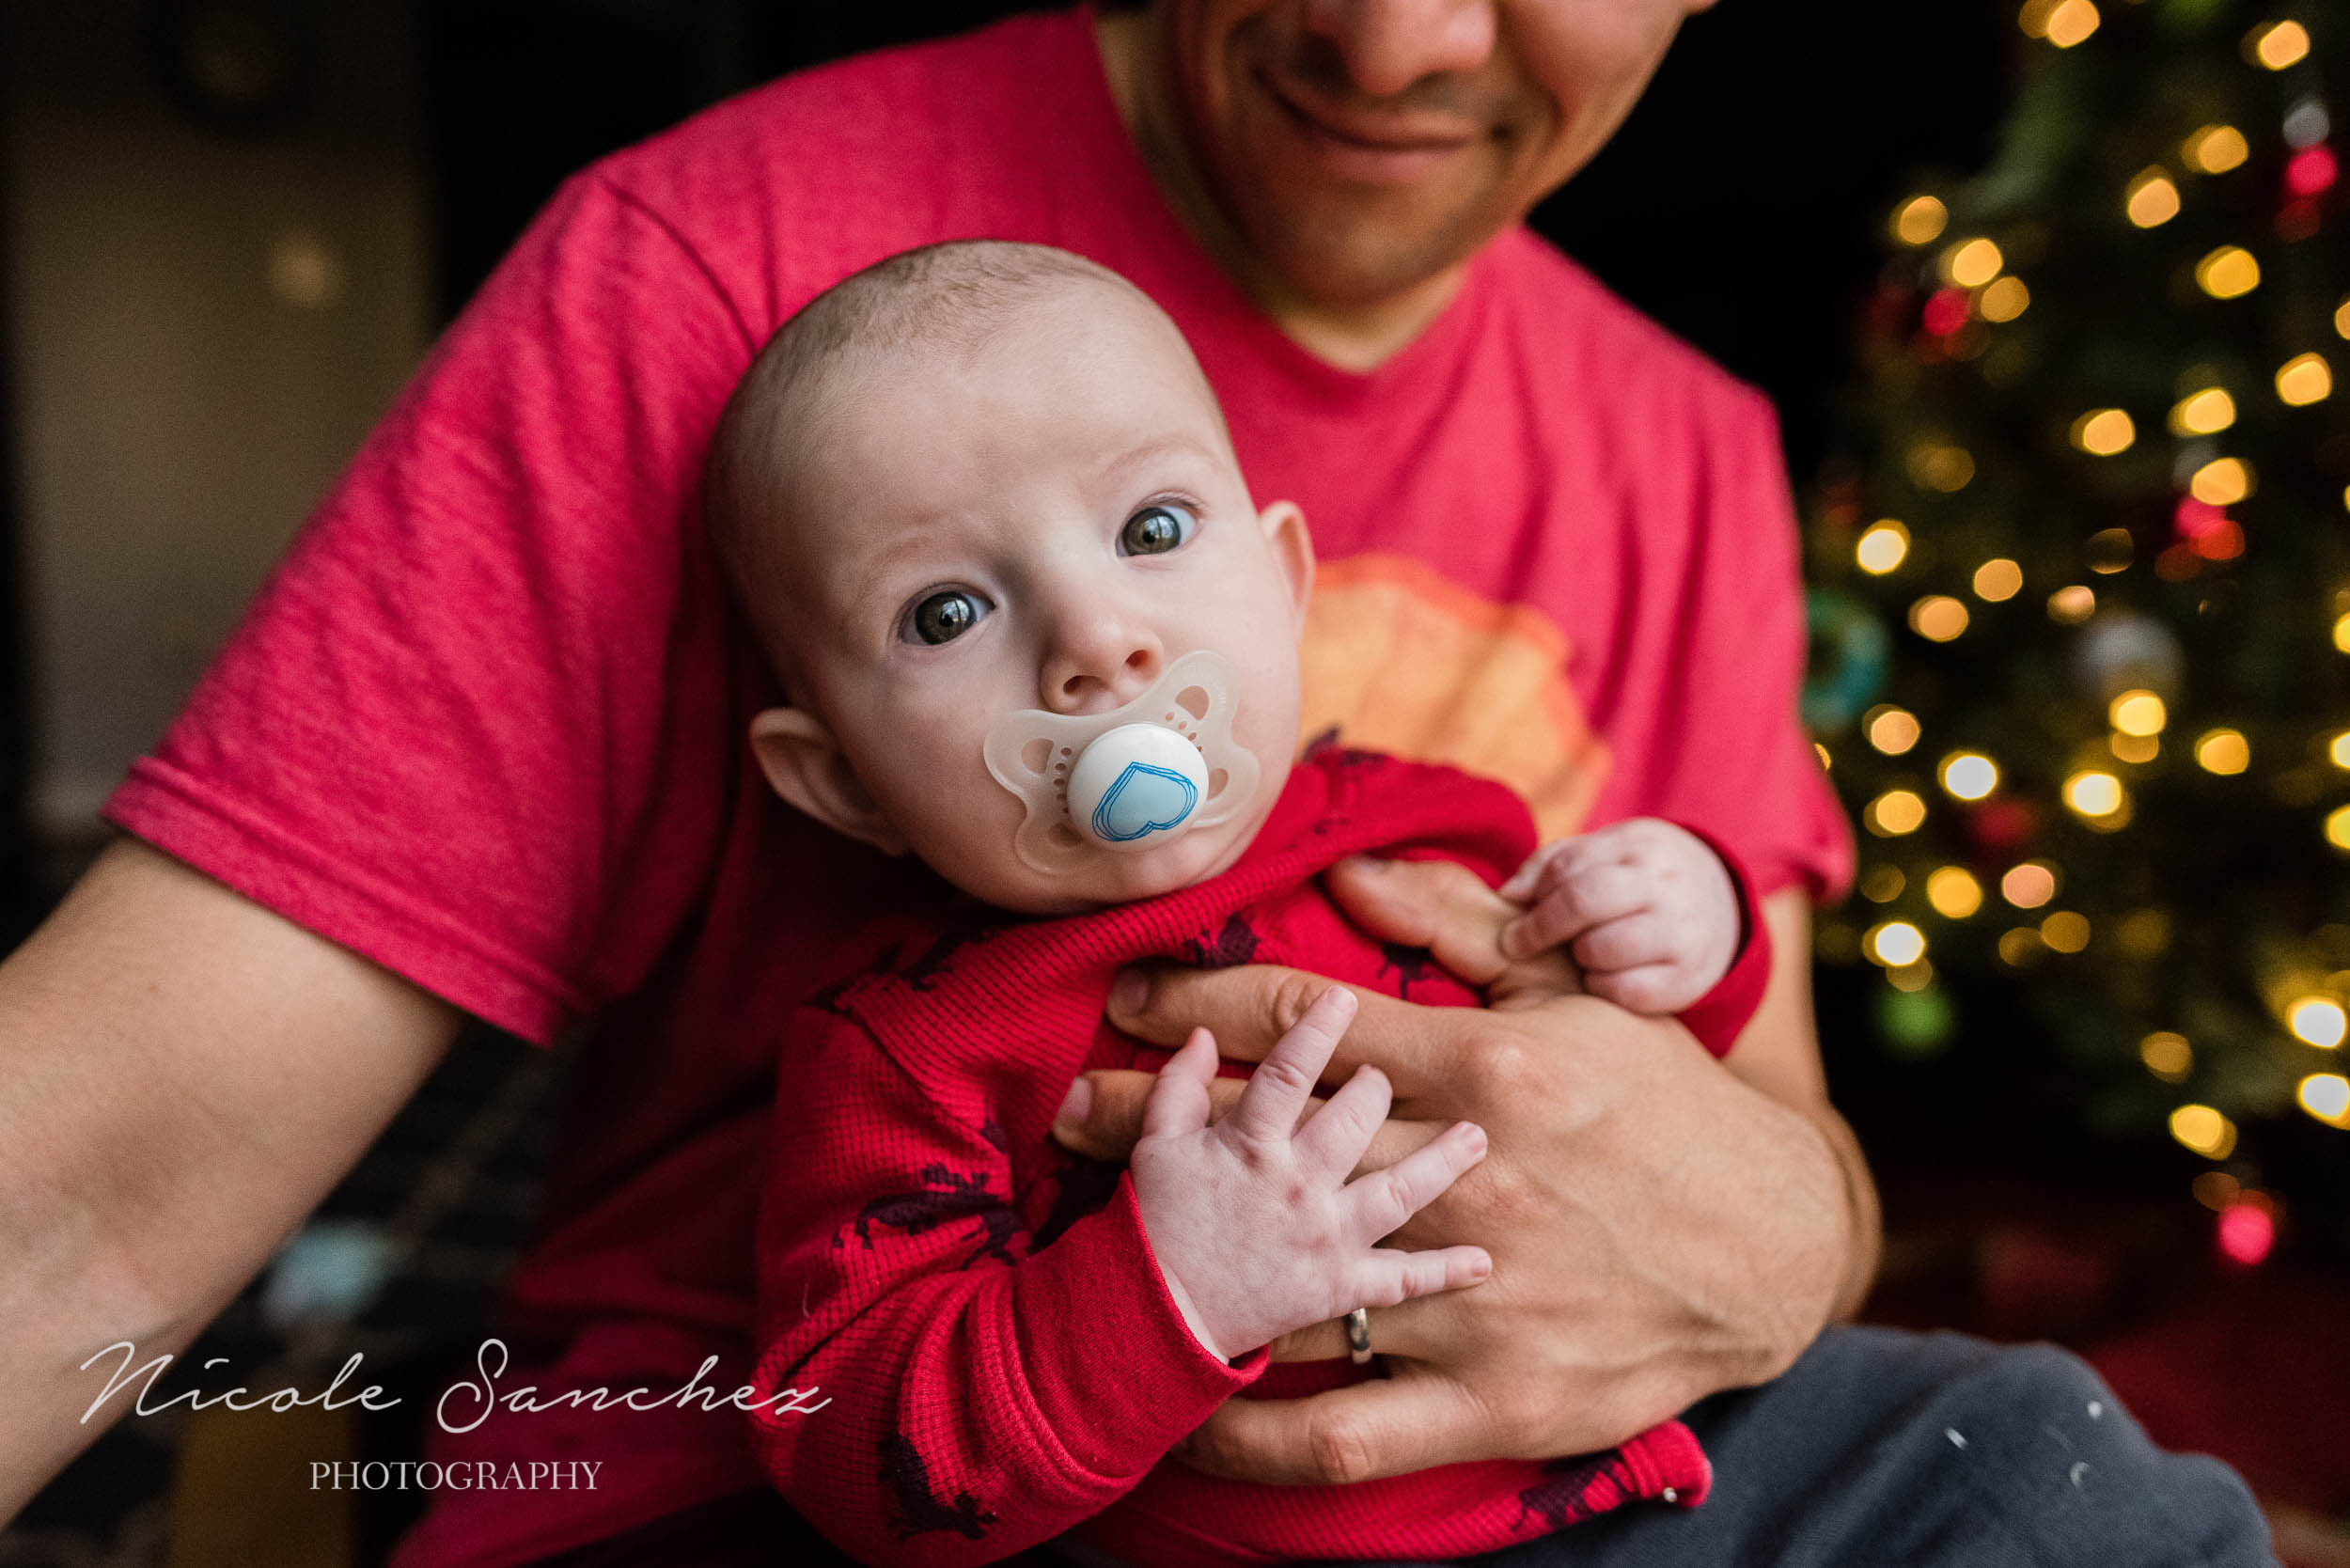
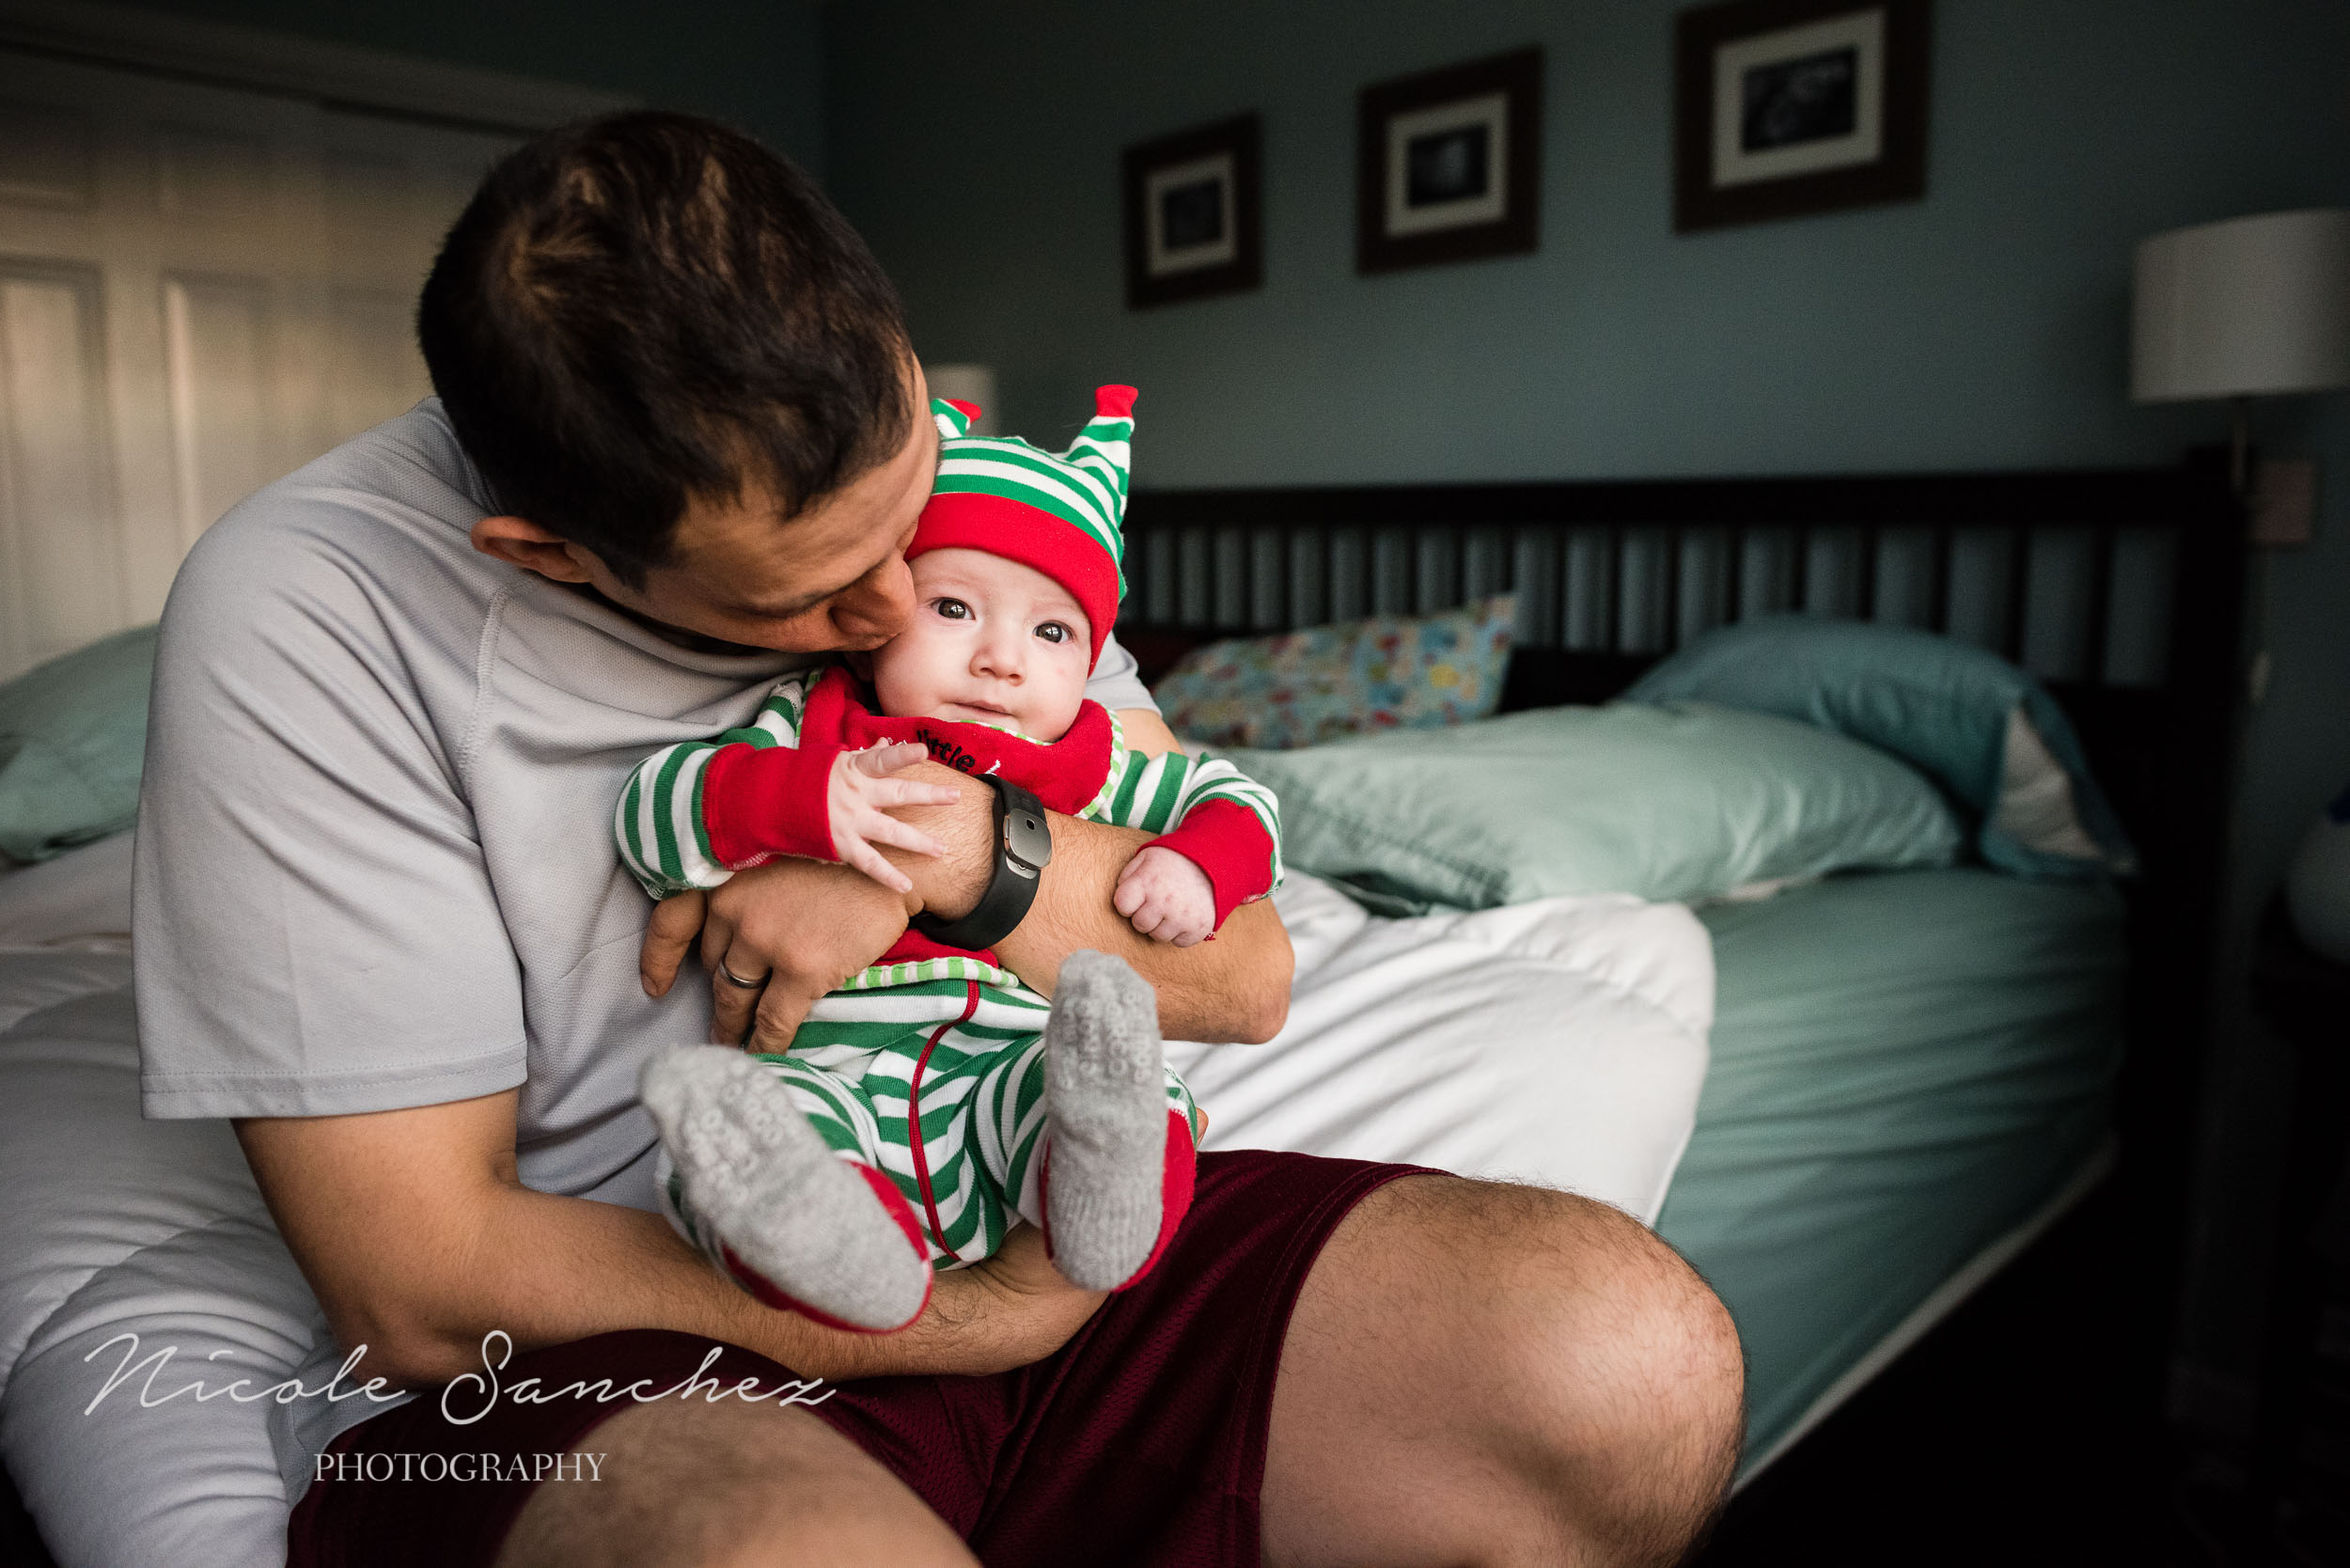
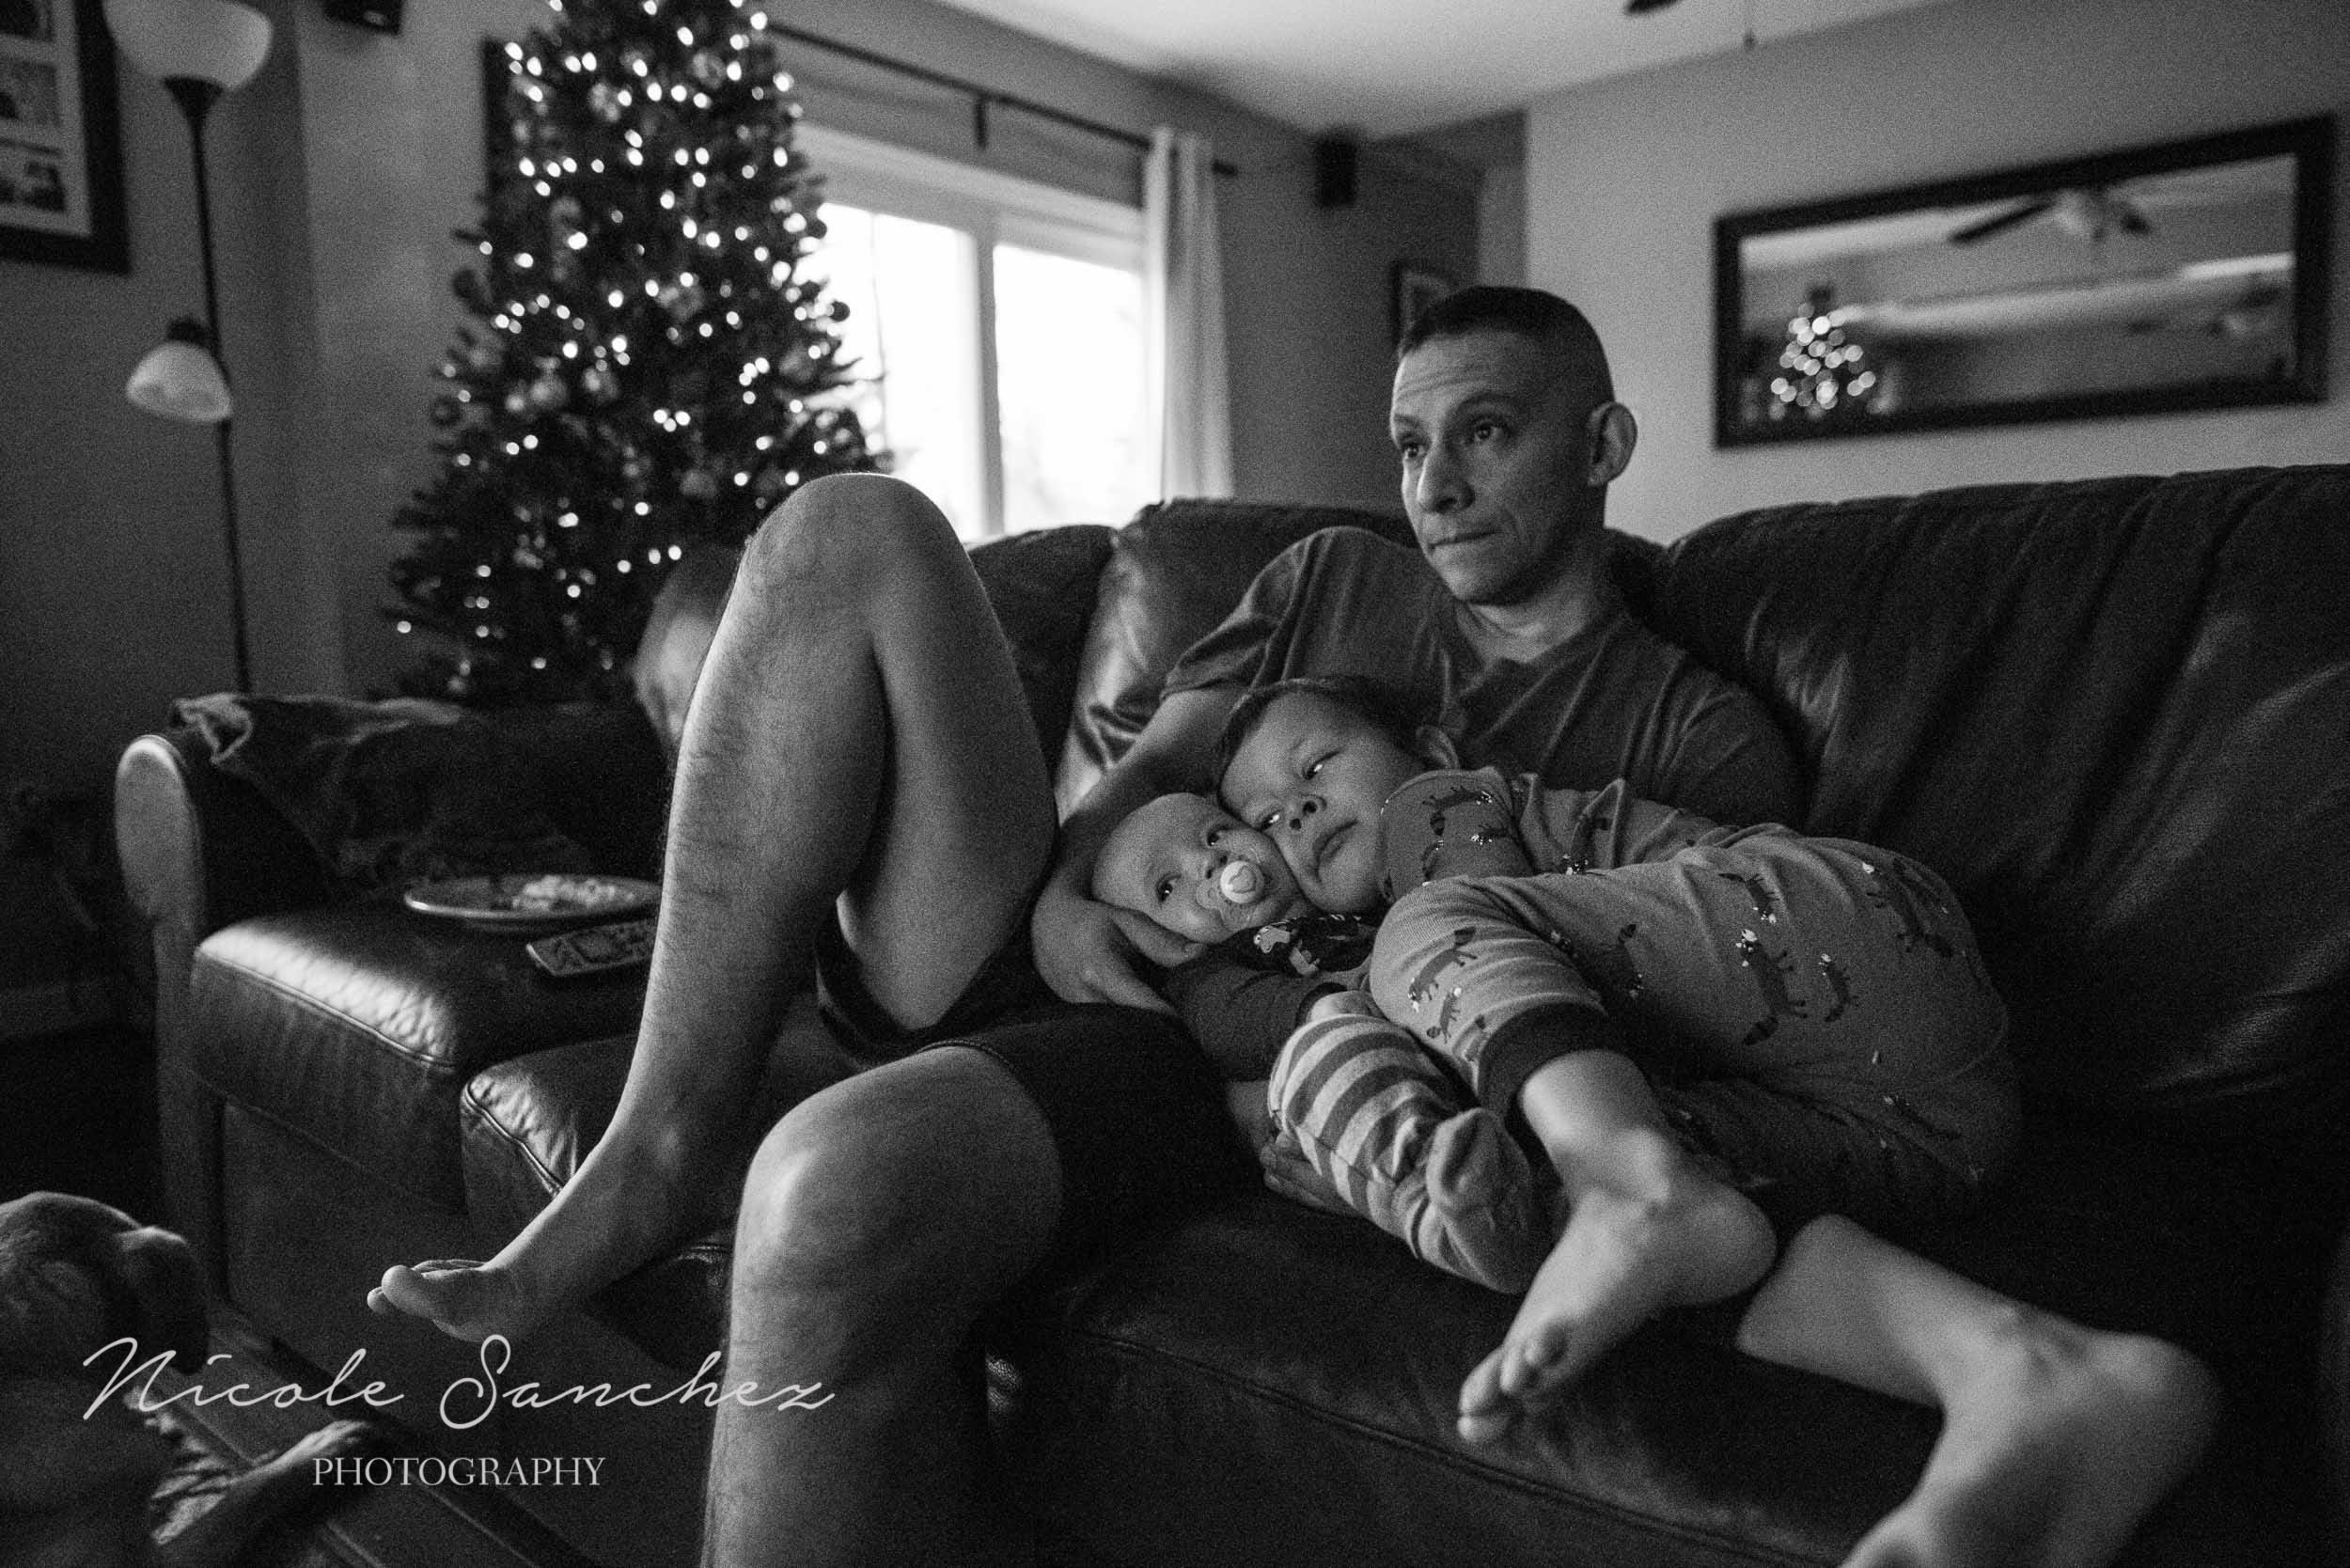
In looking over my 365 photos for January, I noticed a bit of a theme. Our family seems to stay in our pajamas a lot on the weekends. I'm okay with this. In fact, I kind of deem the day a success if I never get out of my pajamas. Maybe not every day, but, at least in the winter, we're kind of home bodies and it's nice to see how much I can get done before getting dressed. And I really enjoy capturing images of my son in his pjs. Soon enough, he'll be too old for dinosaur prints and cute catch phrases. There's something playful and innocent about a child in pajamas. It brings whimsy and imagination to whatever activity they're engaged in and it's fun to bring that to my pictures as well.

I can't believe we're already so far into February. The year has gotten under way with a flurry of activity, some planned and some unexpected.  Just when I think I have it all figured out, I'm reminded that life ebbs and flows.  Nothing really stays the same for too long. And while I can appreciate the excitement and lessons that change (or disruption) brings, I'm also appreciative of the value of downtime and days where I can stay in my pajamas and recharge.

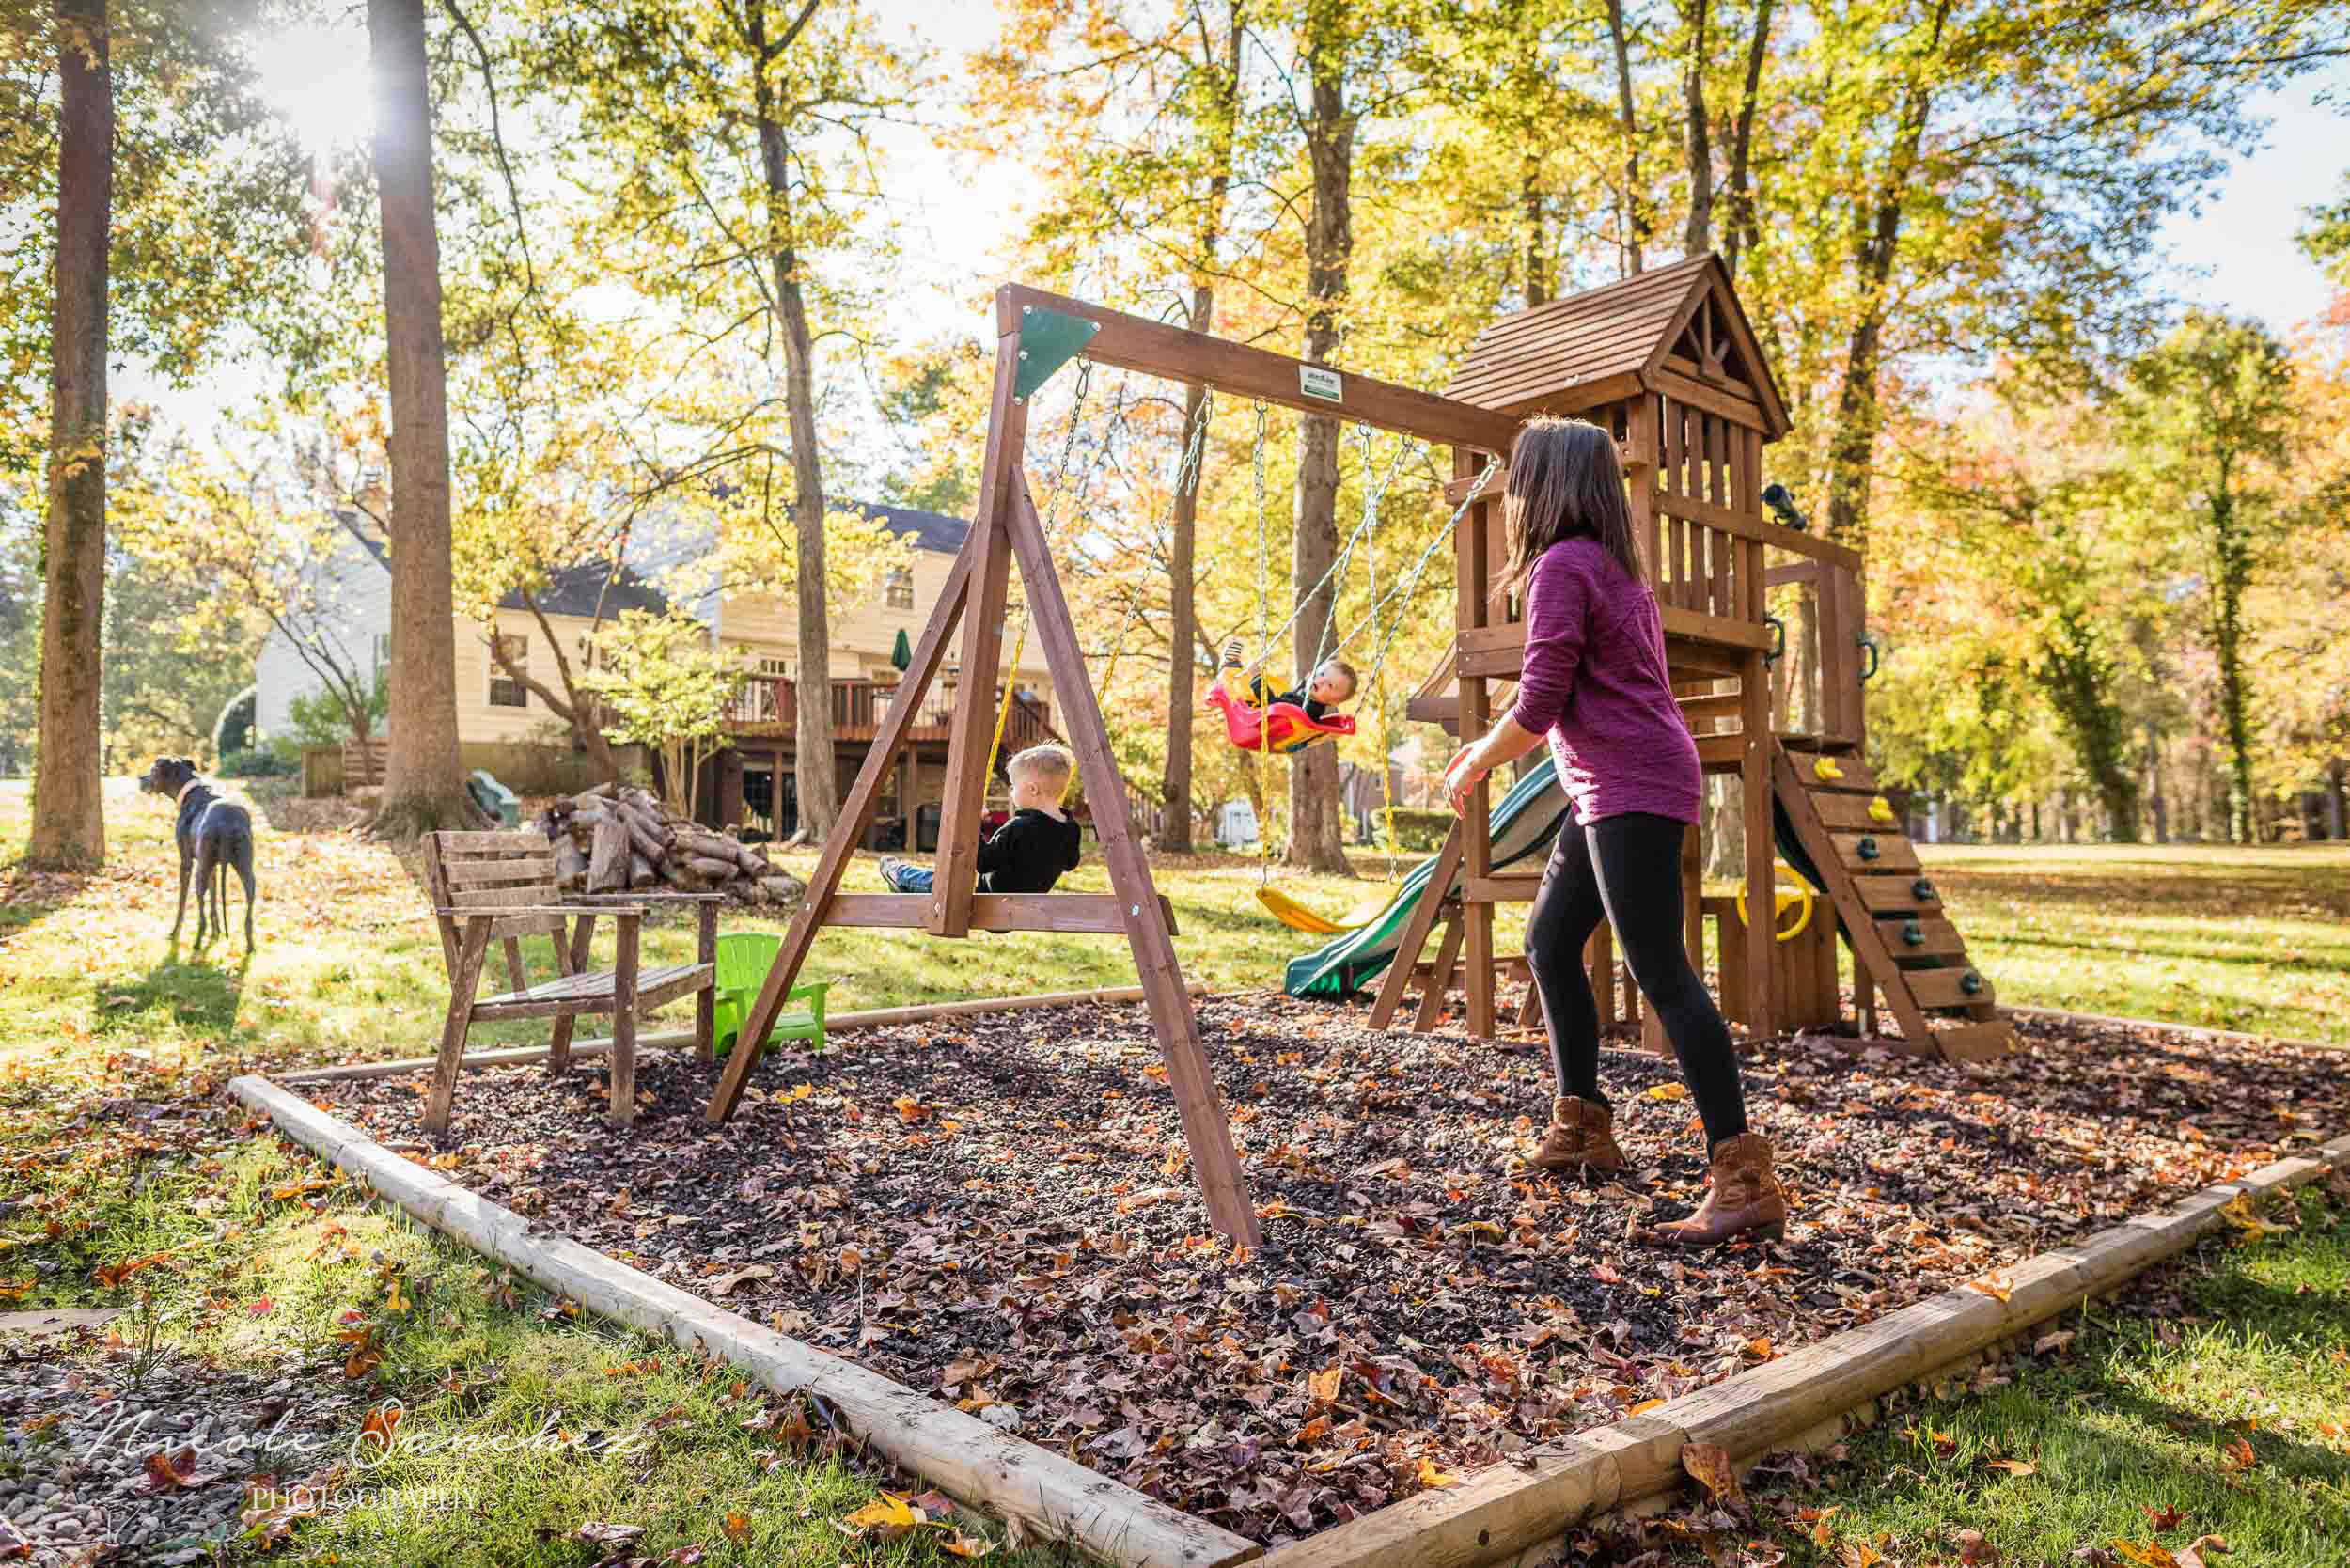
We ended January outside Northern Virginia with a vacation at Disney World and I'm excited to share those photos in a later post (though I took a lot less than I planned!).  I've been pretty easy on myself with missed days in my 365 project lately, and I'm looking forward to some spring weather (is it too soon to be hopeful?) that brings a bit more motivation with all the new growth and longer days. 

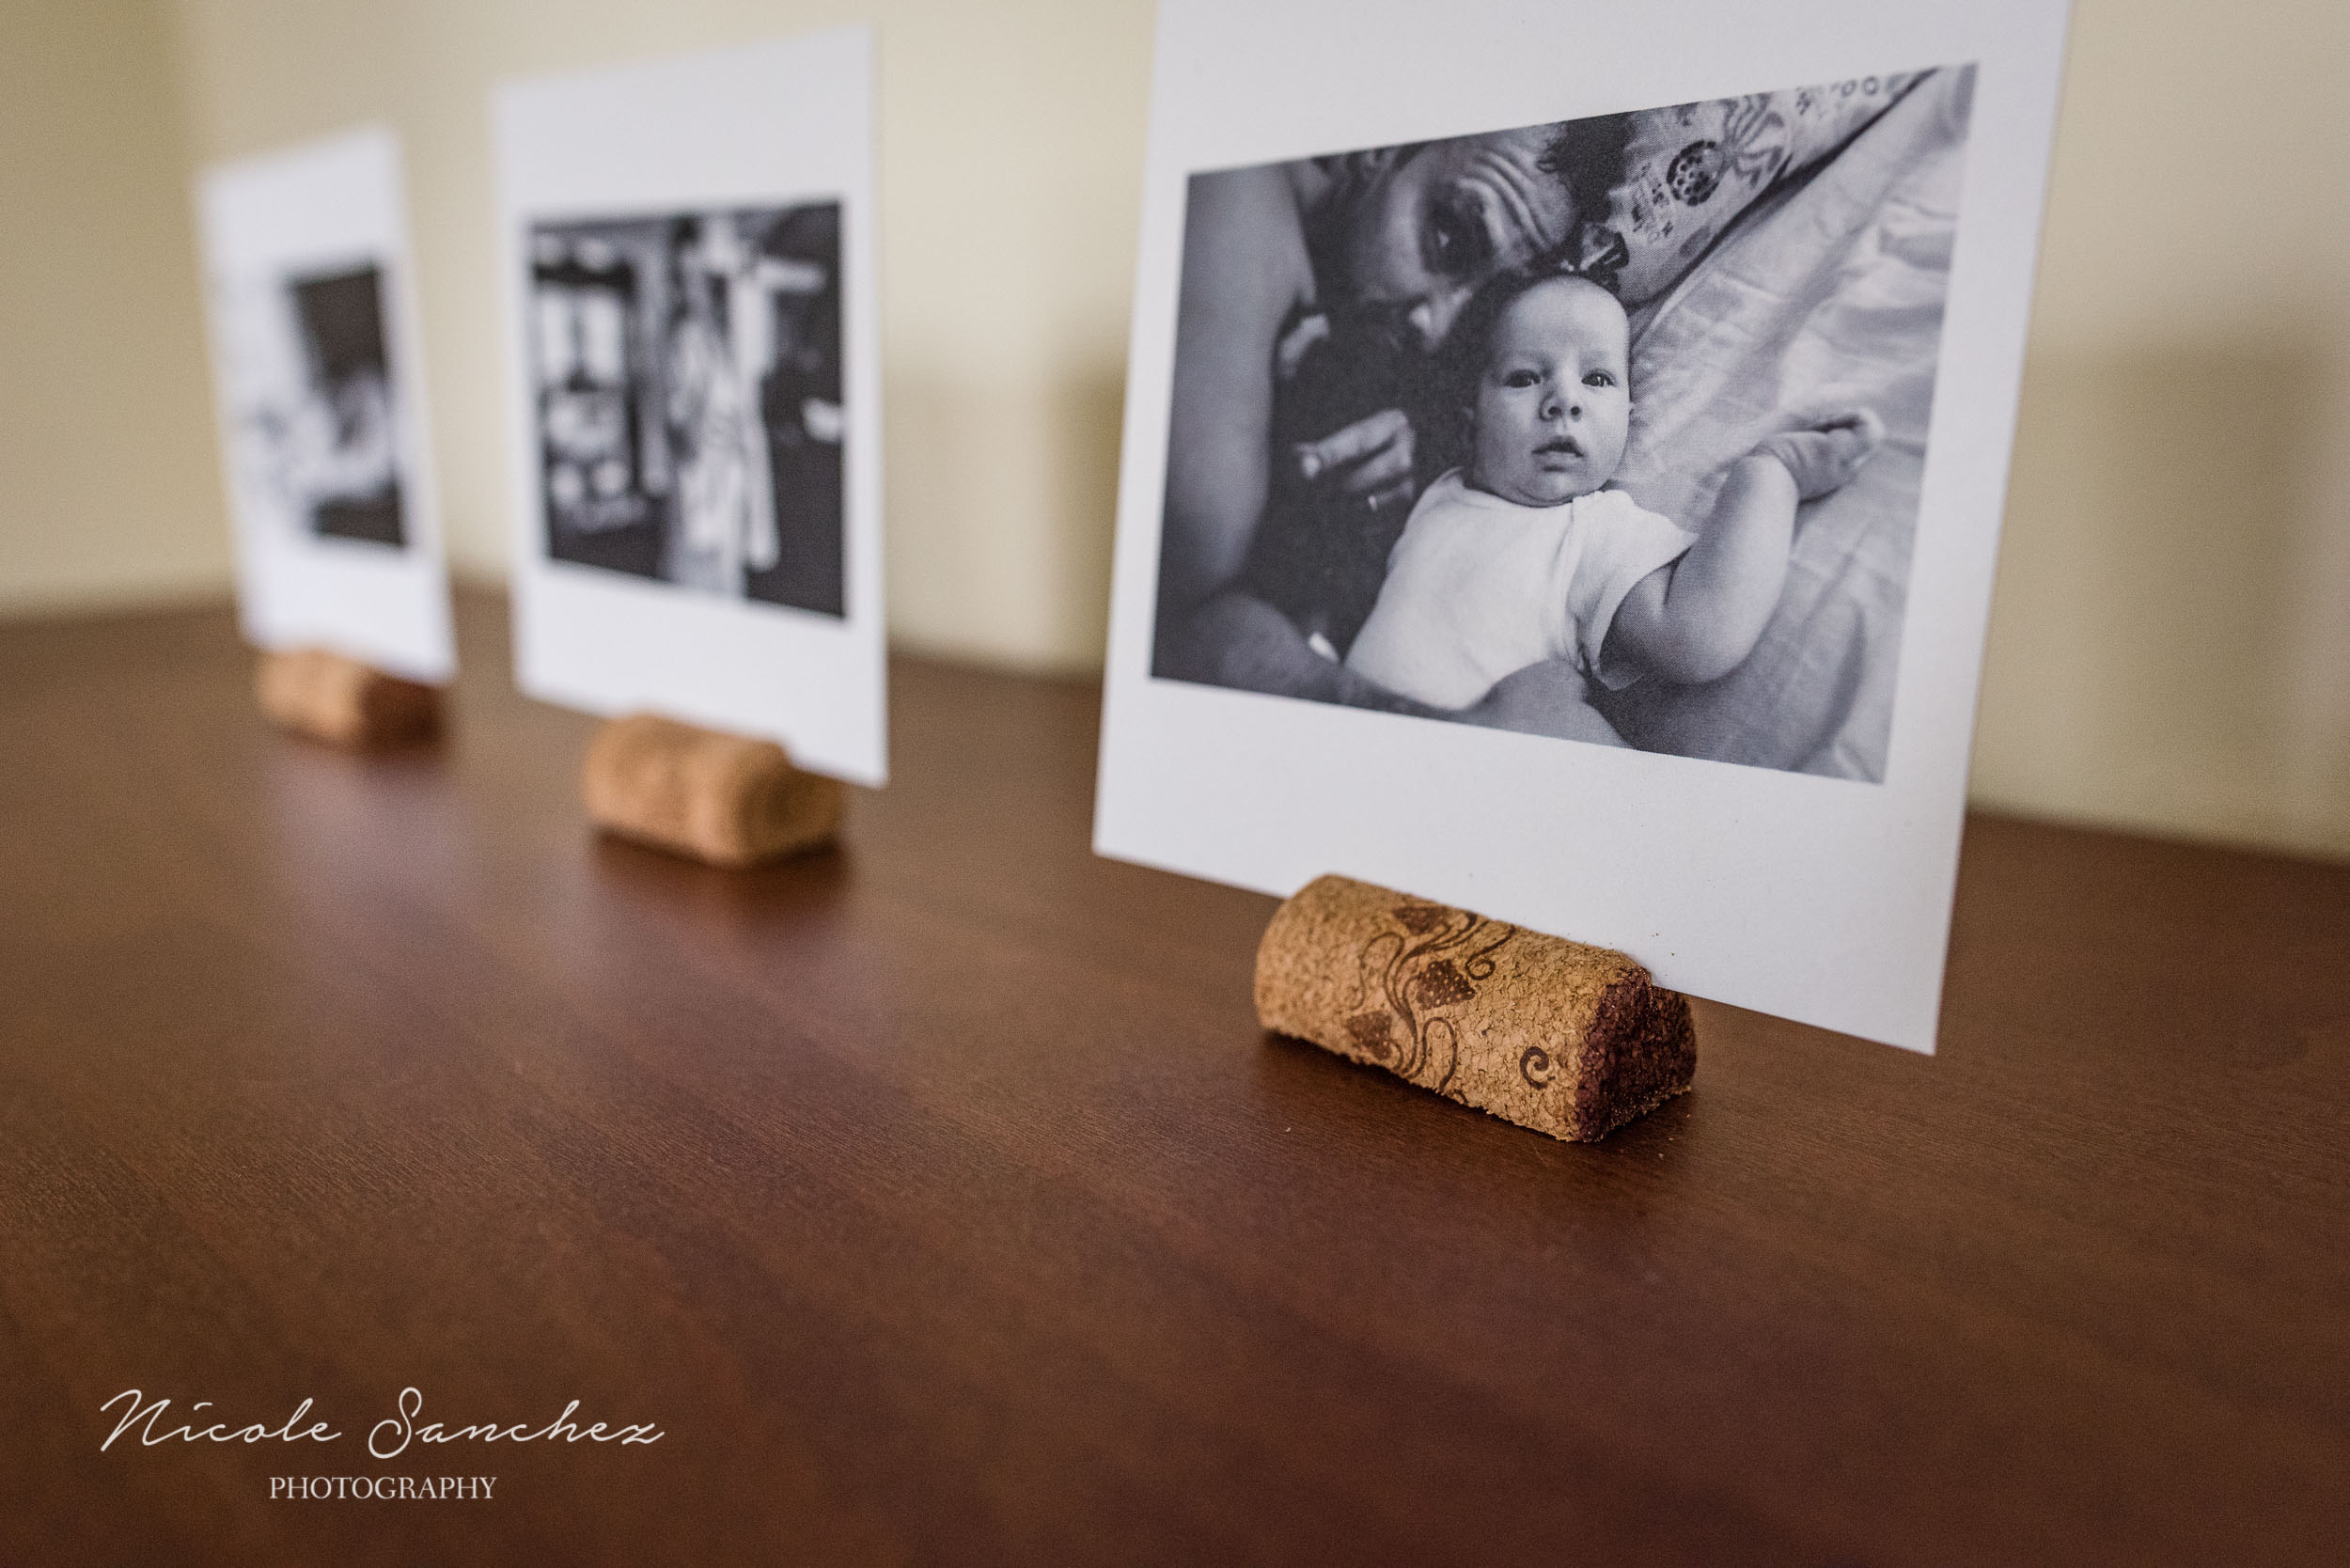
How's your 365 project coming along? If you haven't started one or need some motivation, check out this post. And while you're at it, sign up for my newsletter below to receive tips for documenting the beauty in your family's every day.

How to Decide Where to Have Your Family Photo Session | Alexandria, Virginia Family Photographer

A lot of thought can be given to details when you're planning a photography session for your family. Where should you have your session? When should you schedule it? What should you wear? Will the weather be nice? Will your children be cooperative? Will your spouse/significant other/pet be cooperative? ;-) In many ways, choosing to do a documentary session can ease these typical concerns.  So over the next few months, I'll be answering some common questions about session planning and sharing how awesome (and easy!) a documentary session can be for celebrating and preserving a part of your family's story.  First up - where should you have your session?

Dog outside staring in window in Alexandria, VA by Family Photographer Nicole Sanchez

What's the best location for a family documentary session?

The simplest answer is wherever your family feels most at home.  As I've mentioned in previous posts, this may indeed be in your home.  Or it may be out and about adventuring, where you find yourselves in your element.  The most important thing is that everyone is comfortable, having fun, and engaging with each other.  Does that mean there won't be toddler meltdowns or teenage attitude? No, probably not.  But that's okay.  And I'll photograph it happily, because that's the season of life you're in and it's worth remembering (and showing your kids!). 

You might worry when choosing an in-home session, that you'll miss out on beautiful, seasonal outdoor images.  But documentary family photography can really be the best of both worlds.  And in Northern Virginia, where the weather can be mild even in the winter, taking photographs in both your home and outdoors can be a great way to keep kids engaged for the entire session. 

Documentary sessions are typically longer than a traditional portrait session, so there's no pressure to fit everything in.  The session just naturally flows at whatever speed your family goes at.  Even my shortest session, at two hours, allows for plenty of time to capture a range of activities at a leisurely pace.  

Blue-eyed boy sitting in mom's lap at backyard session in Northern Virginia by Lifestyle Family Photographer Nicole Sanchez

In home documentary sessions are unposed and unscripted, but that doesn't mean you can't plan ahead a little too. Some families plan for certain activities, like making breakfast or playing a game. Others let the kids take the lead and just go with the flow of the day. Flexibility is key to making the session fun and allowing for real moments and connection. 

Working in an outdoor activity can be a natural part of a documentary family session, especially if it's your own backyard or a nearby park. For this session in Alexandria, VA, mom is a yoga teacher, so it was only natural that she and her sons worked in some yoga while they played in the backyard. I loved that their family dog was always nearby and a part of so many of the images.

Mom and son holding butterfly at outdoor family session in Northern Virginia by Documentary Photographer Nicole Sanchez

You may worry that your home is messy or your kids won't cooperate. And why would you want to remember that? I say, because that's life lived.  I try to embrace the mess, unpredictability, and the chaos in my photographs because that's real and real is beautiful. Life changes and kids grow so quickly and I want my photographs to put you right back there in that moment years from now when this time is a distant memory.  And what's more, I want your children to be able to see this part of you and themselves that they may be too young to remember.  Those parts of early life later become an important piece of figuring out who we are and where we belong.  

Toddler waiting for mom to give him juice in kitchen at in-home photography session by Documentary Family Photographer Nicole Sanchez

Learn more about documentary family sessions here.  Do you have questions about documentary photography?  Let me know in the comments or send me an email.  I'd love to answer them!  Next month, I'll provide some answers about when to schedule your family session (Spoiler Alert: there's never a bad time. :-) ) and more ways to keep kids engaged.

Thanks for stopping by!  If you'd like to learn more about documentary photography and how to take better pictures of your family, sign up for my newsletter below.

December 365 Project Faves | Northern Virginia Family Photographer

Last month we enjoyed lots of time at home, but also had some adventures.  We had some unseasonably warm weather in Northern Virginia and made it out to the National Zoo in Washington, D.C.  I also swallowed my fear (!) and took my 3-year-old (and our baby too!) to the library.  One of my favorite places.  And to my delight, he loved it too.  The little one slept through the visit. :-)  I'm looking forward to going back.  

Many people have embarked on a new 365 photo project this January. Some for the first time. Some starting a second, or third, or __ project.  I still have about 100 days left in mine.  This is my third year doing a 365 project and I'll likely continue after a brief break.  I shared some of the lessons I learned and tips for completing a 365 here.  In December, I went easy on myself when I missed a day.  Although, this week I have renewed motivation for being more "on it."  

Looking through my favorites from December reminds me of why documenting our family's life and lifestyle is so important to me.  I want to have images to remind me of these everyday moments.  These quiet times for reading and snuggling.  These times of childhood magic and wonder and adventure.

One of the best things that a 365 project can do for your photography (aside from preserving moments for your family) is force you out of your comfort zone.  When you're struggling to find something interesting to take a picture of or it's the end of the day and there's no light left in your house, you have to get creative in making images.  Sometimes they're successful and sometimes not.  So this month, I'll be reminding myself of this when I realize I haven't picked up my camera and I'm tempted to just go to bed.  I look forward to sharing my results with you next month.

Have you started a 365 project this month?  What tips do you have for making it a fun experience?

If you'd like to receive more tips for documenting your family, please sign up for my newsletter below.

Around Our Clocks: 10am | Northern Virginia Family Photographer

Cold weather is not my favorite, even though it's relatively mild in Northern Virginia compared to many places. But one benefit of winter and being indoors is ample snuggle time. After Christmas, we took advantage of a week at home with both boys to spend lots of time in our pjs. There was tv, but also some crafts (if you count handing a 3-year-old scissors and glitter glue :-) ), fun times with new Legos, and lots of reading from our new Shel Silverstein books. I was a bit wary of Shel SIlverstein for a 3-year-old at first, but he really loves these poems.  They provoke a lot of questions and introduce unfamiliar concepts.  Plus, there so much silliness, and what kid doesn't love that? :-)

These pictures are typical of 10am around our house in the winter. Pajamas and a Daddy-son-cuddle pile on the couch while watching a show.  School and work have returned, but I have lots of pictures to remind me how awesome down time can be. 

2017 is under way and I'm so excited for what this year will bring. We have plans to spend time away with family this year and I can't wait for everyone to meet our youngest son. I have also lots of plans for my business. One that I'm most excited about is incorporating video into my family sessions.  Video adds an element to photography that I didn't even know was missing. Seeing the motion and hearing the sounds, especially of little ones who change so quickly, is wonderfully captured with video and I can't wait to offer that to my clients!

Wishing you the best in the New Year! This post is a continuing post of our monthly Around Our Clocks documentary blog circle. Follow the circle to see what 10am looked like for Meghan Nesom.

father and two boys laying together on couch by Northern Virginia Lifestyle photographer Nicole Sanchez

How to Make a Wine Cork Photo Stand | Northern Virginia Family Photographer

I have a bag of wine corks that has followed my husband and me through three living spaces and two moves. I had every intention of taking it to the nifty wine cork recycle bin at Whole Foods. My husband told me it would never happen and that we should just throw the corks away. Well, he was right. But I got the last word! At least about three of the corks, anyway. :-D

Bag of wine corks by Northern Virginia Family Photographer Nicole Sanchez

I'm always looking for fun ways to display my prints, especially my square prints, which don't lend themselves to framing. So when I came across wine cork displays for wedding seating arrangements on Pinterest, I thought they would be perfect for pictures. 

Here's how I did it:

What you need:

- wine corks

- small pot (steamer optional) and stove

- small hand saw (recommended) or serrated knife

- large binder clip (optional)

- photos

Using hand saw to cut cork by Northern Virginia Family Photographer Nicole Sanchez

What to do:

Cork on table by Northern Virginia Family Photographer Nicole Sanchez
Corks steaming for photo project by Alexandria, VA Family Photographer Nicole Sanchez
Using a hand saw to cut cork by Alexandria, VA Family Photographer Nicole Sanchez
  1. Steam your corks. This softens them up a little and prevents the cork from breaking into pieces when you cut it. 15-20 should do the trick. If you don't have a steamer, you can also boil them. This is especially good if you want to remove the any wine stains from the cork.
  2. If you have a binder clip large enough to slide over your cork, use it to help secure the cork while you're sawing. I didn't have one, but my fingers would have felt safer with one. 

    Next, use the hand saw to slice off enough cork to leave a flat bottom for a secure stand. You could also cut the cork in half to make two stands, if you like. While you could use a serrated knife, I recommend a hand saw if you have one. It takes a surprising amount of pressure and sawing to cut through the cork. Or maybe my blade was dull. Either way, just be mindful of your fingers!

  3. Once you have the bottom of the stand shaved to your liking (it may take a bit of adjustment), use the saw to make a slit in the top of the cork. I made mind right in the middle. You may need to make the slit wider or deeper depending on your photos.

  4. Insert your photos and display proudly! Then figure out what crafty things to do with the rest of the corks in your bag. :-)

Close-up of cork photo stand by Northern Virginia Family Photographer Nicole Sanchez
Photos in cork photo stands by Alexandria, VA Family Photographer Nicole Sanchez

Do you have any fun photo display hacks? I'd love to hear about them in the comments (and maybe feature them here in another tutorial)!

Sign up for my newsletter below to receive tips on other fun ways to display your photos.

Family Favorites - Year in Review | Northern Virginia Family Photographer

The end of the year is a great time for reflection.  2016 has been good.  I'm so grateful for my little family (+1 this year!) and for the wonderful families in Northern Virginia and D.C. who have embraced my documentary style of photographing their families' everyday moments.  Parents often don't get to see themselves in action, so it's wonderful to be able to show all the love and attention they pour into their family.  And I love preserving these moments for children, so who may be too young to remember now, but who will be able to look back at these images and catch a candid glimpse of themselves and what made their family special.

I could go on, but instead, I'll just share a few of my favorites from family sessions this year. :-) I'm looking forward to many more in 2017. Happy New Year!  

Photographing Holiday Traditions | Northern Virginia Family Photographer

I have a confession to make.  My oldest son is three and I have been woefully lazy about holiday celebrations in our house.  Until this year, we've visited family at Thanksgiving and Christmas, so I had an excuse for not creating holiday traditions, because we were always traveling. 

But this year, that came to an end.  We're home for Christmas.  And it only hit me about two weeks ago that I haven't done much to celebrate what a magical time this can be for children. Enter mom guilt galore.  I have fond memories of all the decorations that my mom used to put up in our house and how we'd display on the mantle all the holiday cards we received from friends and family. Decorating the tree was a great trip down memory lane, because we'd use glass ornaments from my mom's childhood mixed in with ones my sister and I created every year at school. 

To be fair, we always have a tree (which I happily decorate with my son) and a few decorations around the house.  And thankfully, my husband loves Christmas lights, so he and my son had fun putting them up this year.  So I haven't had to start from scratch. But when it comes to other traditions - things I want my sons to to look back on fondly and consider hallmarks of the holidays - I have some work to do.  So this weekend, we'll be missing family, but I'm looking forward to celebrating with great neighbors and starting a new tradition of baking and decorating cookies with my son.  

For now, here are a few holiday images from our family so far.

I'd love to hear what your family's holiday traditions are.  What do you remember enjoying from childhood?  What fun things do you do with your kids?  If you need inspiration for documenting your family's holiday celebrations, check out these 25 ideas for Christmas pictures and this hands-free way to document Christmas morning and get yourself in the photos as well.

With any luck, I'll be back next year with some fancy traditions to share.  In the meantime, sign up for my email list below to receive tips for documenting your family.

Three Reasons to Try an Outdoor Documentary Session with Your Family in the City | Washington, DC Lifestyle Family Photographer

A few weeks ago, I wrote about how awesome in-home documentary sessions are. Now I'm here to tell you how awesome outdoor sessions are.  This may seem incongruous, but one of the best things about documentary photography sessions is that they're adaptable and unique to each family.

One of my favorite things about being a photographer is working with each client to create a session that reflects their family, whether that's chilling at home, exploring the outdoors, or a combination of the two. I love documentary photography because it reflects a family's lifestyle and interests at any given moment. We all know life changes quickly, and having beautiful images tell us the story of a particular time in our lives.   

Family in window of coffee shop in Georgetown, D.C. | Washington, D.C. Family Photographer

Here are three reasons outdoor documentary sessions are a wonderful way to preserve your family's memories.

1. Location, location, location.  I mentioned that lifestyle documentary sessions are adaptable. With outdoor sessions, the sky is the limit.  (Okay, perhaps not literally. I might actually draw the line and say you may not see me documenting a family's skydiving adventure, but never say never. :-D ).  You choose a location that is meaningful to your family. For this session in Washington, DC, it made perfect sense to photograph their family in Georgetown.  They're always on the go and taking advantage of all the family-friendly things to do in the D.C. and Northern Virginia area.  Grabbing a coffee and walking around the city is what they'd normally be doing on a warm, fall weekend. Documenting candid moments like these, highlight the beauty in the everyday, because the everyday is what makes up our lives.  So whether it's a stroll through the city, a visit to a museum, or checking out the many outdoor activities that the D.C. region has to offer, all that matters is that it's a place that your family enjoys and connects over.

Family in window of coffee shop in Georgetown, D.C. | Washington, D.C. Family Photographer

2. Variety and spontaneity. A city setting like Georgetown has endless variety and room for spontaneity. This is especially beneficial for kids who are active or like to change things up. For this session we started at a coffee shop, walked along the C&O Canal, and then ended at a park with some restful green space.   It could just as easily have been a walk by the waterfront and a stop to get ice cream.  There's no limit to the variations and the city offers so much to do within short distance, so it's easy to make up a plan as you go.  The most important part of family photos is capturing emotion and connection between each of you.  Having a variety of options and allowing for spontaneity can take away the stress of trying to orchestrate that "perfect" shot and makes the whole experience more enjoyable.  When you focus on having fun and enjoying an experience with your family, photography magic happens. :-)

Family walking along C&O Canal in Georgetown, D.C. | Nicole Sanchez Family Photographer

3. Seasonal bounty. An outdoor session, whether in an urban setting like this one in D.C. or in a rural area like a park or even your backyard, can be a beautiful way to capture seasonal family fun. Cozy fall weather and foliage, holiday traditions and snowy days, spring blossoms and energy, or long summer evenings and lingering light are wonderful settings to document your family adventures.  I love the variety that changing seasons brings so much that I'm offering a new multi-session package for 2017.  Details will be posted on my Session Information page soon. :-)

Mom snuggling baby with Dad watching | Nicole Sanchez Family Documentary Photographer

What fun urban settings do you have in mind for family photos?  One goal I have in 2017 is to document a family vacationing in DC and Virginia. It's such a wonderful area to visit and I love seeing it through a visitor's eyes.

To stay updated about my session offerings, sign up for my mailing list below.  

Around Our Clocks: 3pm | Northern Virginia Family Photographer

This month in our Around Our Clocks blog circle, we documented the 3pm hour. 3pm in our house is relatively uneventful and varies from day to day. It's not an hour I find myself photographing regularly, like morning when the light is best in our house.  So, this month, I had to plan a little better and really consider what is going on in our family right now that I want to remember.

I chose to document 3pm on a weekday because I wanted to preserve a bit of the last days of my maternity leave.  For me, these weekday afternoons have been a mix of quiet hours before my older son gets home from school and usually involve a cycle of naps, diaper changes, and often an episode of Game of Thrones (a special maternity leave project ;-) ). It was important for me to get in the frame as well because I want to remember (and want my son to see) how much fun I had with him.  And I also want to remember the repetitive baby care and unexpected opportunities for self indulgence while he's so small (and immobile), because I know life will change quickly and what is routine right now will be very different even months from now.

Continue the circle and check out what 3pm is like for Michele.

How to Make an Awesome Vacation Photo Display | Northern Virginia Family Photographer

I came across Melissa Stottman's vacation photo display tutorial while I was on vacation last summer and knew it would be the perfect way to showcase a little piece of our family reunion in Montana. I also knew the displays would make perfect Christmas gifts for our family and couldn't wait to make them. Except that I did wait...until almost the last minute.  After a bit of trial and error (I've never stained wood before) and a few extra trips to Lowe's and Michael's, I happily finished then this week and love the way they turned out. Now I just have to remember to ship them in time for Christmas! Here's everything you need to know to make an awesome vacation photo display.

Awesome Vacation Photo Display | Northern Virginia Lifesyle Photographer

Materials Needed:

  • wood plaques (these were $1.29 at Michael's) large enough to fit your print and any mementos you want to include
  • vacation memento. I used rocks to remember how much fun my son had throwing them in the lake. You could also use a vial of sand like Melissa shows in her tutorial. Or something else entirely!
  • photo of your choice
  • printout with location and date info, if desired
  • wood conditioner
  • wood stain in your color of choice
  • paint brushes
  • rubber gloves
  • old rags/cloths
  • sand paper
  • mod podge (I used satin finish)
  • hot glue gun
  • saw tooth picture hangers
  • mineral spirits (or paint thinner for cleanup)

After testing a couple of colors, I went with Minwax Ebony. I also learned after testing that unfinished wood can be soft and porous which can lead to blotchy staining, so pretreating with a wood conditioner is a good idea. 

1. First sand any rough edges of the wood and wipe away any dust. Put on your rubber gloves to protect your hands and make sure you're in a well-ventilated area or outside (I wouldn't do the staining process inside because of the fumes.)

Unfinished wood plaque with can of stain and paintbrush | Alexandria VA family photographer

Use a paint brush to apply wood conditioner to the plaque. Allow to rest for 5-10 minutes, then wipe off any excess with a clean, dry cloth. 

2. Next, the staining. But first a note: It's useful to do a bit of testing on an extra piece of wood to determine how long to leave the stain on and how many coats you need to apply to get your desired color.  It lengthens the process, especially if you wait for the test piece to dry, but it's worth it to ensure your end result had the color you want. 

Within 5-10 minutes of applying wood conditioner, apply a coat of stain with paint brush. I used one coat of Minwax Ebony and let rest for about 10 minutes.  Wipe away excess with cloth and let dry. (I let rest until the next day.)  Use the mineral spirits to clean your brush.

4. Once dry, you're ready to assemble everything else.  It's helpful to arrange everything on the plaque before you start gluing to make sure everything fits.  When you're ready, apply a thin layer of mod podge to the photo and place on plaque. Allow to dry.

materials in place for making photo display | Northern Virginia documentary family photographer

If you want to include a bit of info about your vacation, add that next. I printed the location and date of our trip, cut to size, and secured with a very thin layer of mod podge mod podge to prevent bubbling. I printed mine on regular letter paper (I tested three font sizes and 14 worked best for me), but you might try something thicker if you have it to prevent it from bubbling up when you glue it.

acation info disply | Alexandria Virginia family photographer

5. Before starting this next step, it can be helpful to ensure you have a clean workspace, free from any dust or pet hair (ahem, cat-who- insisted-on-assisting-me).  Once you start applying the mod podge, it's difficult to remove any dirt or stray hairs without smudges.

Apply thin layer of mod podge over entire plaque, including print. Be careful to go very thinly over printer paper. Mod podge dries very quickly, so when going over the photo, I found it helpful to be pretty liberal with the application and move quickly. If you start with the photo you can push any excess to the edges and use on the rest of the plaque. It will look cloudy at first, but will turn clear as it dries, which takes less than half an hour. 

od podge drying on wood photo  display | northern virginia family photographer

6. Next, use a hot glue gun to secure your memento(s).

7. Finally, secure a saw tooth hanger to the back of the plaque and hang proudly! 

ttaching sawtooth picture hanger | northern va lifestyle family photographer
inished vacation photo display hanging on wall | alexandria virginia lifesyle family photographer

inished vacation photo display hanging on wall | alexandria virginia lifesyle family photographer

Aside from the staining process which took a bit longer due to testing (and that I've never stained wood before) this was a really quick process and super easy.  Check out Melissa's tutorial to learn how to make a display using paint and a sand vial. And please come back to share if you make one yourself.

Sign up below for my email list to receive more ideas for how to display your photos and tips for documenting your family.